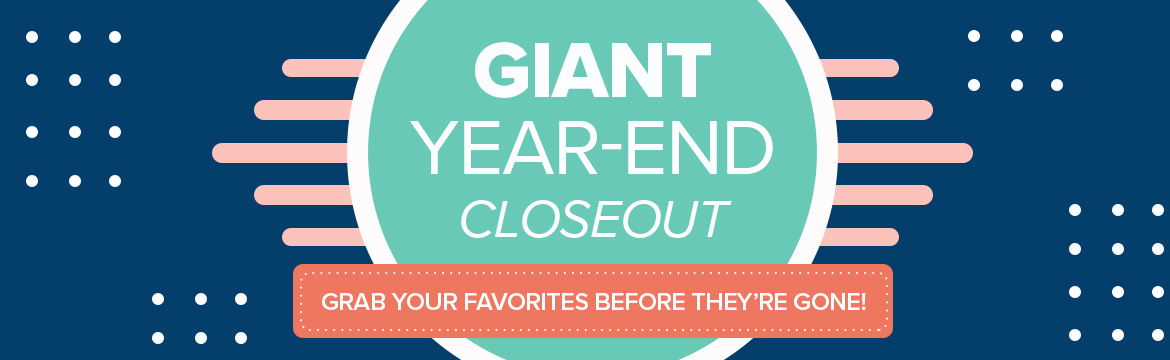
It’s time to check your wishlist and get your favorite products before they are GONE for good. The Giant Year-End Closeout event runs Dec 8th – Jan 4th. You’ll get deep discounts on your favorite products from the August–December 2020 Mini Catalog. The Year-End Closeout happens only once a year, so don’t delay—make sure to check out these retiring items. All items on this list are While Supplies Last. And if you order before Dec 10th you’ll BOOST your entries in the 12 Days of Giveaways. As always, please let me know how I can help with your order or answer any questions.

$35.00

$30.00


")

")

$8.00
 Diagonal Stripe Ribbon")
 Braided Linen Trim")

$5.00
")

")
$46.75
")
")
")

$18.00
")
")

$33.00
")

$8.00


")
")
")

$28.00

$45.00


$32.00
")

")

")


$35.00
")


$34.00

")


$46.75


$31.50


$18.00

$34.00

$5.00
")


")


 Designer Series Paper")

")
")

$31.00

$35.00


$21.00


")
 Ribbon")


$5.00

")
")
$49.50

$47.50


$36.00

 Designer Series Paper")


$51.25


$36.00
")


$8.00

")


$39.00

$38.50


$26.00

$45.75


$34.00
")
")
")

$34.00

$10.00


$7.50


$46.75


$31.00


$12.00
")
 Embroidered Ribbon")
 Designer Series Paper")
")
")

$35.00


")

")
$51.25

$23.00

$34.00


$6.00


$51.25


$36.00

$22.00

$12.00
")
")

$29.00

$53.00


$38.00