Birthday Best Things

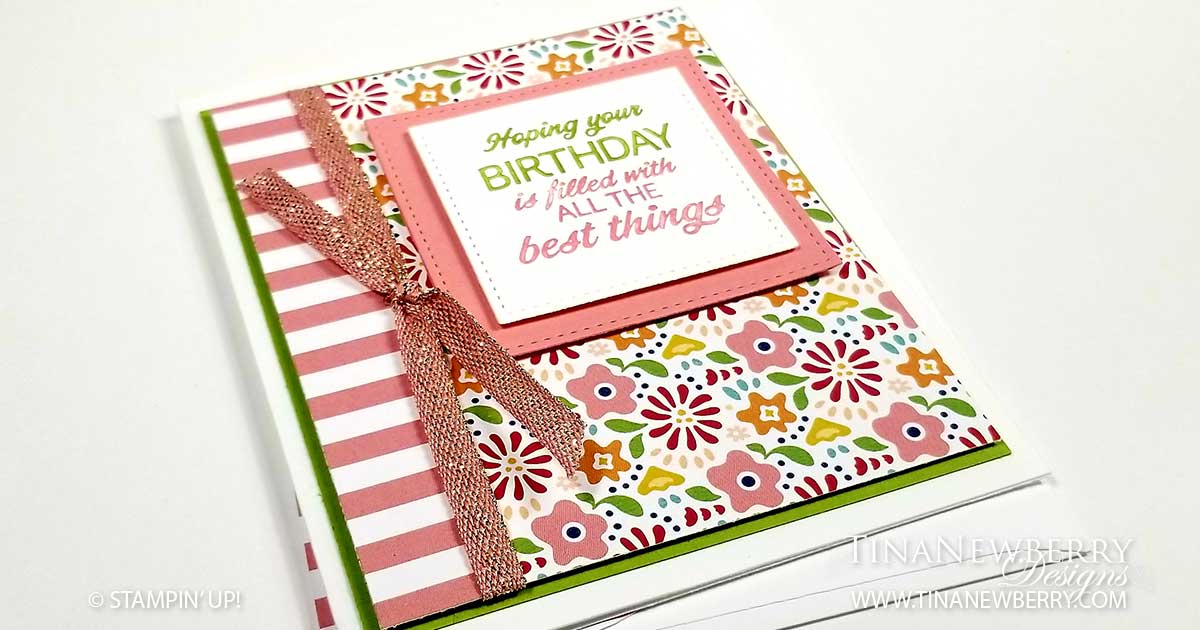
I’ve had my eye on this bright and bold flowered piece of paper from the Pattern Party Host-exclusive Designer Series Paper pack for a long time waiting for the perfect project to use it on. This is it! I love how happy this card looks with the mix of pink and green with pops of other colors. So pretty!

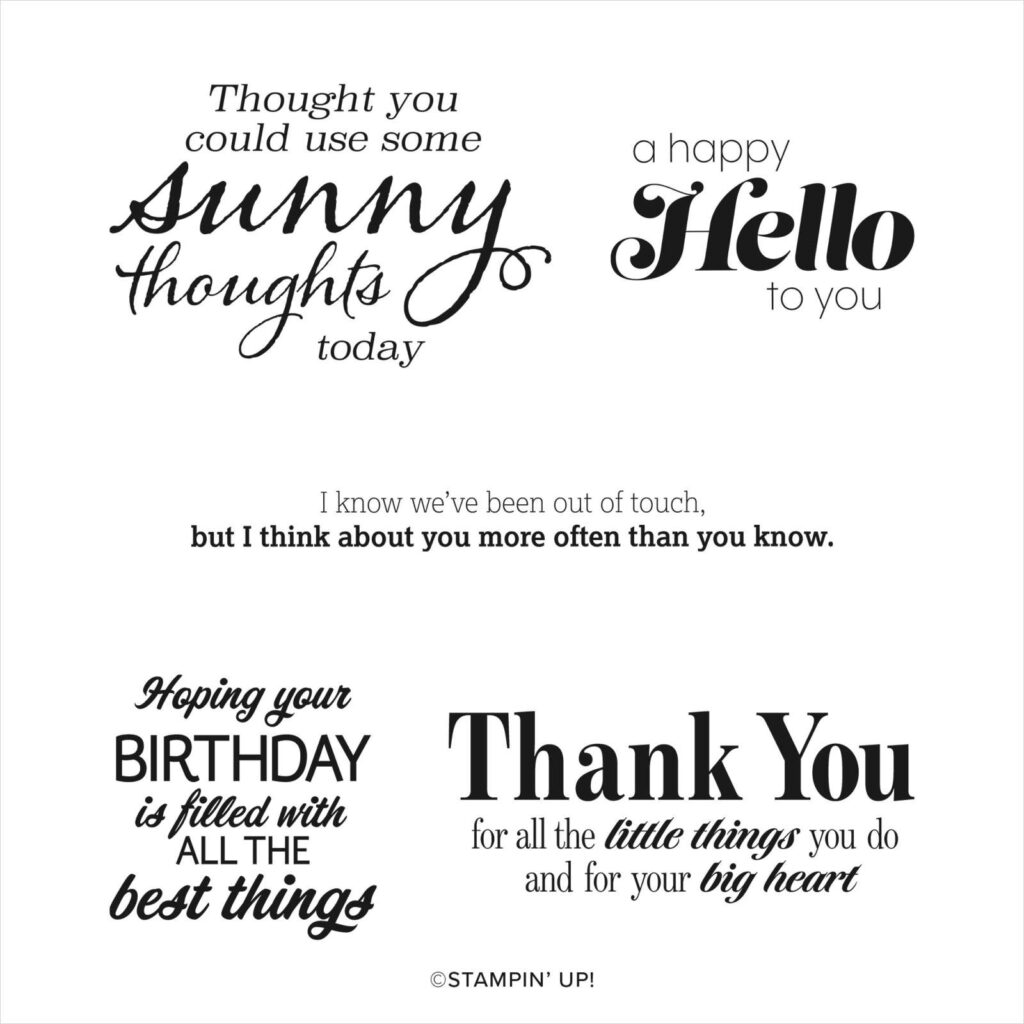
Take a closer look at the Sunny Sentiments Stamp Set.

Measurements

Full list of supplies needed, listed below. A die cutting machine is needed for this card.
Card Base: Basic White Thick Cardstock 5 1/2″ h x 8 1/2″ w folded to 5 1/2″ h x 4 1/4″ w
Background: Granny Apple Green Cardstock 5 1/4″ h x 4″ w
DSP Background:  Pattern Party Designer Series Paper 5 1/8″ h x 3 7/8″ w
DSP Strip: Pattern Party Designer Series Paper 5 1/4″ h x 3/4″ w
Sentiment Layer: Basic White Cardstock with the Stitched Shapes Dies.
Sentiment Matte: Flirty Flamingo Cardstock with the Stitched Shapes Dies.
Inside Layer (Optional): Basic White Cardstock 5 1/2″ h x 4 1/4″ w

Let’s Create

  1. Affix all stamps to Acrylic Blocks.
  2. Fold the Card Base in half using a Bone Folder to sharpen the crease.
  3. Use Stampin’ Seal to attach the Granny Apple Green Background to the Card Base.
  4. Use Stampin’ Seal to attach the DSP Strip to the DSP Background.
  5. Wrap the Flirty Flamingo Metallic ribbon around the DSP Background and tie a knot. Use a Mini Glue dot to hold in place if needed.
  6. Use Stampin’ Dimensionals to attach the DSP Background.
  7. Use Flirty Flamingo and Granny Apple Green Stampin’ Write Markers to add ink to the Sentiment and stamp on the Basic White Sentiment Layer.
  8. Use Stampin’ Dimensionals to attach the Sentiment to the Flirty Flamingo Sentiment Matte and the Sentiment Matte to the DSP Background.
  9. Stamp the Inside Layer to your liking and attach with adhesive of your choice.
  10. Decorate your envelope
  11. Super Cute!!! Now go make someone’s day!

Shopping List

Stamper’s Toolkit

You will also need adhesive, acrylic blocks, scissors and other basic PaperCrafting items from the Stamper’s Toolkit

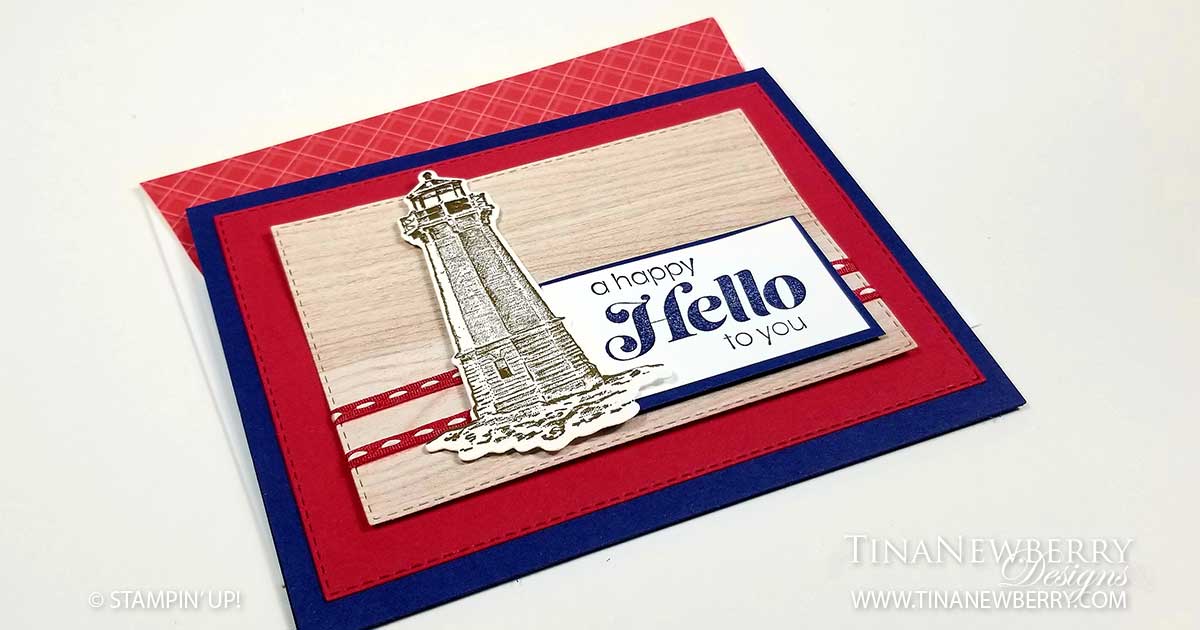
A Happy Hello To You

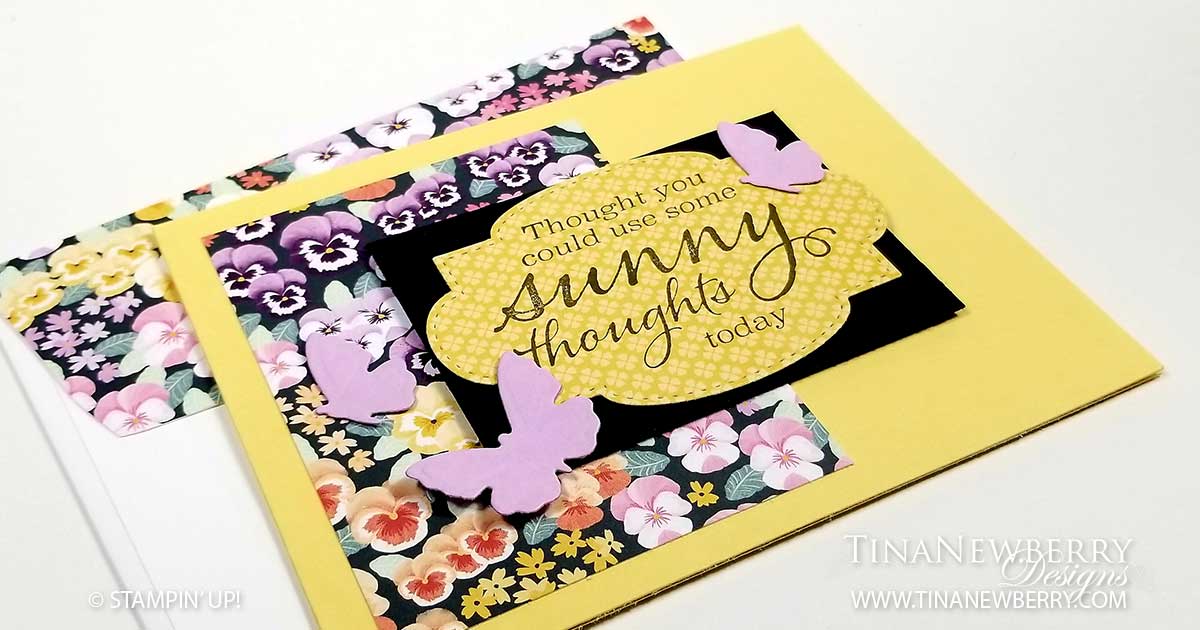
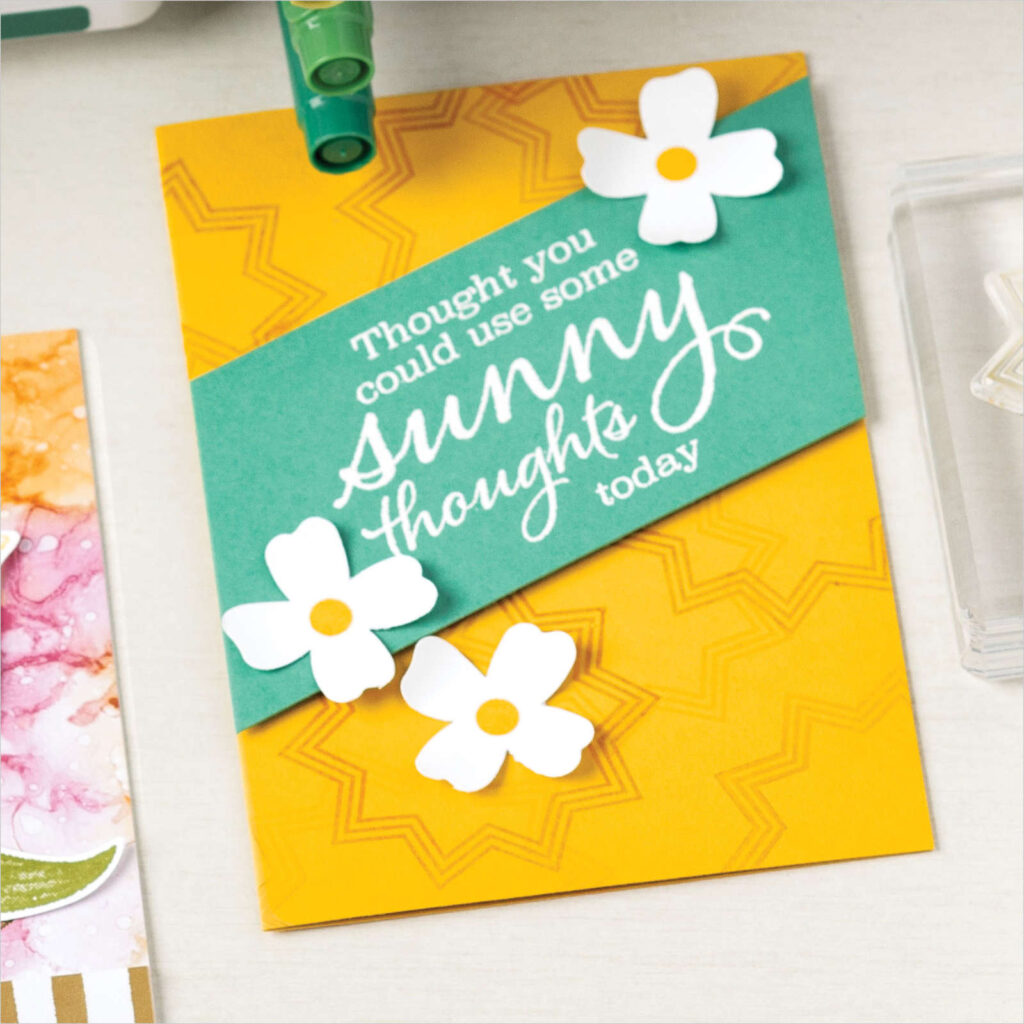
When I put a handmade card in the mail to someone I care about, I always feel like I’m sending a little bit of sunshine. It makes me so happy to brighten someone’s day with a bit of unexpected sunshine mail. The Sunny Sentiments stamp set from Stampin’ Up! is the perfect set to use for my happy mail. It’s sure to brighten my loved ones day with the cheery fonts and uplifting words.

Take a closer look at the Sunny Sentiments Stamp Set.

Measurements

Full list of supplies needed, listed below.
Card Base: Night of Navy Cardstock 8 1/2″ h x 5 1/2″ w folded to 4 1/4″ h x 5 1/2″ w
Background: Real Red Cardstock 3 3/4″ h x 5″ w with the Stitched Rectangles Die
DSP Background : In Good Taste Designer Series Paper 3″ h x 4 1/4″ w with the Stitched Rectangles Die
Sentiment Layer: Basic White Cardstock 1 1/4″ h x 2 1/4″ w
Sentiment Matte: Night of Navy Cardstock 1 1/2″ h x 2 1/2″ w
Inside Layer: Basic White Cardstock 4″ h x 5 1/4″ w

Let’s Create

  • Affix all stamps to Acrylic Blocks.
  • Fold the Card Base in half using a Bone Folder to sharpen the crease.
  • Use Stampin’ Seal to attach the Real Red Background.
  • Wrap the Good Taste Woodgrain DSP Background with Playful Pets Real Red Trim and secure ends in the back with Tear N Tape.
  • Use Dimensionals to attach the In Good Taste Woodgrain DSP Background.
  • On a scrap piece of Basic White Cardstock, stamp the Lighthouse from the Sailing Home Stamp Set in Crumb Cake ink and die cut out using the Smooth Sailing dies.
  • Stamp the Sentiment in Night of Navy Ink on the Sentiment Layer and use Stampin’ Seal to attach to the Night of Navy Sentiment Matte.
  • Attach the Lighthouse and Sentiment with Stampin’ Dimensionals.
  • Stamp your inside sentiment and attach.
  • Decorate your envelope.
  • Ta da!! Now put it in the mail.

Shopping List

Stamper’s Toolkit

You will also need adhesive, acrylic blocks, scissors and other basic PaperCrafting items from the Stamper’s Toolkit

Simple Stamping with Delicate Dahlias

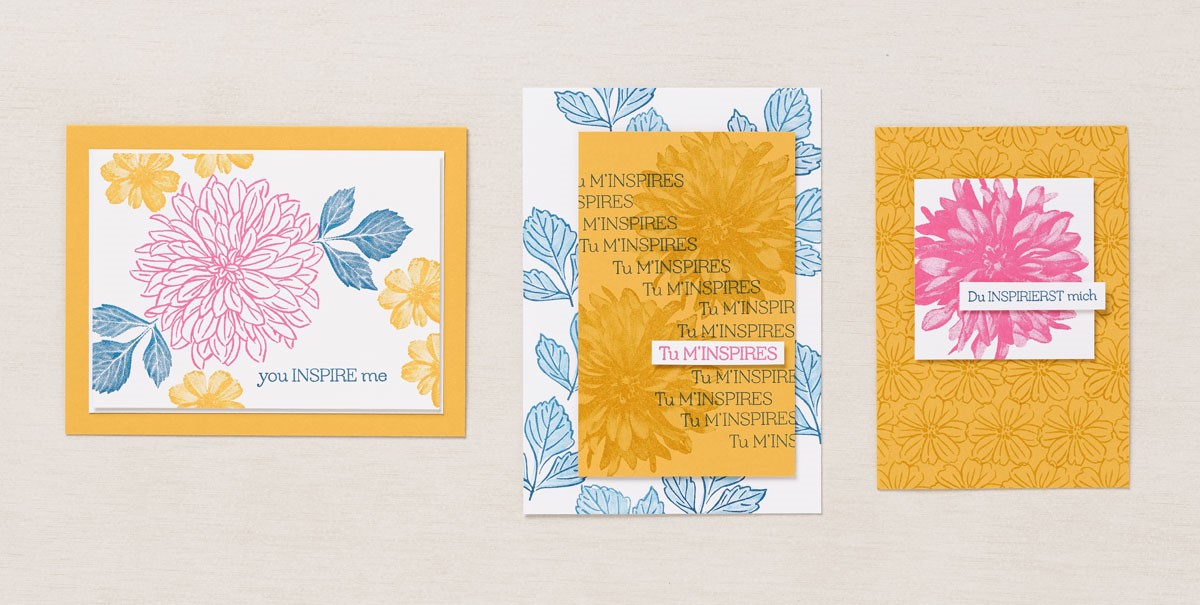
You may want to imagine these dahlia images as dinner plate-sized blooms—because that’s how big some varieties grow in real life. They add instant beauty to any garden landscape with their candy colors, and because these flowers bloom into September in the Northern hemisphere, they can be stamped with abandon to create cards in warm autumn tones. 

This month’s “simple stamping” projects were a cinch!

  • You Inspire Me Card: Add a layer of Basic White Cardstock behind the stamped panel for extra dimension and pop. 
  • Du inspirierst mich Card: Stamp the line art flower multiple times to create a fantastic, intricate-looking background pattern.
  • Tu m’inspires Card: Stamp off Pacific Point ink to achieve lighter and darker tones for the Distinktive two-step image.

The simple stamping options are effortlessly blooming—and endless!

If you’re looking for gorgeous florals to add to your stamp collection, the Delicate Dahlias Sale-A-Bration Stamp Set is an excellent choice. And with just a $100 order, you can get this two-step Distinktive stamp set for FREE. Distinktive stamp sets are my FAVE!