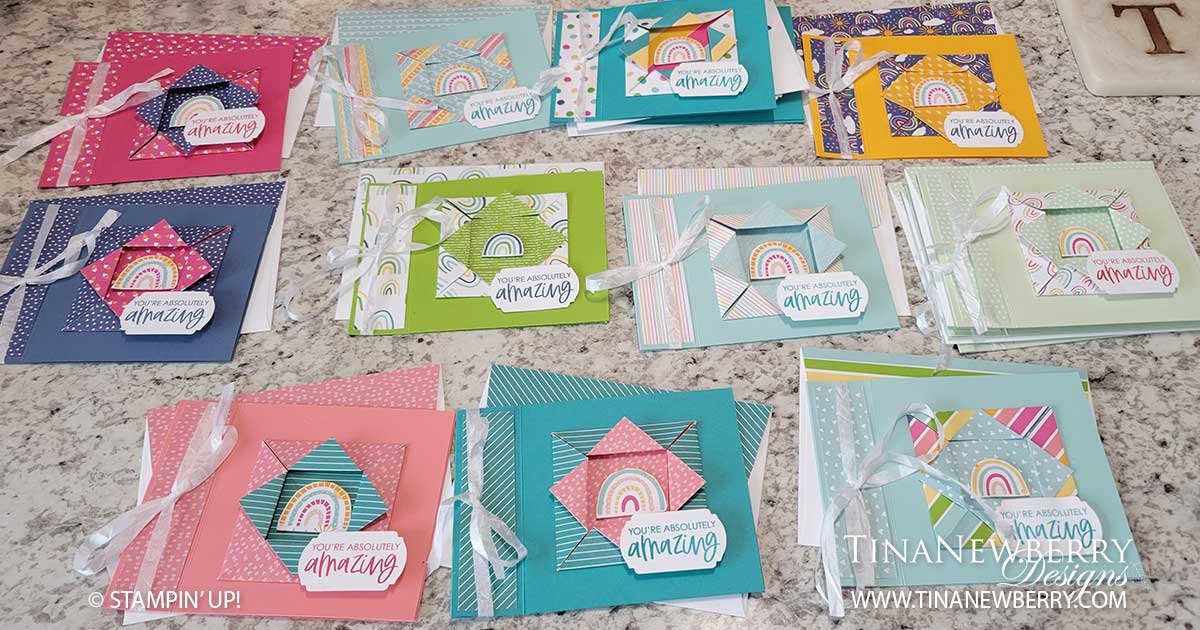
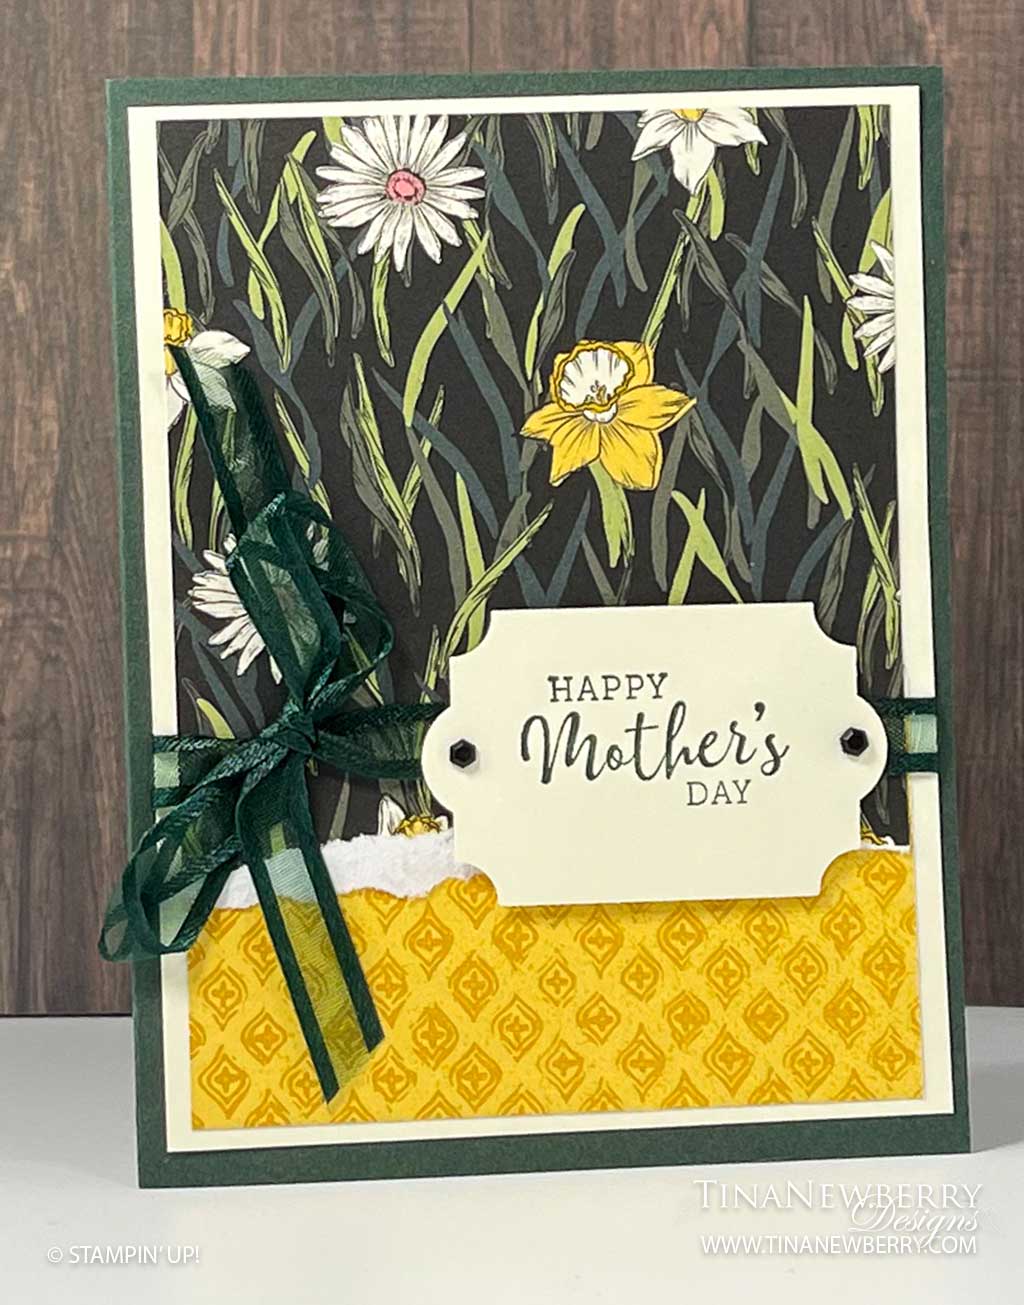
Free Sunshine & Rainbows paper makes fun and cheery cards for nurses! ![]() I’m loving this book binding fold card combined with the square origami fold Kathy C. turned me on to. Shows off both sides of this pretty paper
I’m loving this book binding fold card combined with the square origami fold Kathy C. turned me on to. Shows off both sides of this pretty paper![]()
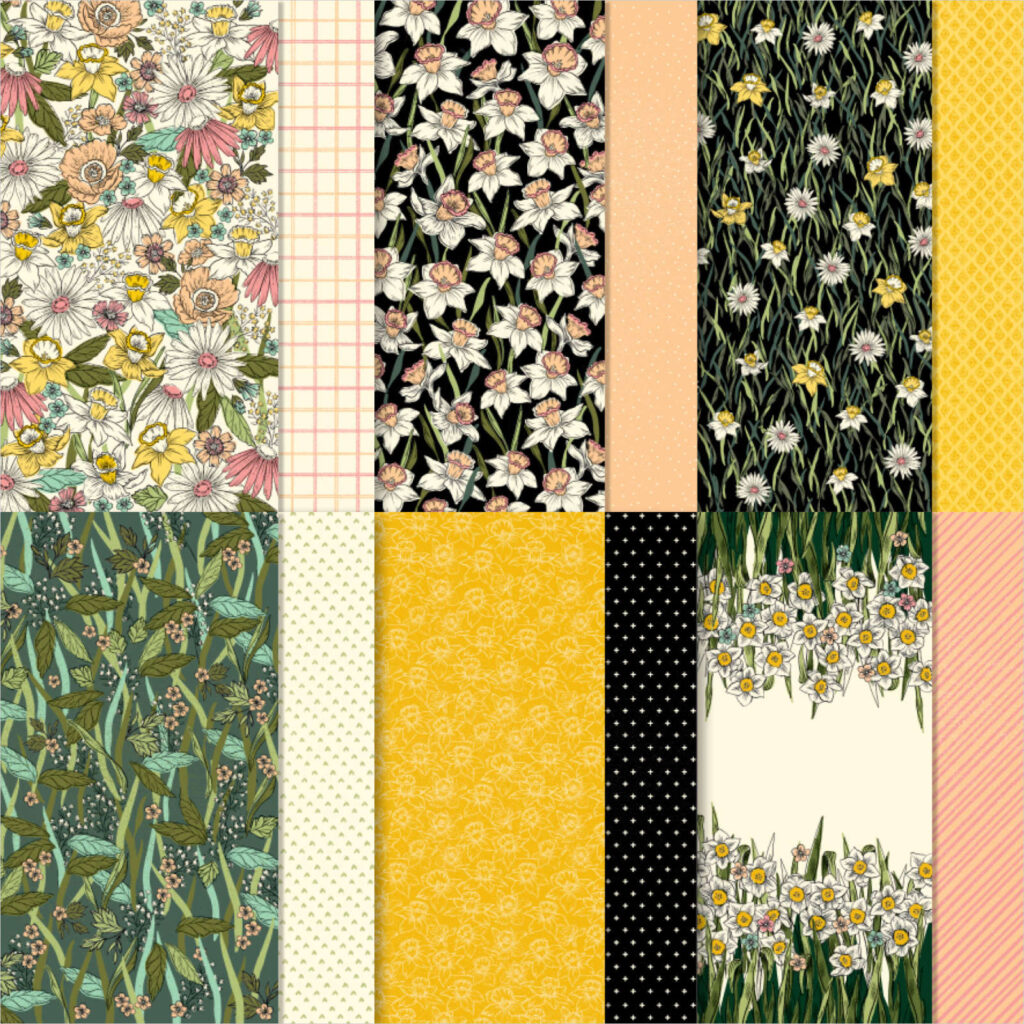
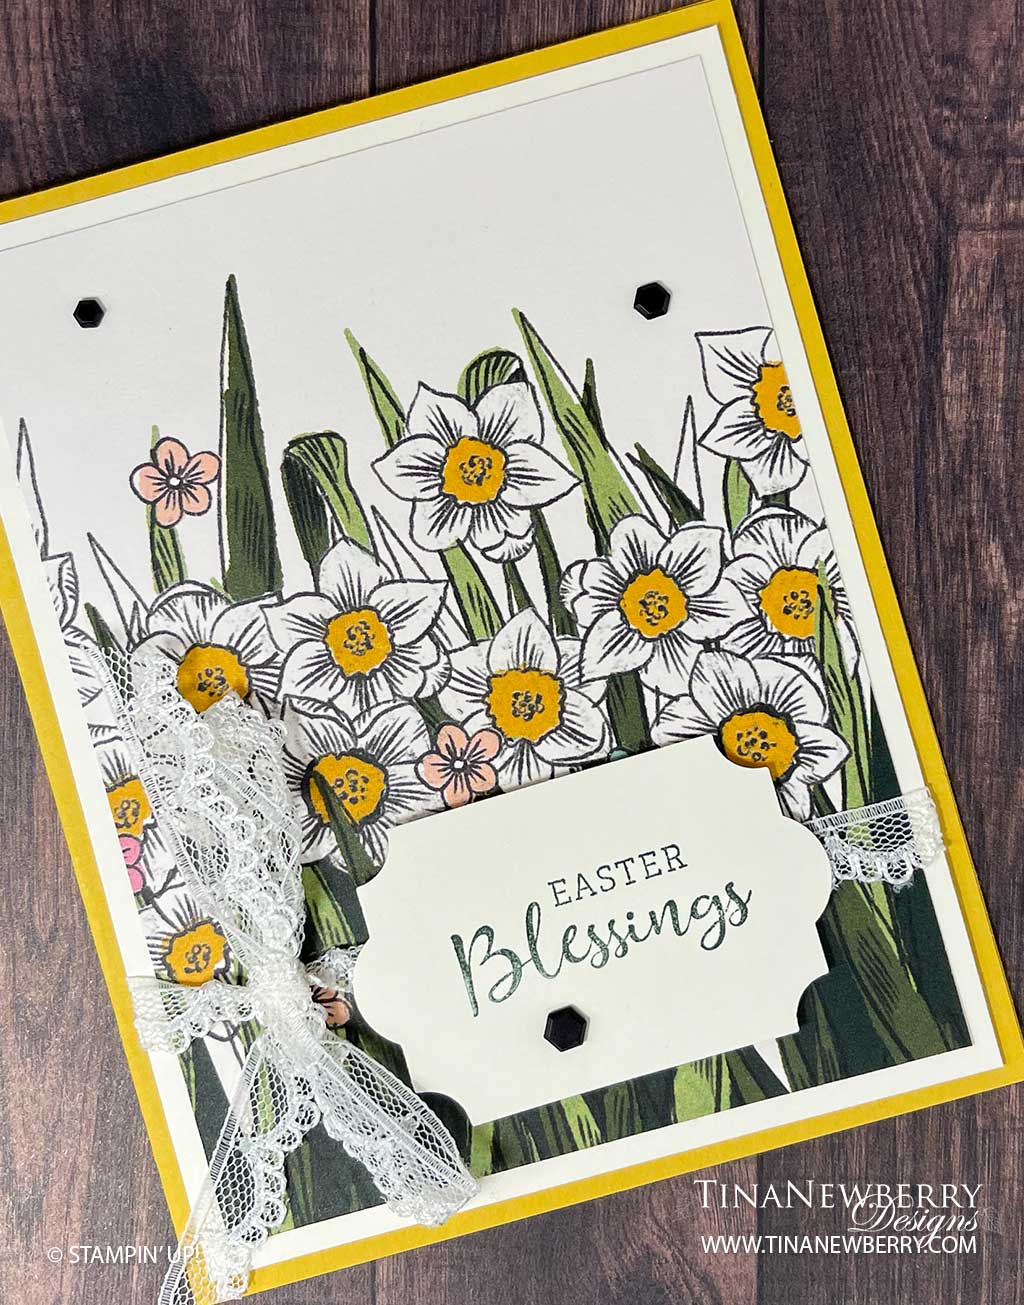
![]() The Sunshine & Rainbows paper is a Sale-a-bration rewards item and is free with your $50+ order in my online store before February 28, 2022. As an added bonus, use host code DAY27ZM6 when you check out and I’ll send you a pack of Blue Adhesive Backed Shapes (ships seperately from your $50 order), as my Thank You to Y-O-U for your order.
The Sunshine & Rainbows paper is a Sale-a-bration rewards item and is free with your $50+ order in my online store before February 28, 2022. As an added bonus, use host code DAY27ZM6 when you check out and I’ll send you a pack of Blue Adhesive Backed Shapes (ships seperately from your $50 order), as my Thank You to Y-O-U for your order.
Measurements
Full list of supplies needed, listed below. A die cutting machine is needed for this card.
Card Base: Your Choice of Cardstock (see Shopping List and video below for the colors I used) 4 1/4″ h x 11″ w scored on the long-side at 4 1/4″ and 5 1/2″
Origami Square: Sunshine & Rainbows Sale-a-bration Paper 4″ x 4″
Binding Piece: Sunshine & Rainbows Sale-a-bration Paper 4″ h x 1 1/2″ w 1″ (I used scraps from Origami Square to coordinate)
Sentiment Layer: Basic White scrap
Inside Layer: 4″ x 4″ Basic White
Let’s Create
- Affix all stamps to Acrylic Blocks.
- Fold the Card Base in half using a Bone Folder to sharpen the crease. Then fold on the 4 1/4″ mark and use a Bone Folder to sharpen that crease.
- Make the Book Binding: Use Stampin’ Seal to adhere the 4 1/4″ h x 1 1/2″ w part of the Card Base front to the Card Base back.
- Use Stampin’ Seal to adhere the Binding Piece of Sunshine & Rainbows paper to the Book Binding part of the front.
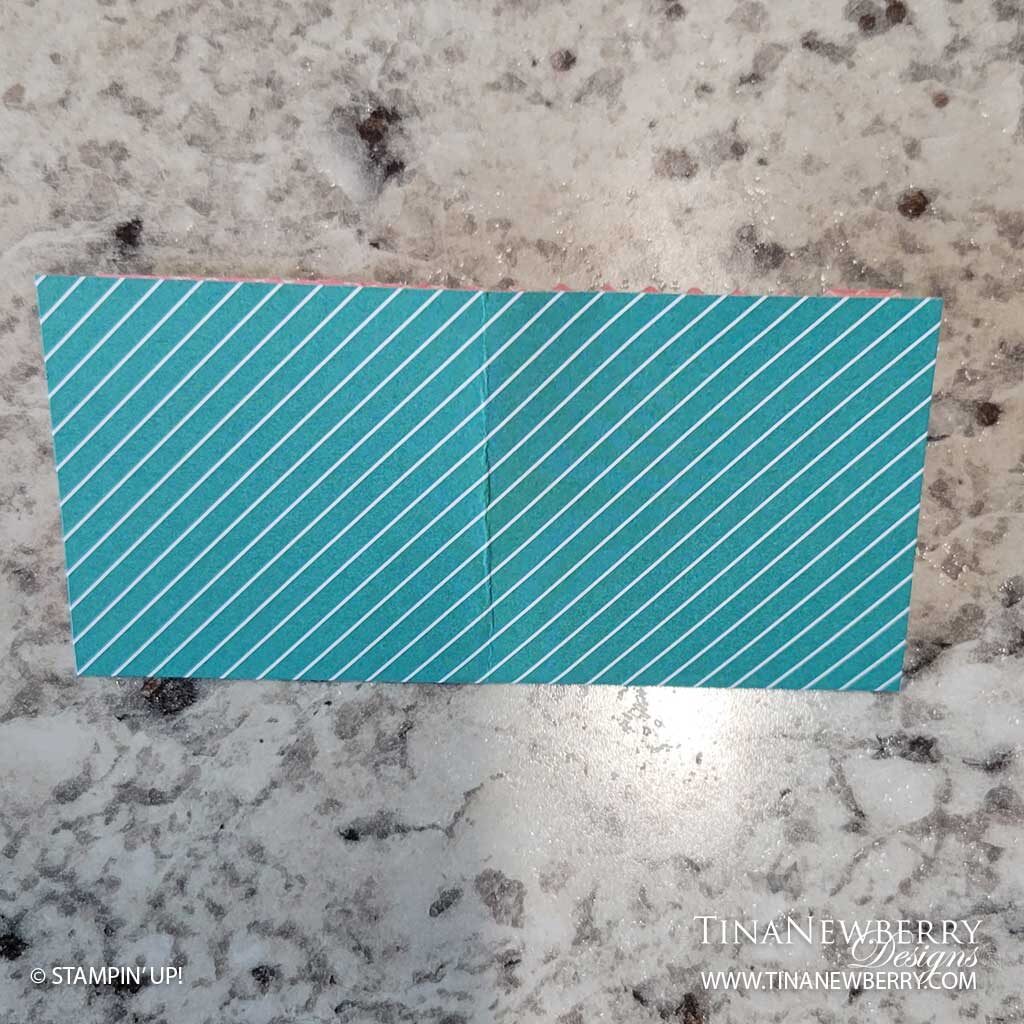
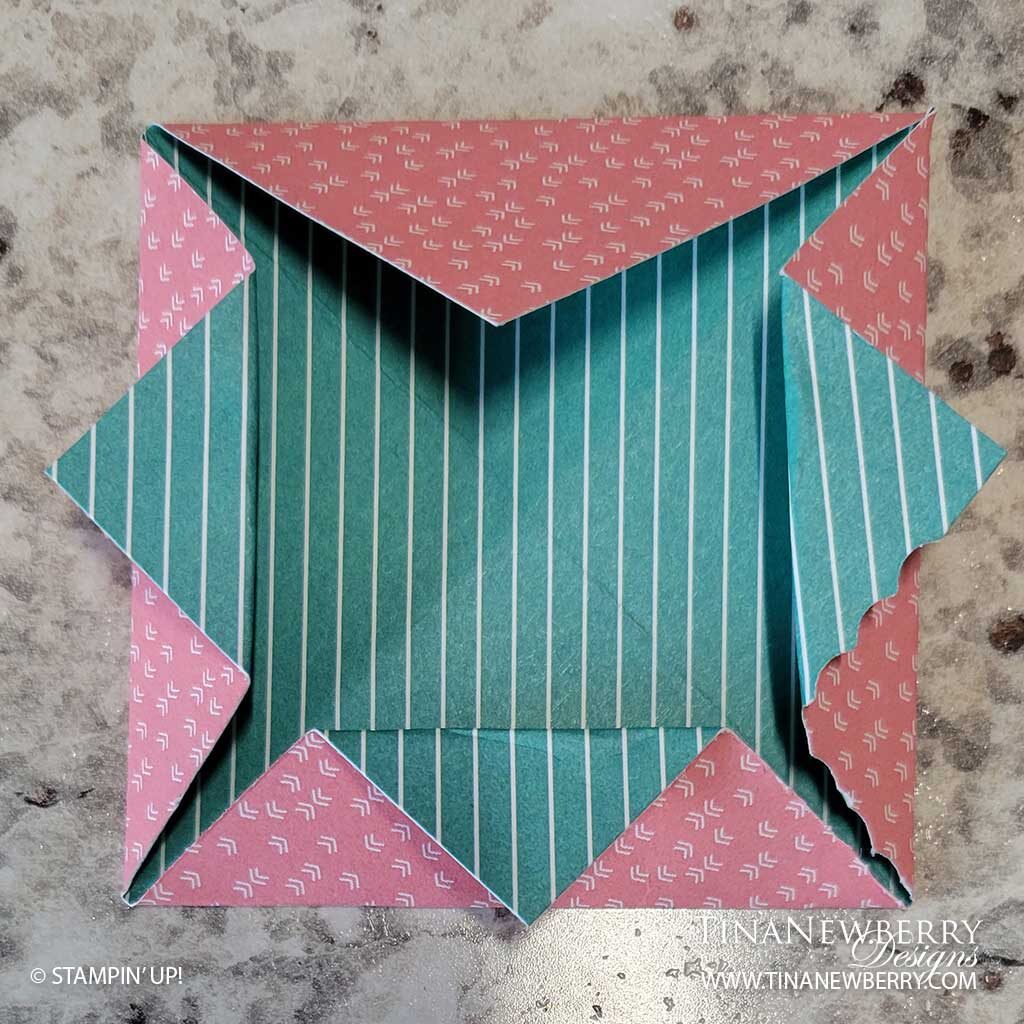
- Make the Origami Square:
- Fold the 4″ x 4″ piece of Sunshine in Rainbows Paper in half. Then unfold it.
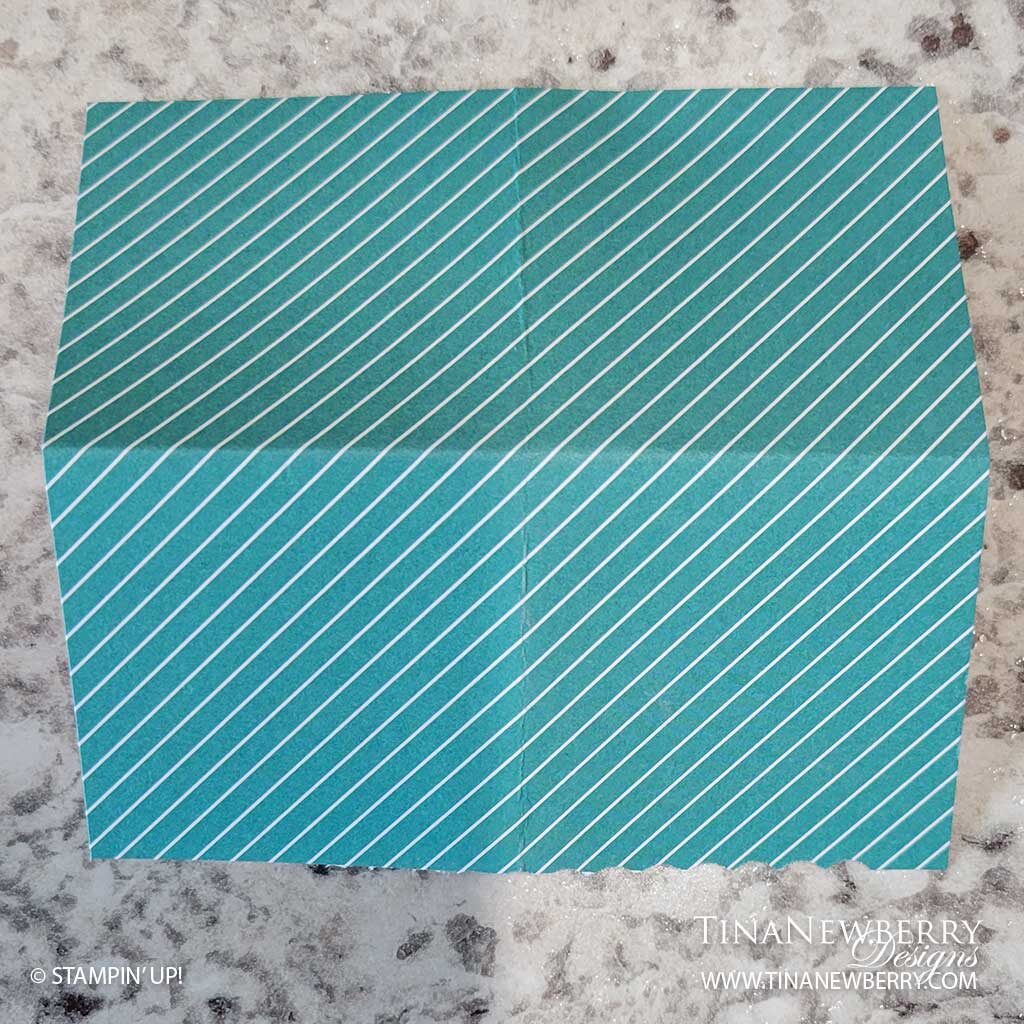
- Turn and fold in half the other way. Then unfold it.
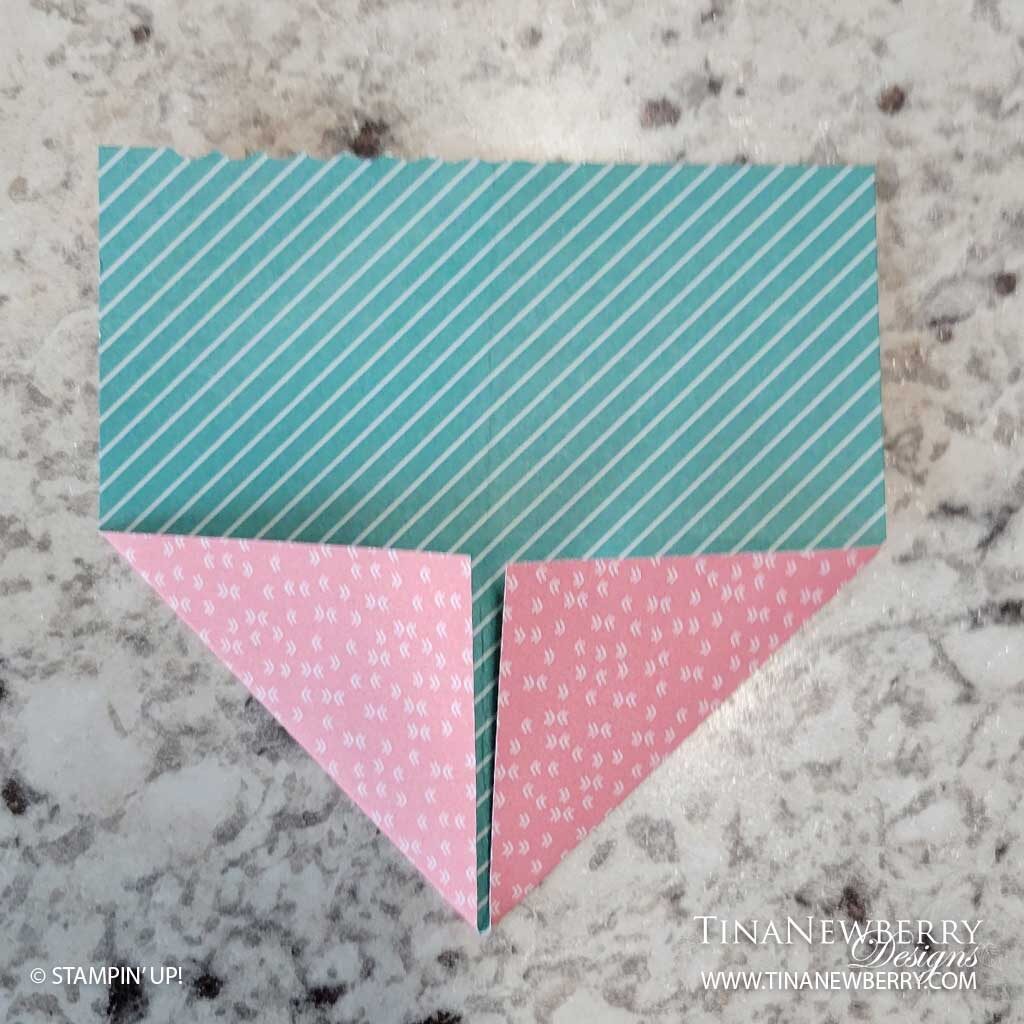
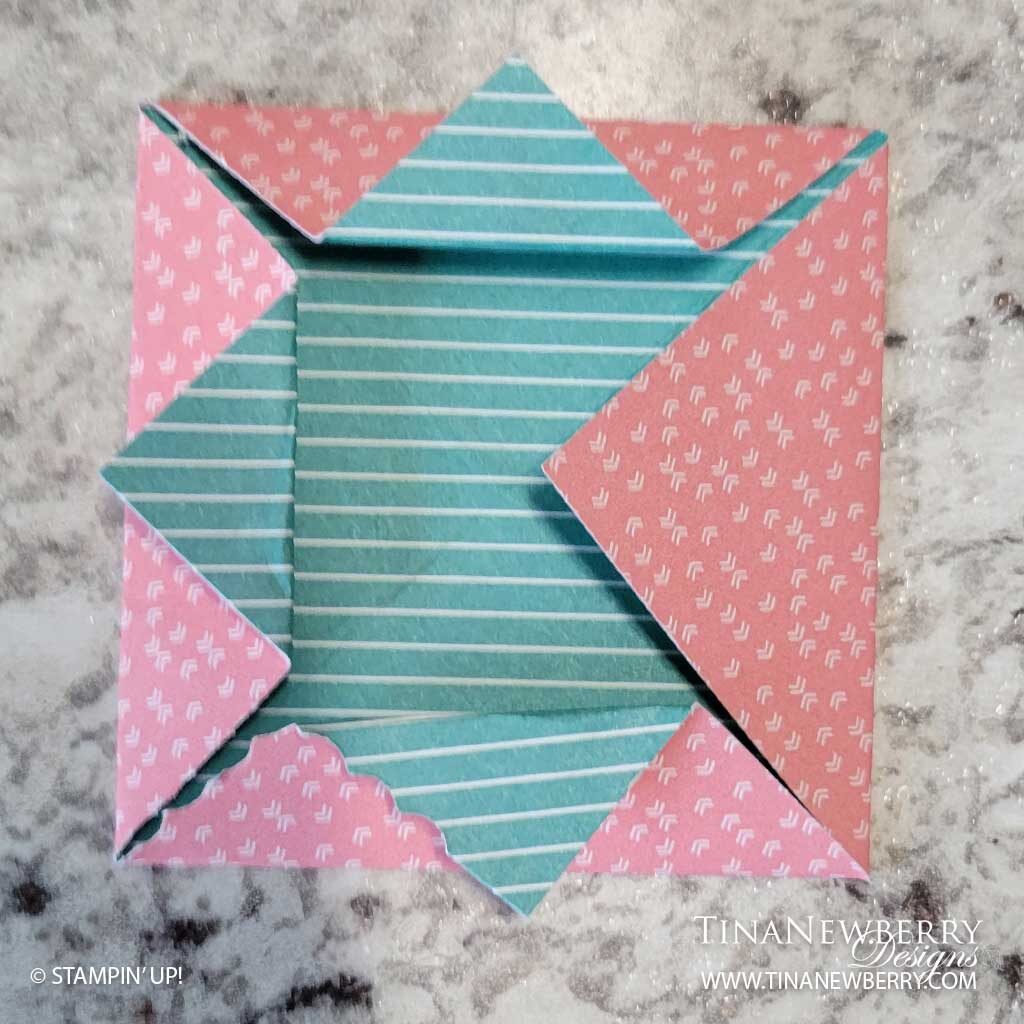
- Fold each corner up to the center where there are crease marks from the two folds you made previously. Repeat until all corners are folded in. Then fold each corner tip, back on itself. See pictures.

- Use Paper Snips to fussy cut a Rainbow from the Sunshine & Rainbows paper.
- Attach Rainbow to center of Origami Square with a Stampin’ Dimensional.
- Use Stampin’ Seal to attach Origami Square to front of card.
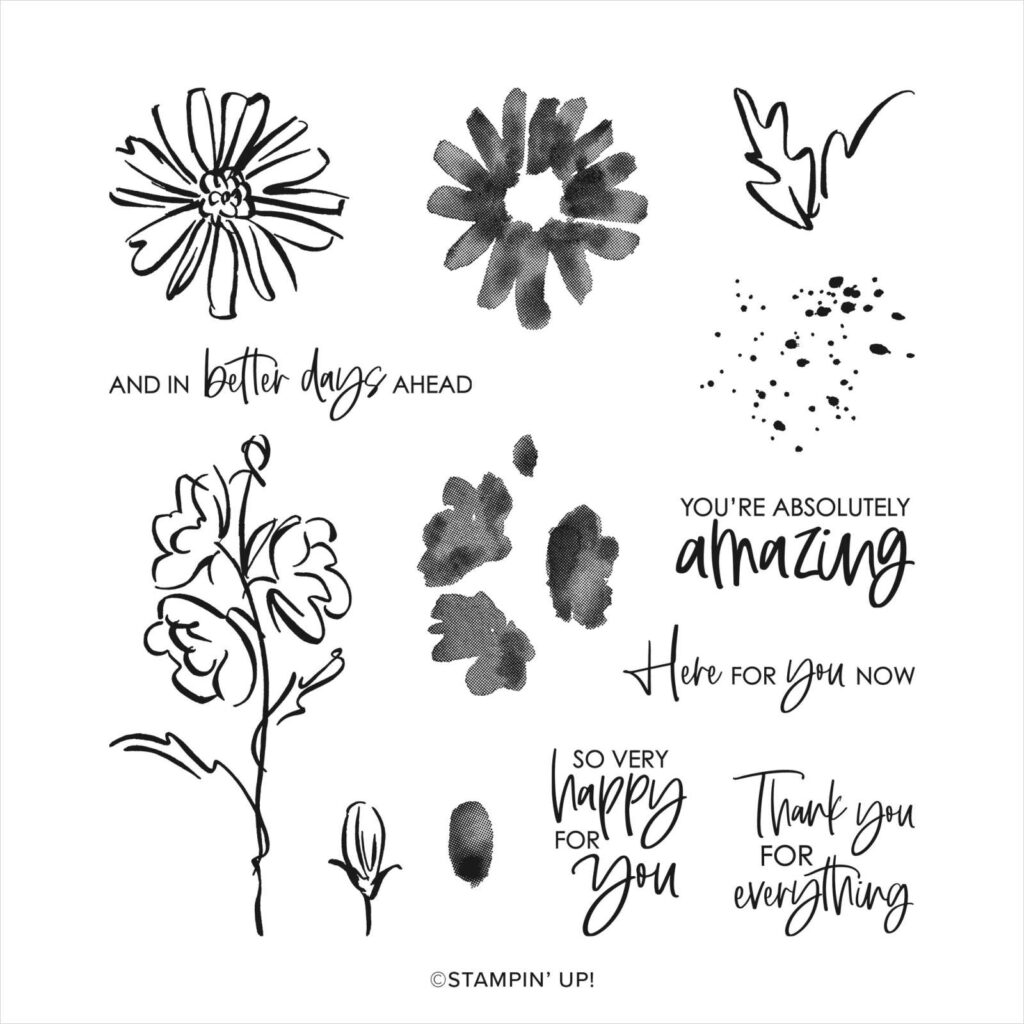
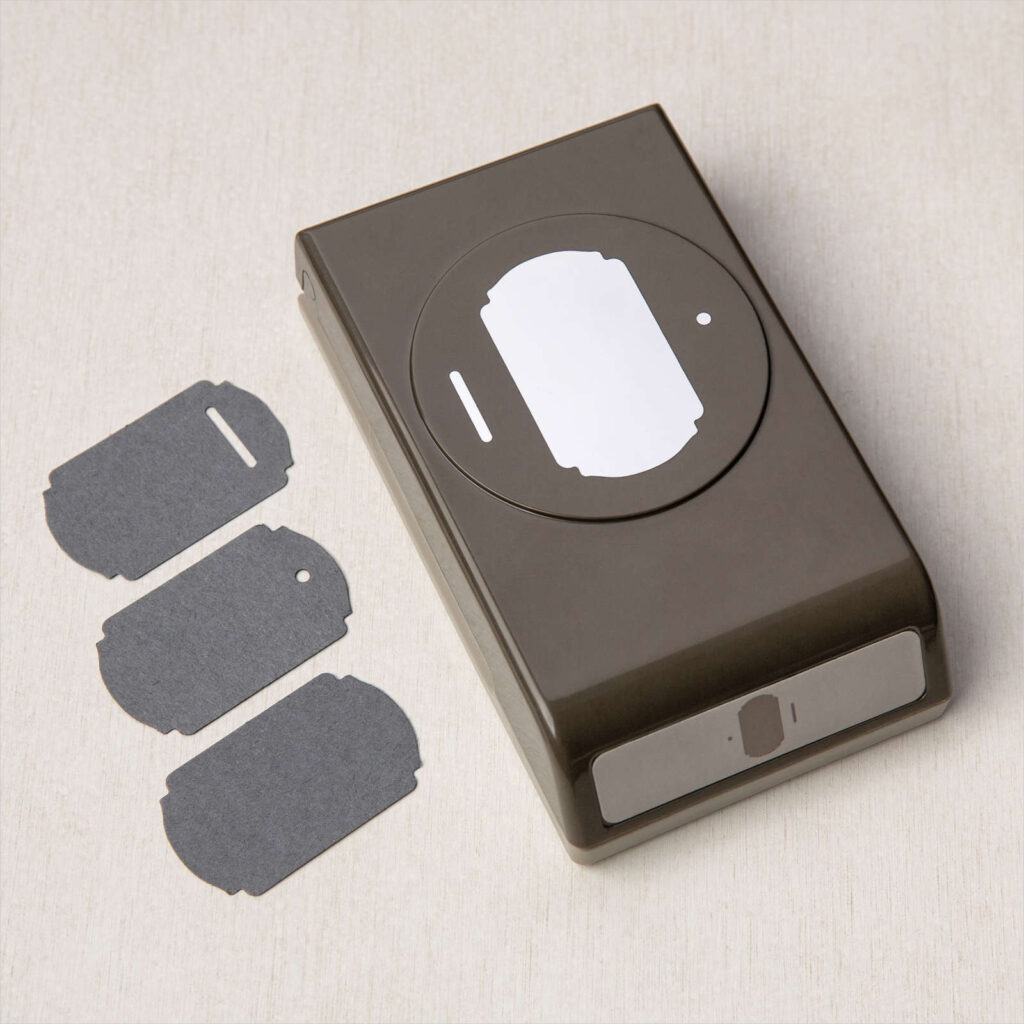
- Stamp Sentiment from Color & Contour Stamp Set in coordinating ink color on Basic White scrap and then punch out with the Label Me Fancy Punch.
- Attach Sentiment to one of the Origami Square Flaps. Since the Origami Square is 3-D and will get smushed flat when you put it in the envelope, if you attach the Sentiment to two flaps, or the base, it will not flatten correctly in the envelope and will possibly create an additional crease causing your card to not sit correctly when removed from the envelope.
- Wrap Crinkle Seam Binding around the Book Binding and secure with a bow.
- Stamp and decorate the inside and attach with Stampin’ Seal.
- Decorate your envelope.
- So cute! Now send it to someone special.
FREE Sale-a-bration Paper
Get this free paper for this project through Feb 28th during Sale-a-bration when you place an order of $50 or more.
 Designer Series Paper")
Shopping List


 Crinkled Seam Binding Ribbon")

Recommended Stamper’s Toolkit
Product List


 Designer Series Paper")

 Open Weave Ribbon")


")


 Scalloped Lace Trim")
")


")
 Host Designer Series Paper")


 Shimmer Ribbon")