Say Thank You Over A PaperCrafted Cup Of Tea

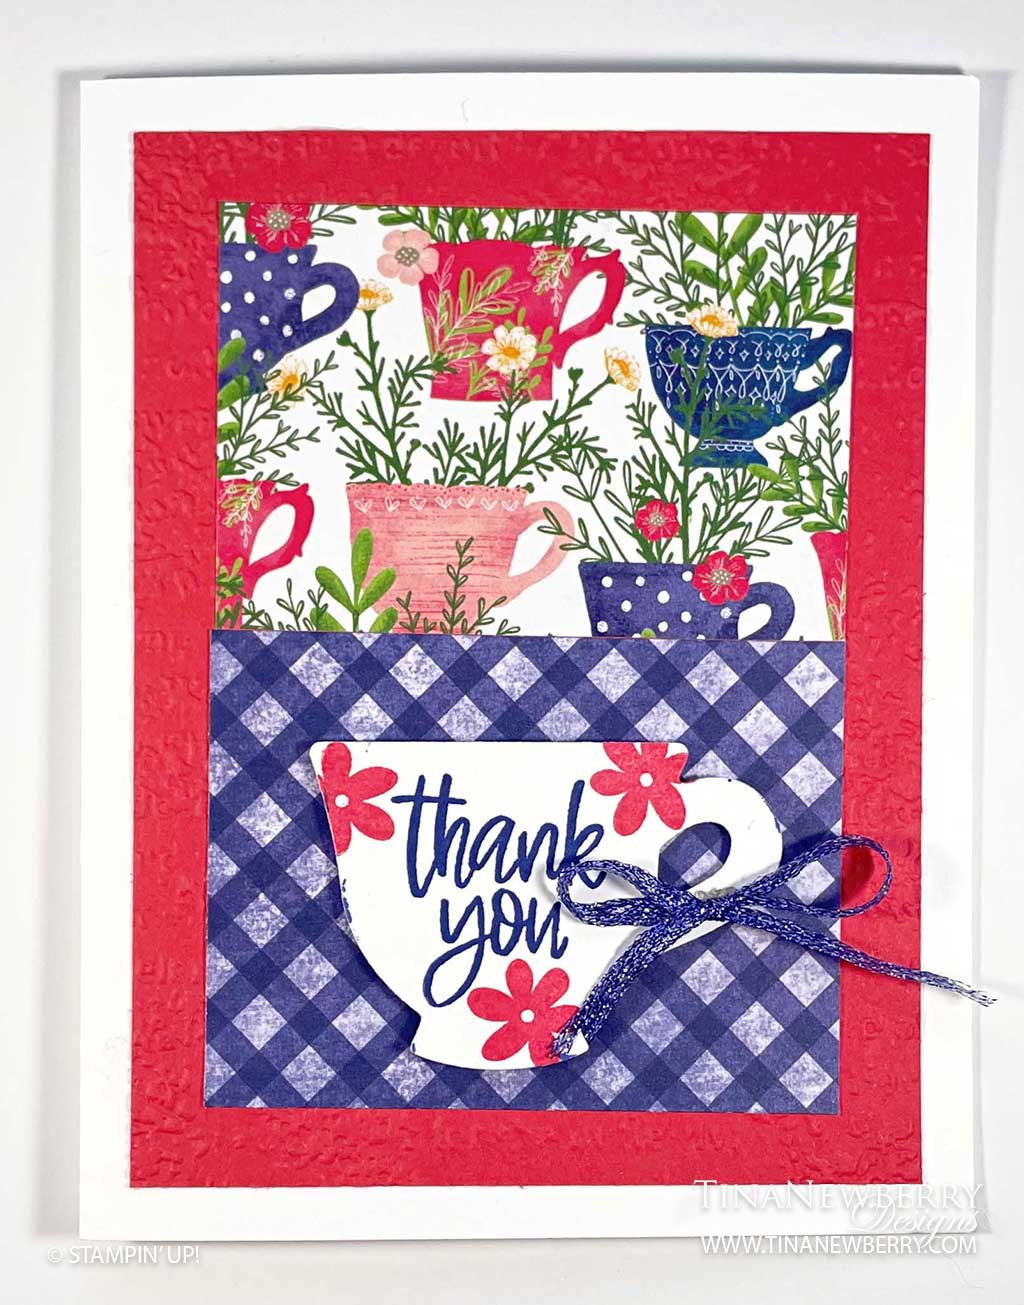
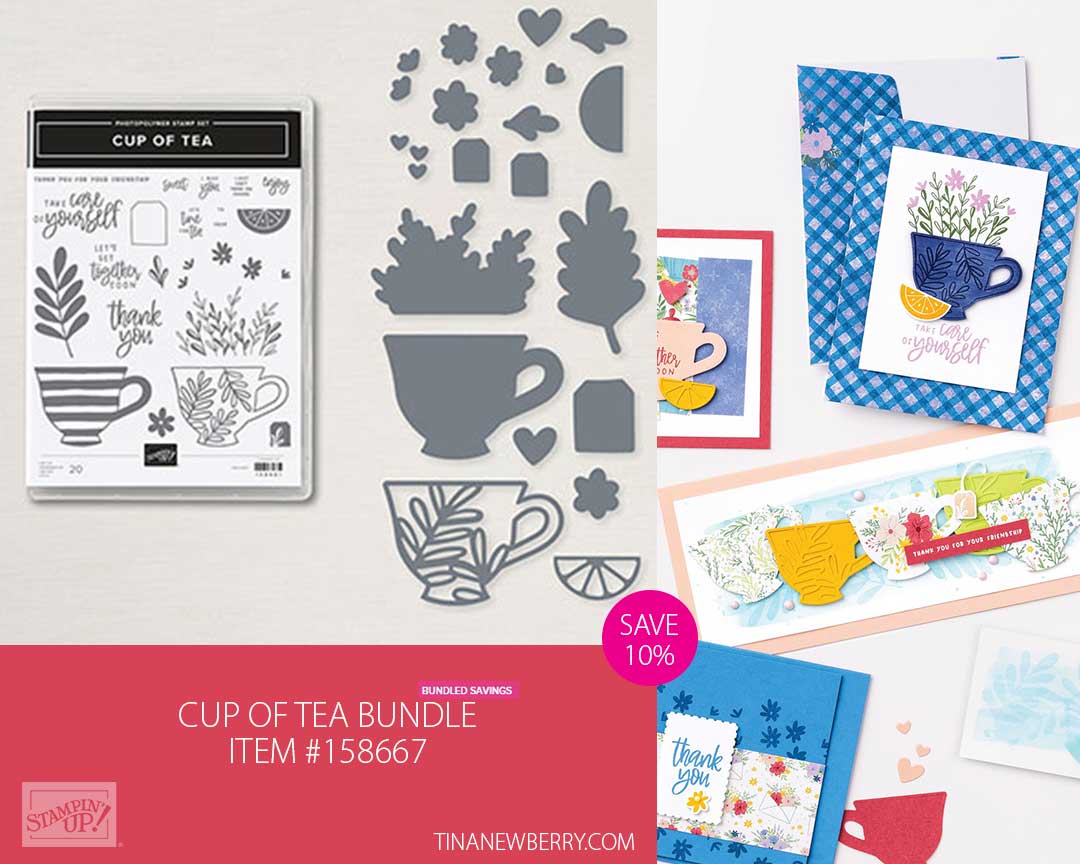
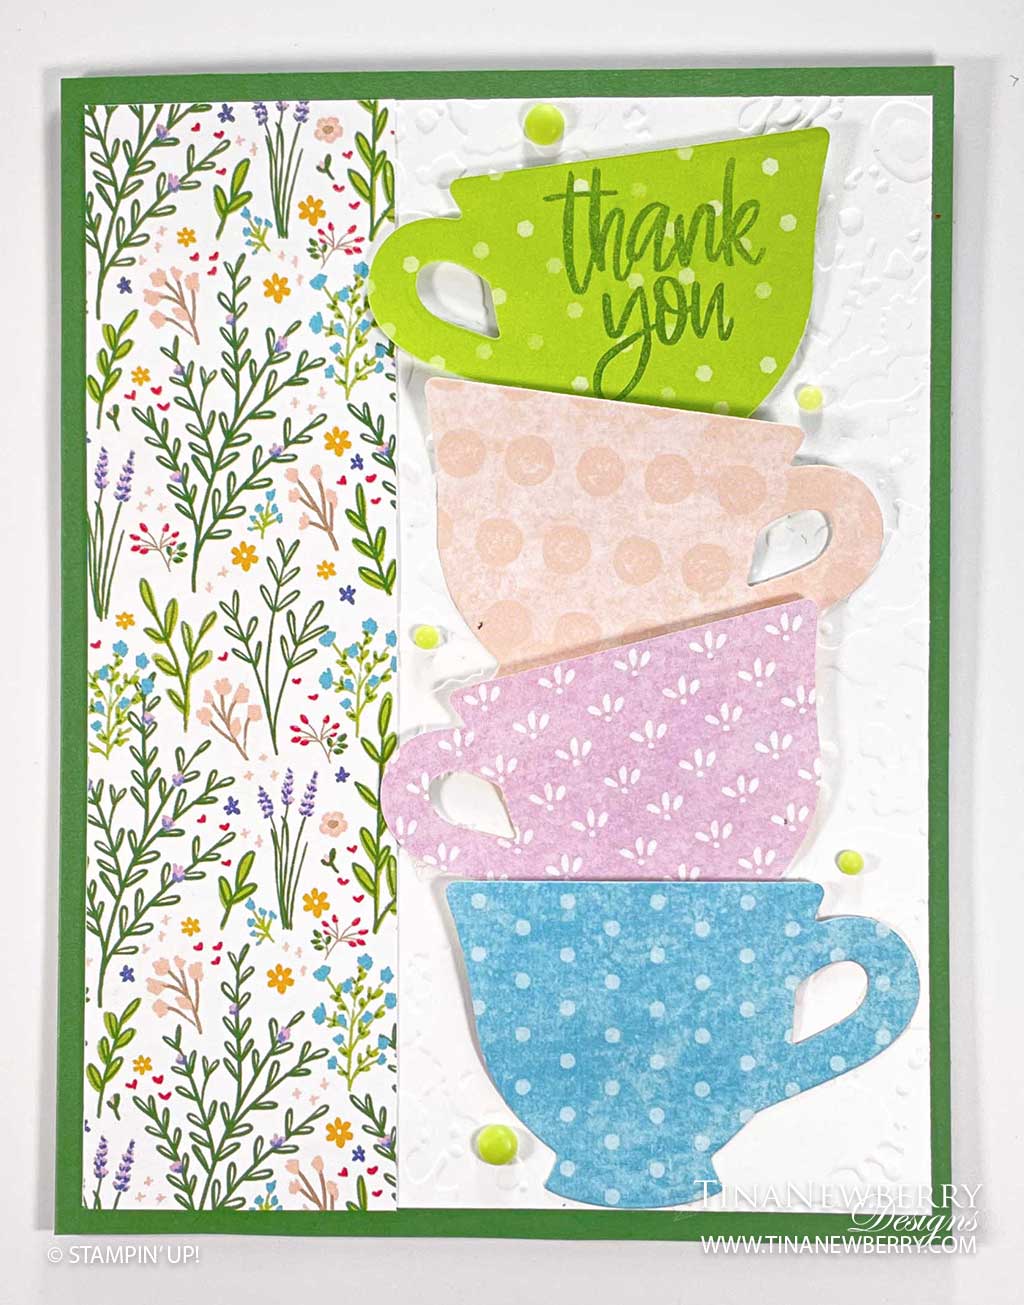
Create your own porcelain tea cup design using the flowers in the Cup of Tea stamp set and the tea cup die. And then accent with coordinating patterned papet. What will you create?

Cup of Tea Bundle – Save 10% when you buy the stamp set and coordinating dies

Measurements

Full list of supplies needed, listed below. A die cutting machine is needed for this card.

Thick Basic White Cardstock: 5 ½” h  x  8 ½” w score and folded on the long-side at 5 ½” h x 4 ¼” w for the card base.

Sweet Sorbet Cardstock: 5” h x 3 ¾” w

Tea Boutique Designer Series Paper:

  • 2” h x 3” w
  • 2 ¼” h x 3” w

Basic White Cardstock: scrap 3” h x 3” w

Let’s Create

  1. Affix all stamps to Acrylic Blocks.
  2. Fold the Card Base in half using a Bone Folder to sharpen the crease.
  3. Emboss the Sweet Sorbet card stock layer with the Timeworn Type 3D Embossing Folder.  Adhere this layer onto the front of the card base with Stampin’ Seal.
  4. Use Stampin’ Seal to adhere the Tea Boutique Designer Series Paper layers onto the embossed Sweet Sorbet layer.
  5. Die cut the tea cup shape from Basic White card stock.
  6. Stamp the sentiment onto the tea cup with Starry Sky Stampin’ Pad.
  7. Stamp the flowers around the sentiment with Sweet Sorbet Stampin’ Pad.
  8. Use Dimensionals to adhere the tea cup onto the card front.
  9. Tie a bow with the Starry Sky 1/8” (3.2 Mm) Metallic Woven Ribbon and adhere it onto the tea cup with a Mini Glue Dot.
  10. Stamp and decorate the inside and attach with Stampin’ Seal.
  11. Decorate your envelope. Cut a 2 ¼” h x 6” w piece of Tea Boutique Designer Series Paper, adhere this onto the back flap of the envelope.  Use your scissors to trim off any excess paper edges.
  12. Love it! Now send it to someone special.

Shopping List

Recommended Stamper’s Toolkit

Product List
Order online from the convenience of your own home or send me your order and I’ll take care of you. ❤ Either way, please use the host code ANTD9UHS. Order online AND, if your order is $50 or more using host code ANTD9UHS between now and the end of the month you’ll receive a free pack of embellishment as a THANK YOU gift from me. ❤ If your order is over $150, skip the host code, earn Stampin’ Rewards for free stuff yourself and I’ll still send you a free pack of embellishment as a THANK YOU gift from me. ❤

Cup of Tea Thank You Card

Aren’t these little tea cups adorable in fun prints? Such cheery colors. This thank you card comes together quickly with the tea cup die and the Tea Boutique Designer Series Paper bringing the fun patterns.

Cup of Tea Bundle – Save 10% when you buy the stamp set and coordinating dies

Measurements

Full list of supplies needed, listed below. A die cutting machine is needed for this card.

Garden Green Cardstock: 5 ½” h  x  8 ½” w folded to 5 ½” h x 4 ¼” w for card base

Basic White Cardstock:  5 ¼” h x 4 w

Tea Boutique Designer Series Paper (DSP):

  • 5 ¼” h x 1 ½” w
  • Scraps from 4 coordinating colors for Tea Cups

Let’s Create

  1. Affix all stamps to Acrylic Blocks.
  2. Fold the Card Base in half using a Bone Folder to sharpen the crease.
  3. Use the Splatters 3 D Embossing Folder to emboss the Basic White card stock layer.  Part of the card stock will not be embossed and that is okay as it will be covered and not visible.
  4. Use Stampin’ Seal to adhere the embossed Basic White layer onto the front of the card base.
  5. Use Stampin’ Seal to adhere the Tea Boutique Designer Series Paper layer onto the left hand side of the embossed Basic White layer.
  6. Die cut 4 tea cups from the Tea Boutique Designer Series Paper. You will use the back side of 2 tea cups, so select your prints accordingly that there are 2 backs and 2 fronts that will be 4 various prints
  7. Stamp the sentiment onto 1 tea cup with Garden Green Stampin’ Pad. 
  8. I used Dimensionals on the upper backsides of each tea cup and a Stampin’ Seal adhesive on the bottom edges of the cups.  This helps the cup look wider at the top, as it holds the next cup.  Lay them out to get the idea before using the adhesives, then adhere them.
  9. Embellish with the Parakeet Party 2022 2024 In Color Matte Decorative Dots, I used 5 Dots placed around the tea cups.
  10. Stamp and decorate the inside and attach with Stampin’ Seal.
  11. Stamp the envelope flap with flower images and Parakeet Party Stampin’ Pad. 
  12. So cheery! Who will you send it to?

Shopping List

Recommended Stamper’s Toolkit

Product List
Order online from the convenience of your own home or send me your order and I’ll take care of you. ❤ Either way, please use the host code ANTD9UHS. Order online AND, if your order is $50 or more using host code ANTD9UHS between now and the end of the month you’ll receive a free pack of embellishment as a THANK YOU gift from me. ❤ If your order is over $150, skip the host code, earn Stampin’ Rewards for free stuff yourself and I’ll still send you a free pack of embellishment as a THANK YOU gift from me. ❤

Simple Stamping

The joy we get from making cards is simple, but sometimes we can overcomplicate it by making over-the-top crafts that take hours to create. Sometimes a simple, no-frills card is best.

For our Hi, Sweet Friend card we kept it simple by using the Rectangle Postage Stamp Punch to create four fun rectangle shapes using Basic White and Subtles Cardstock. We love that the Subtles Cardstock allows us to play with more color while minimalizing the number of items we used for the card—simplicity at its finest! We adhered the rectangles to the card base using Mini Stampin’ Dimensionals and added Brushed Brass Butterflies to match the butterfly on the little girl’s nose. So cute!

Want to add more color to your card without using tons of products? Try using Stampin’ Write Markers! In our Nice to Have You by My Side card we used small, circular motions to add color and depth to our image, and we finished this card using Faux Sea Glass Shapes, which perfectly accent the trail.

For our Life is Better with Friends Like You card, we used Paper Snips Scissors to cut a V shape into Basic White Cardstock, creating a simple banner—no dies or punches necessary! With a stamped and colored image, a few embellishments, and some Baker’s Twine, this card is good to go!

Shopping List