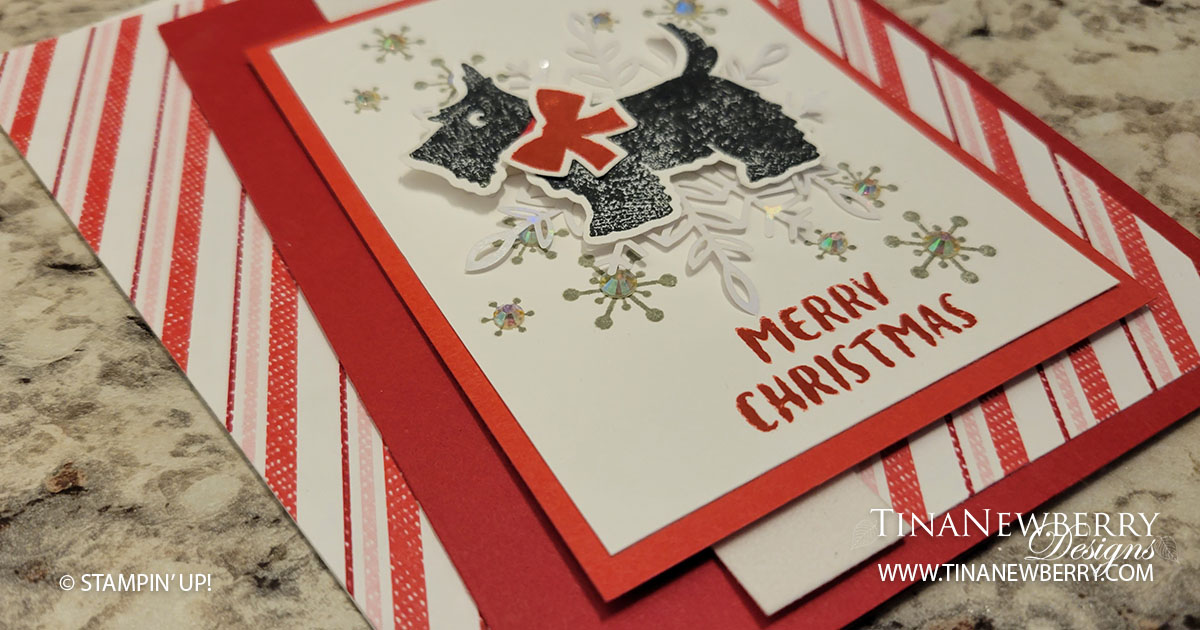
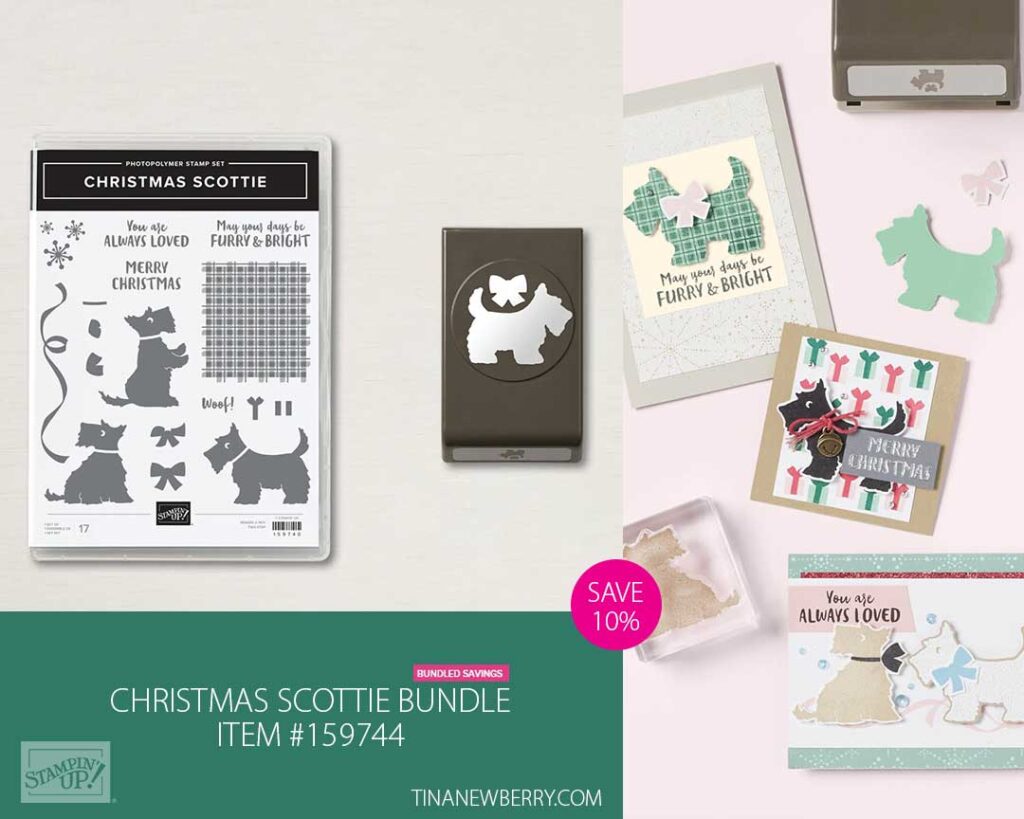
Everyone loves bling and texture! This card features both as well as a cheery pattern.
Measurements
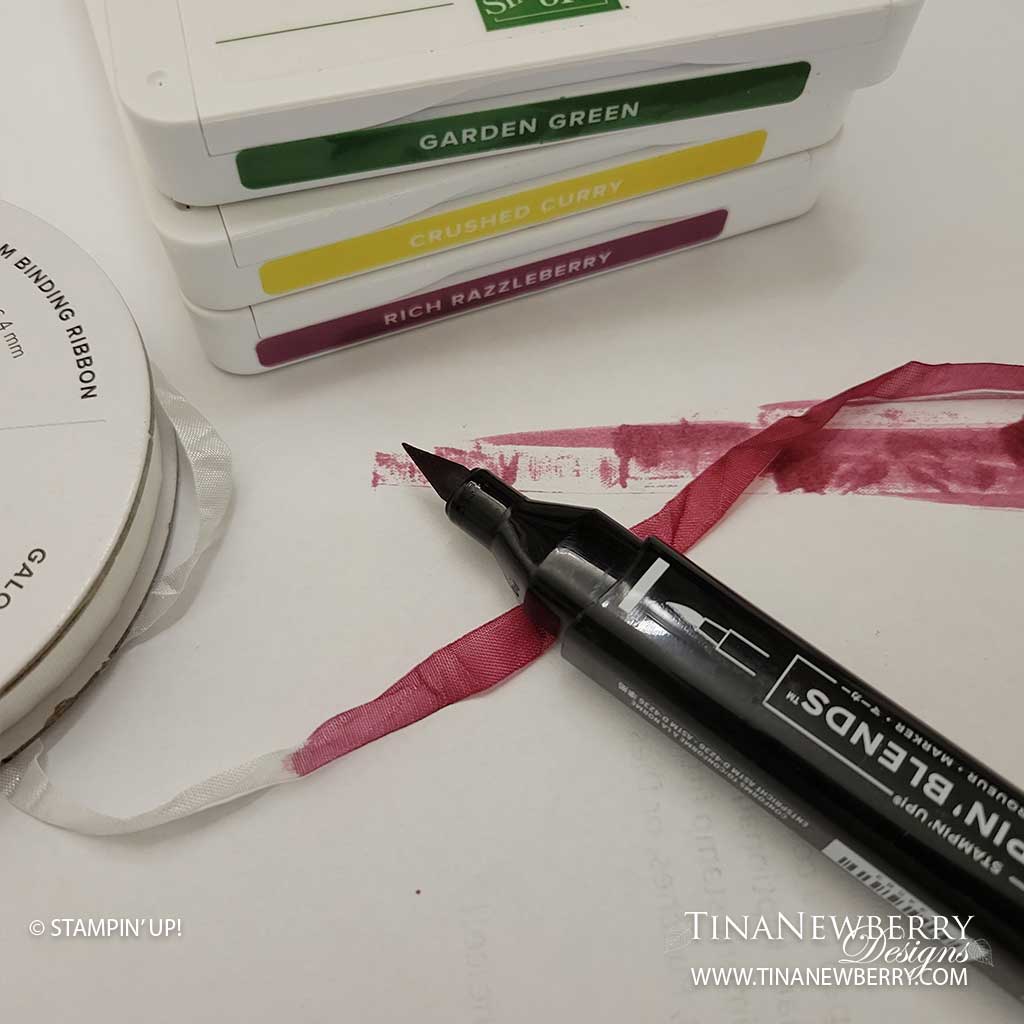
Full list of supplies needed, listed below. A die cutting machine is needed for this card.
Real Red Cardstock: 5 1/2″ h x 8 1/2″ w scored and folded on the long-side to 4 1/4″ w
Basic White Cardstock:
- 5 ¼” h x 4” w for inside
- 4” h x 3” w
- Scrap for Scottie
Sweet Sorbet Cardstock: 4 ¼” h x 3 ¼” w
Sweetest Christmas Designer Series Paper (DSP): 5 ¼” h x 2 ½” w
Snowy White Velvet Sheets: 5 ¼” h x ¾” w
Let’s Create
- Affix all stamps to Acrylic Blocks.
- Fold the Card Base in half using a Bone Folder to sharpen the crease.
- Use Stampin’ Seal to attach the DSP and Snowy White Velvet panels.
- On the 4” h x 3” w Basic White Cardstock, stamp snowflakes in Gray Granite ink and the sentiment in Real Red ink.
- Attach the stamped 4” h x 3” w Basic White Cardstock to the Sweet Sorbet cardstock with Stampin’ Seal and attach to the card with Stampin’ Dimensionals.
- Use a Mini Glue Dot to attach a Wonderful Snowflake to the 4” h x 3” w Basic White Cardstock.
- Stamp a Scottie in Tuxedo Black ink and the bow in Real Red ink on Basic White Cardstock and punch out. Use the Dark Real Red Stampin’ Blend to color the Scottie’s collar. Attach the bow tie with Multipurpose Glue and attach to the Scottie with a Mini Glue Dot.
- Sprinkle on some Iridescent Rhinestone Basic Jewels to the center of your stamped snowflakes.
- Stamp and decorate the 5 ¼” w x h” w Basic White for the inside and attach with Stampin’ Seal.
- Decorate your envelope.
- Woof!! Put this in the mail.
Shopping List
")


 Velvet Sheets")

$6.00

Recommended Stamper’s Toolkit
Product List
$12.00

$7.00

$4.25

$5.75

$5.50

$11.00

$26.00

$7.00

$6.50

$11.00

$20.00

$11.00

$80.75

$128.00


$16.00

$13.00


 Designer Series Paper")
 Seam Binding Ribbon")

")


")


 Designer Series Paper")
 Crinkled Seam Binding Ribbon")