Succulent Thanks Treat

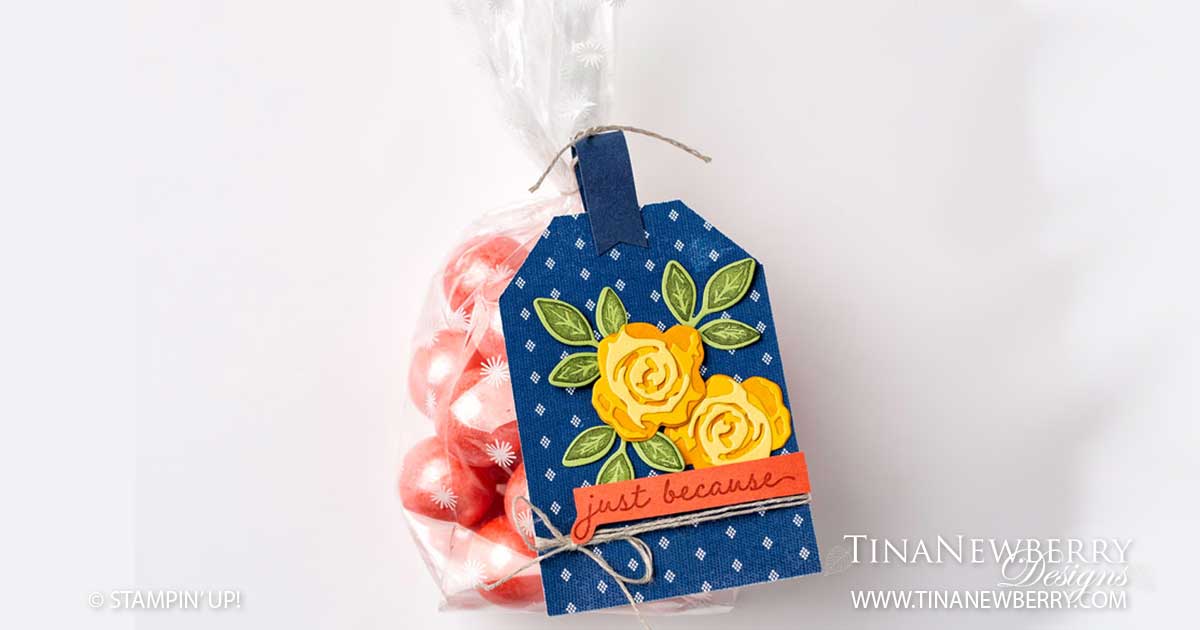
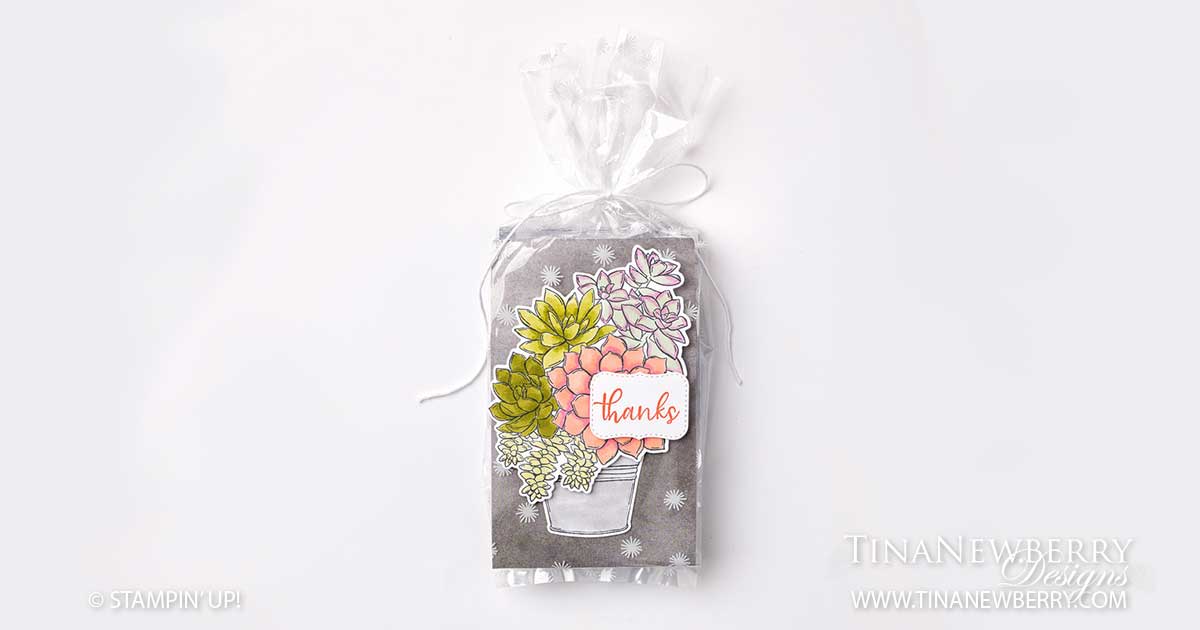
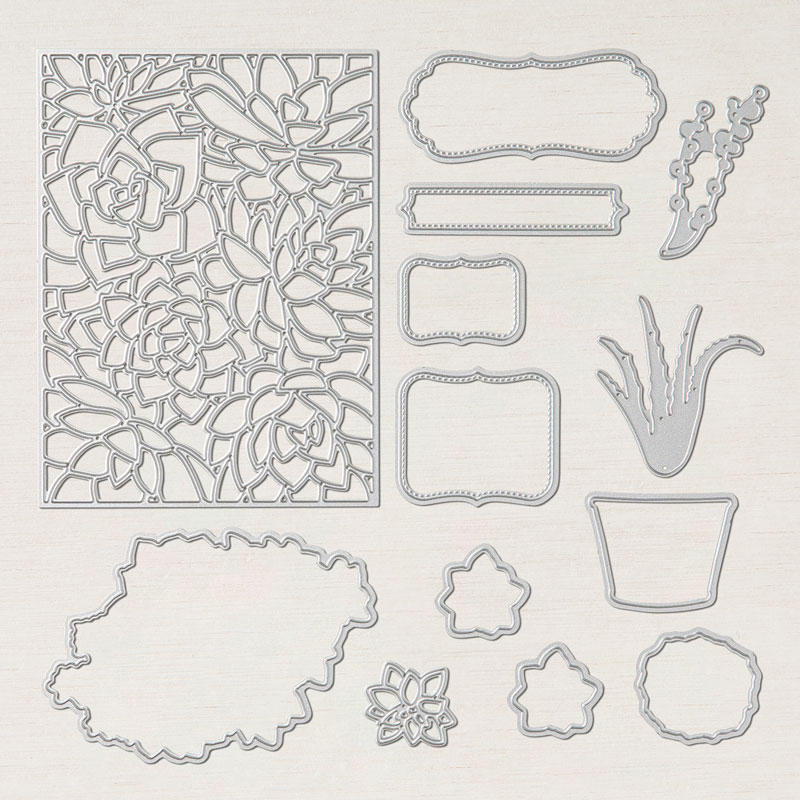
I am loving the variety of this bundle with the pretty stitched labels dies and beautiful succulents! You can make the cutest thank you treat with the Simply Succulents Bundle. The secret is in the printed gusseted food-safe cellophane bag! Read on for details of this quick treat.

Full list of supplies needed, listed below. A die cutting machine is needed for this card.
Background (2): In Good Taste Designer Series Paper 4 5/8″ h x 2 7/8″ w
Decorative Succulents: Basic White Thick Cardstock Scrap
Sentiment Layer: Basic White Cardstock scrap

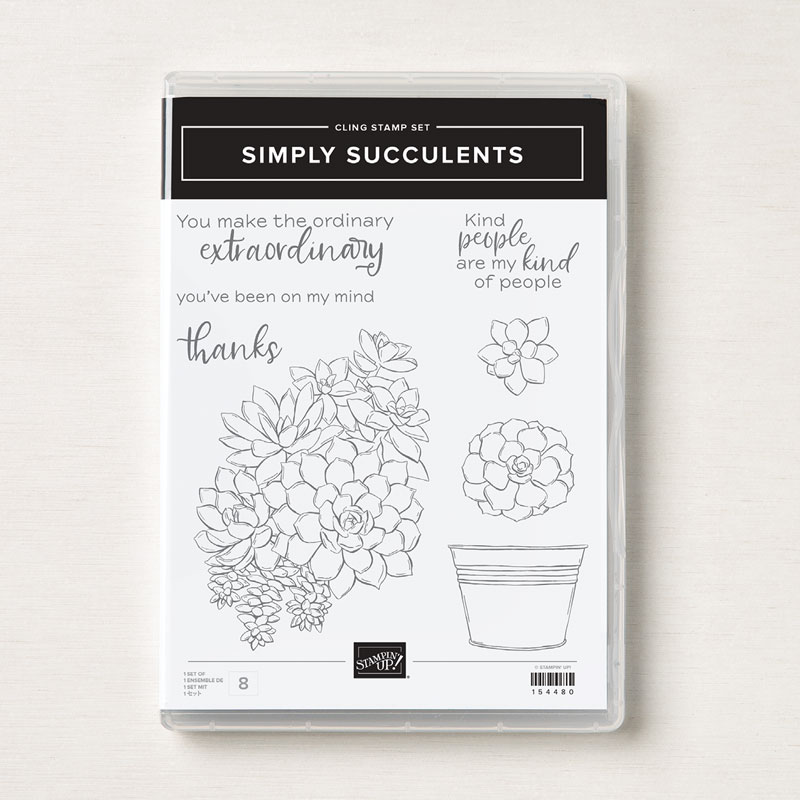
  1. Affix all stamps to Acrylic Blocks.
  2. Stamp the Flower Pot and Large Bunch of Succulents on Basic White Thick Cardstock scrap in Tuxedo Black Memento Ink. Use Stampin’ Blends alcohol markers to color the Flowers and Pot. With the exception of Dark Sea Foam and Dark Old Olive, the Light Blends were used.
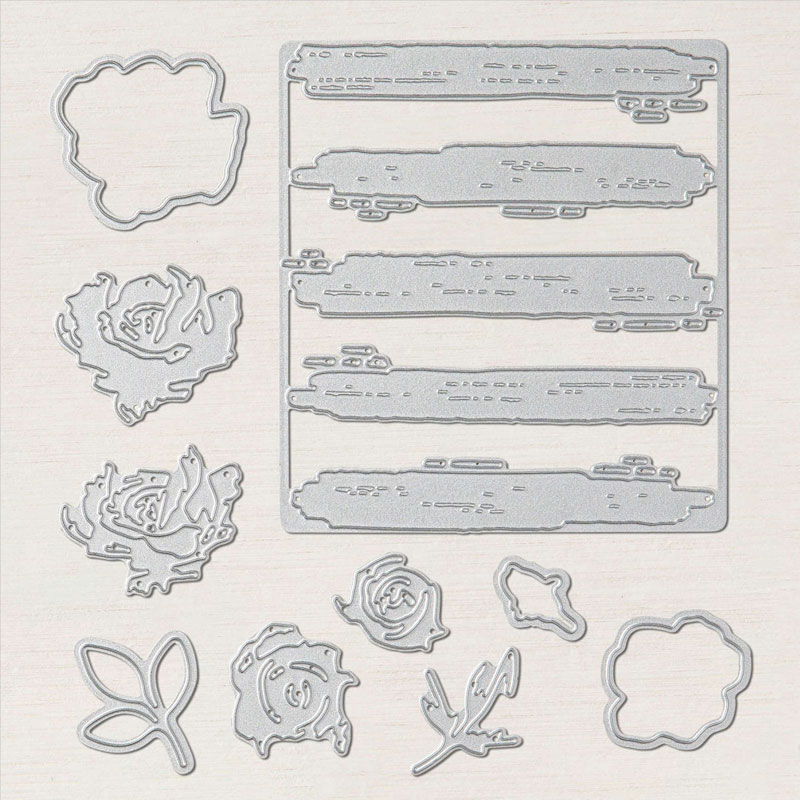
  3. Die cut the Flower Pot and Large Bunch of Succulents.
  4. Stamp the Sentiment on Basic White Cardstock with Calypso Coral Ink. Then Die Cut with the stitched label die.
  5. Assemble the treat:
    1. Insert the two pieces of In Good Taste Designer Series paper into the Printed Gusseted Cellophane Bag – on in front and one in back.
    2. Insert your treat – hand sanitizer, chocolate, gum, chapstick, lipstick, nail polish.
    3. Tie the top of the bag shut with the White Twine from the Essentials Twine Pack.
    4. Use Stampin’ Dimensionals to attach the Flower Pot, Large Bunch of Succulents and your sentiment.
  6. So cute! Now give it to someone special!

Shopping List

Stamper’s Toolkit

You will also need adhesive, acrylic blocks, scissors and other basic PaperCrafting items from the Stamper’s Toolkit

Brushed Blooms Happy Birthday

Let the die cut negative, be your guide on this clever #simplestamping card created with Stamps, Paper and Ink.

Measurements

Full list of supplies needed, listed below. A die cutting machine is needed for this card.
Card Base: Pool Party Cardstock 5 1/2″ h x 8 1/2″ w folded to 5 1/2″ h x 4 1/4″ w
Foreground Layer: Basic White Cardstock 5″ h x 3 1/5″ w
Cardstock Strips (4): Mint Macaron, Pear Pizzazz, Pool Party, and Soft Sea Foam Cardstock 3/4″ h x 3 1/4″ w
Inside Layer: Basic White Cardstock 4″ h x 5 1/4″ w

Let’s Create

  1. Affix all stamps to acrylic blocks.
  2. Fold the Pool Party Cardstock in half to form the Card Base using the Bone Folder to create a sharp crease.
  3. Use the Beautiful Brushstrokes Dies to cut the Basic White Cardstock from the Foreground Layer, letting the die hang slightly off the left edge.
  4. Using Stampin’ Seal, adhere the Mint Macaron, Pear Pizzazz, Pool Party, and Soft Sea Foam strips of cardstock to the backside of the Basic White Cardstock Foreground Layer, ensuring cutouts are completely covered.
  5. Using the Shaded Spruce ink, carefully stamp the sentiment in each cutout.
  6. Using Stampin Dimensionals, adhere the Basic White Cardstock to the card base.
  7. Super Cute! Put it in the mail today.

Shopping List

Stamper’s Toolkit

You will also need adhesive, acrylic blocks, scissors and other basic PaperCrafting items from the Stamper’s Toolkit

For My Forever Friend

Such a cute and simple card for a friend using the Brushed Blooms Bundle and some pretty spring colors. Whip this card up in a jiffy using #simplestamping.

Measurements

Full list of supplies needed, listed below. A die cutting machine is needed for this card.
Card Base: So Saffron Cardstock 8 1/2″ h x 5 1/2″ w folded to 4 1/4″ h x 5 1/2″ w
Scrap Cardstock for Flower Layers (1 each): Calypso Coral, Petal Pink and Basic White Cardstock 2″ square or larger
Scrap Cardstock for Leaves: Soft Sea Foam Cardstock 4″ h x 2″ w
Sentiment Background: Soft Sea Foam Cardstock 1 3/4″ h x 2 3/8″w
Sentiment Layer: Soft Sea Foam Cardstock 1 1/2″ h x 2 1/8″ w
Inside Layer: Basic White Cardstock 4″ h x 5 1/4″ w

Let’s Create

  1. Affix all stamps to acrylic blocks.
  2. Fold the So Saffron Cardstock in half to create the Card Base and use the Bone Folder to create a sharp crease.
  3. Using the Petal Pink ink, stamp the background image four times on the front of the Card Base.
  4. Use a Sponge Dauber to lightly sponge Petal Pink ink onto the Basic White Cardstock from the Scrap Cardstock for Flower Layers.
  5. If you have Adhesive Sheets, attach a piece to the back of the Scrap Cardstock for Flower Layers and then die cut three flower layers from Calypso Coral, Petal Pink, and the inked piece of Basic White Cardstock from the Scrap Cardstock for Flower Layers.
  6. If you used Adhesive Sheets, peel the backings off and assemble the three layers of the flower. If you didn’t use Adhesive Sheets, use Multipurpose or Fine Tip Glue to assemble the three layers.
  7. Stamp the leaves three times in Shaded Spruce ink on the Soft Sea Foam Cardstock then die cut each one.
  8. Stamp the sentiment on the Soft Sea Foam Cardstock from the Sentiment Layer using the Shaded Spruce ink.
  9. Center the Sentiment Layer over the Sentiment Background and adhere with Stampin’ Dimensionals.
  10. Using Stampin’ Dimensionals attach the Sentiment Background to the Stamped Card Base.
  11. Using Stampin’ Dimensionals, adhere the assembled flower to the bottom right corner of the sentiment.
  12. Using Mini Glue Dots, adhere the leaves to the card, tucking the stems behind the flower.
  13. You did it! Who will you send it to?

Shopping List

Stamper’s Toolkit

You will also need adhesive, acrylic blocks, scissors and other basic PaperCrafting items from the Stamper’s Toolkit