Little Card, Big Thanks

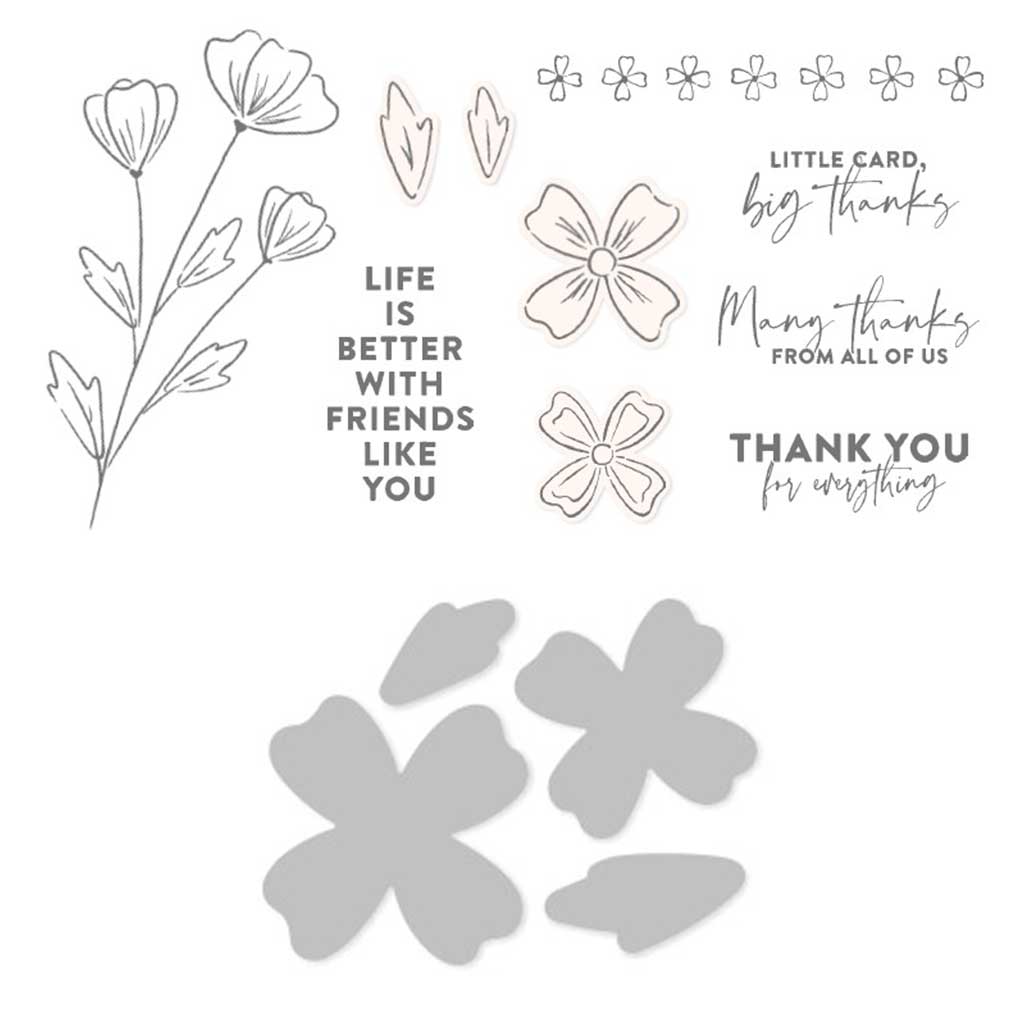
Sometimes the most simple cards, are the prettiest! The stamping on the front of this card looks complex, but it’s just one flower stamp repeated three times, and the sentiment. I used Stampin’ Write Markers to ink multiple colors per image. #simplestamping

Full list of supplies needed, listed below.
Card Base: Misty Moonlight Cardstock 8 1/2″ h x 5 1/2″ w folded to 4 1/4″ h x 5 1/2″ w
Background & Sentiment: Basic White Thick Cardstock 4″ h x 5 1/4″ w
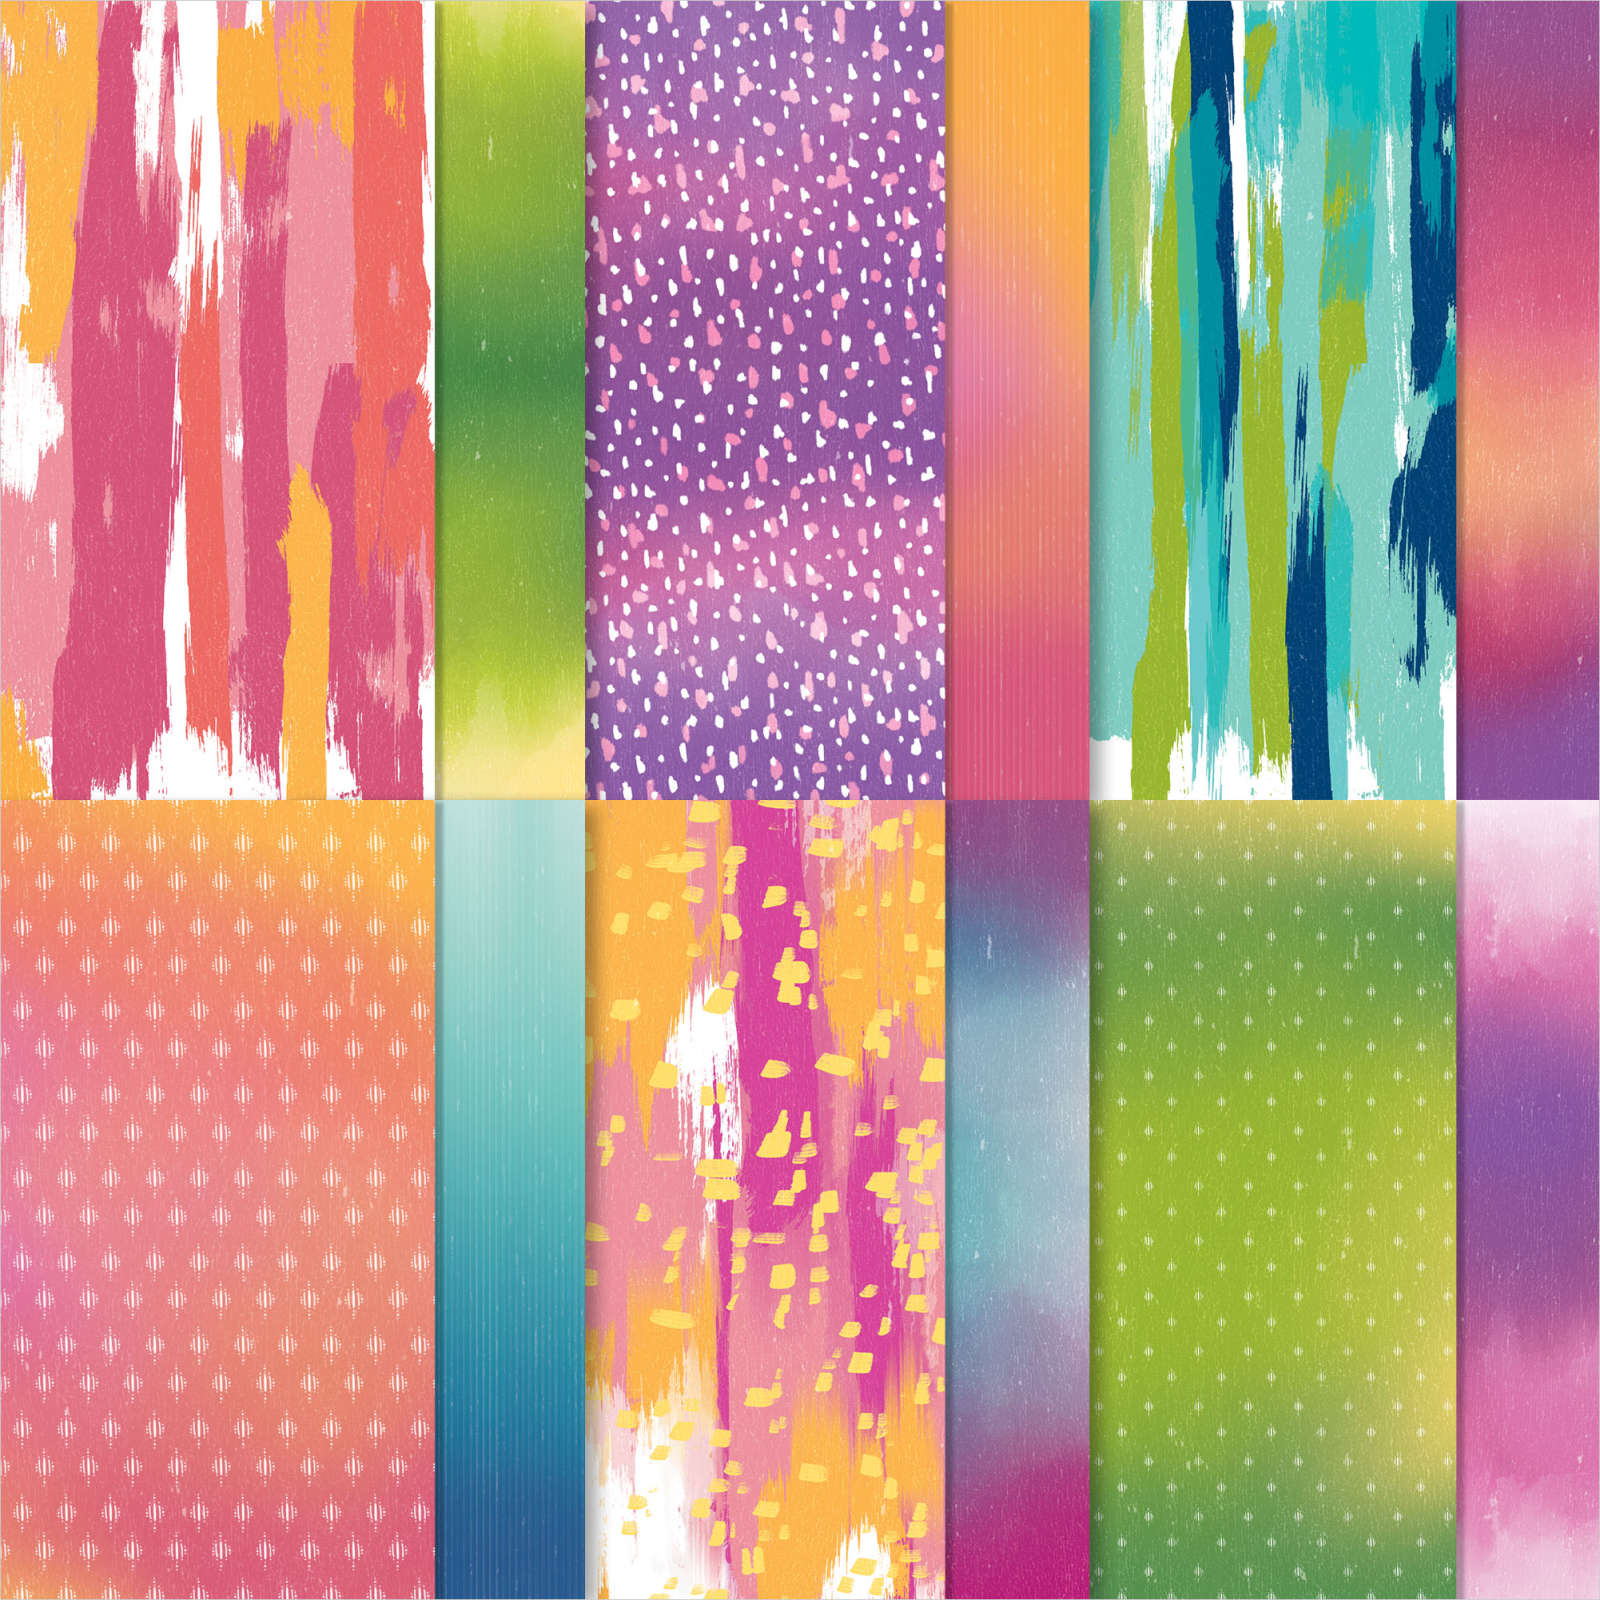
Decorative Layer: 2020-2022 In-Color Designer Series Paper 4″ h x 1″ w

  1. Affix all stamps to Acrylic Blocks.
  2. Fold the Card Base in half using a Bone Folder to sharpen the crease.
  3. Use Misty Moonlight and Old Olive Stampin’ Write Markers to ink up the Sentiment. Rewet the ink by breathing or ‘huffing’ on the stamp before stamping the image. You may want to do a couple practice impressions on scrap paper to see if you’re applying enough ink.
  4. Use Misty Moonlight and Old Olive Stampin’ Write Markers to ink up the flower and leaves outlines. Rewet the ink by breathing or ‘huffing’ on the stamp before stamping the image. You may want to do a couple practice impressions on scrap paper to see if you’re applying enough ink.
  5. Once the flowers and leaves outlines are stamped, use Stampin’ Blends (alcohol) markers to color in the the images.
  6. Attach the Background & Sentiment and Decorative Layers together with adhesive.
  7. Add a knot of ribbon around the Decorative Layer.
  8. Attach the Background & Sentiment Layer with Stampin’ Dimensionals.
  9. Decorate the Inside Layer and attach.
  10. Decorate the envelope.
  11. Simple and Pretty!! Put it in the mail!

Shopping List

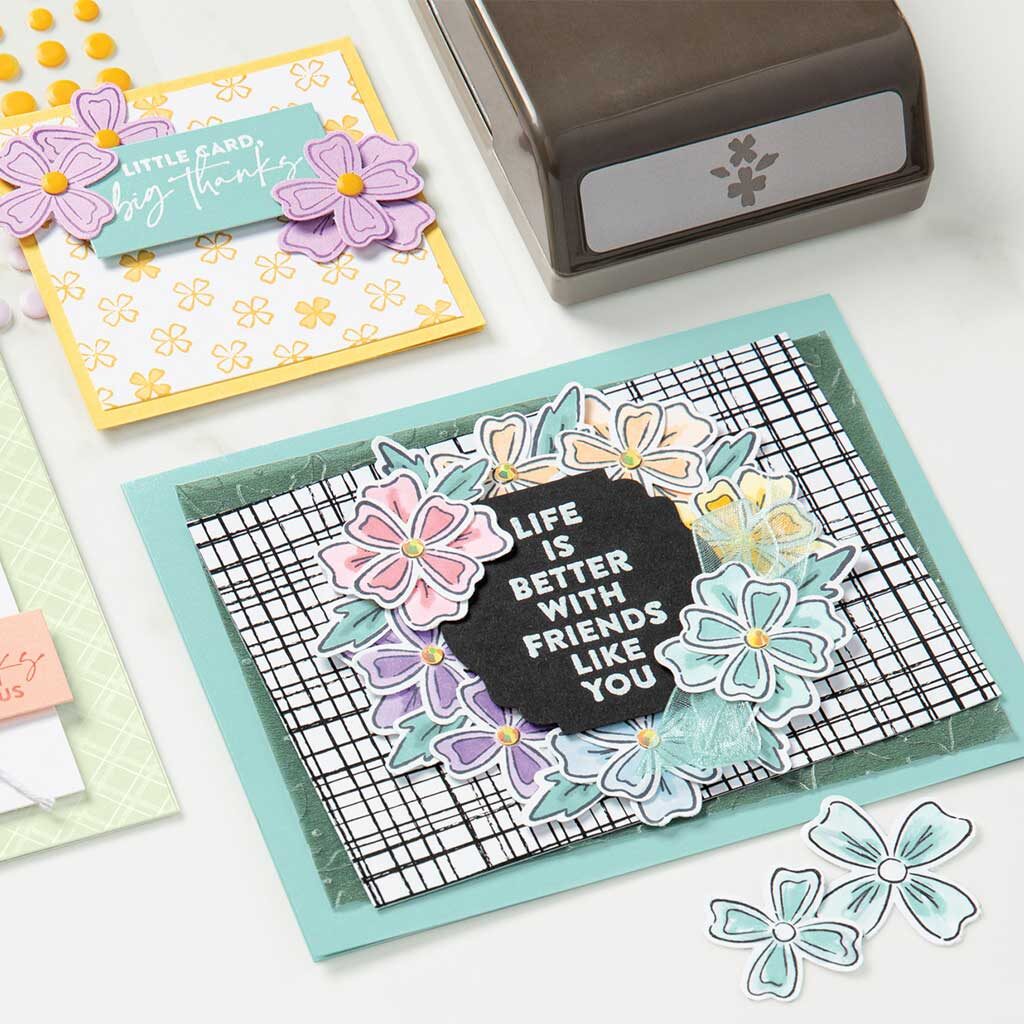
This project also uses the Flowers of Friendship Bundle.

Stamper’s Toolkit

You will also need adhesive, acrylic blocks, scissors and other basic PaperCrafting items from the Stamper’s Toolkit

Life is Better with a Friend Like You

I confess, I goofed on this card. I was TRYING to re-create this card I did last July, but I misread the measurements and my Designer Series Paper was too short. LOL Oh boy then I goofed again when I chopped off the little strip because then the pattern was distrupted, sooo a few more bits of paper and I was able to puzzle this one together. That’s what happens when I craft in the wee hours of the morning! LOLLOL. The Flowers of Friendship Bundle becomes available on May 4th in the new Annual Catalog (let me know if you’d like one!). The fonts and thank you images fitting for all occasions, coupled with the super simple, yet very pretty flowers, makes this set very versatile.

Measurements

Full list of supplies needed, listed below. A die cutting machine is needed for this card.
Card Base: Misty Moonlight Cardstock 5 1/2” h x 8 1/2 w″ w folded to 5 1/2 h x4 1/4″ w.
Background: Soft Succulent Cardstock 5 1/4″ h x 4″ w
Decorative Layer: Hand Penned Designer Series Paper 5″ h x 3 3/4″ w
Sentiment Matte 1: Misty Moonlight Cardstock 2 3/4″ square
Sentiment Matte 2: Soft Succulent Cardstock 2 1/2″ square
Sentiment: Basic White Cardstock 2″ square
Flowers & Leaves: Basic White Cardstock scraps

Let’s Create

  1. Affix all stamps to Acrylic Blocks.
  2. Fold the Card Base in half using a Bone Folder to sharpen the crease.
  3. Attach the Background.
  4. Cut the Decorative Layer into 2 Rectangles: 1 1/2″ w and 2 1/4″ w and then cut both Rectangles together to make coordinating smaller rectangles.
  5. Attach the Decorative Layer pieces.
  6. Stamp the Sentiment in Misty Moonlight ink and stack and attach with the two Sentiment Mattes.
  7. Stamp a few Leaves on the Sentiment Layer with Soft Succulent Ink. Color in with Soft Succulent Stampin’ Blend.
  8. On scrap Basic White Cardstock stamp a large and small flower in Fresh Freesia Ink and four petals in Soft Succulent ink. Color in with Stampin’ Blends, then punch out with the Flowers and Leaves Punch.
  9. Attach the Flowers with Stampin’ Dimensionals and the Leaves with Mini Glue Dots.
  10. Attach Bumblebee In-Color Enamel Dots to the center of each flower.
  11. Decorate the Inside Layer and attach.
  12. Decorate the envelope.
  13. Love it! Who will you send it to?

Shopping List

This project use these products from the 2021-2022 Annual Catalog coming out on May 4th:

Stamper’s Toolkit

You will also need adhesive, acrylic blocks, scissors and other basic PaperCrafting items from the Stamper’s Toolkit

I Heart My Besties

The details on this sweet girl are A-dorbs! Look at her little hand heart and long lashes, not to mention the curls and ruffled skirt! Of course she ‘hearts’ her besties. So cute! All she needed was a few accent layers to set the stage for her sweet message. I gave her some bling with a piece of the shimmery Love You Always Designer Series Paper, but otherwise this is all cardstock and cuteness!

Tip

Use Basic White Thick Cardstock anytime you are coloring with Stampin’ Blends. The colors come out much better.

Full list of supplies needed, listed below. A die cutting machine is needed for this card.
Card Base: Night of Navy Cardstock 5 1/2″ h x 8 1/2″ w folded to 5 1/2″ h x 4 1/4″ w
Background Matte: Balmy Blue Cardstock 5 1/4″h x 4″ w
Background: Love You Always Specialty Designer Series Paper 5″ h x 3 3/4″ w
Embossed Layer: Night of Navy Cardstock 1 1/2″ h x 3 3/4″ w
Image Matte: Balmy Blue Cardstock cut with the 4″ h x 3″ w Stitched so Sweetly Die
Image Layer: Basic White Thick Cardstock 3 5/8″ h x 2 1/2″ w
Sentiment Layer: Basic White Cardstock Scrap

  1. Affix all stamps to Acrylic Blocks.
  2. Fold the Card Base in half using a Bone Folder to sharpen the crease.
  3. Attach the Background Matte and Background.
  4. Run the Embossed Layer through the Stampin’ Cut & Emboss machine with the Tasteful Textures Embossing Folder and attach with Tear & Tape or Stampin’ Seal +.
  5. Stamp the Girl on Basic White Thick Cardstock with Tuxedo Black Memento Ink. Color with Stampin’ Blends. I used Soft Suede for her hair, Ivory and Petal Pink for her skin, Balmy Blue Light for her shirt, Night of Navy for her skirt and bow, and Bronze for her shoes.
  6. Attach the Girl to the Image Matte layer and attach to card with Stampin’ Dimensionals.
  7. Stamp the Sentiment on scrap Basic White Cardstock and die cut with the Stitched So Sweetly die.
  8. Punch a Heart from the Dog Punch on as scrap of Real Red Cardstock and attach to the Sentiment with a Mini Glue Dot. Attach to the Image Layer with a Stampin’ Dimensional.
  9. Tie a double bow with the Navy Twine and Linen Thread. Attach with a Mini Glue Dot.
  10. Decorate the Inside Layer and attach.
  11. Decorate the envelope.
  12. A-dorbs!! Now send it to someone special.

Shopping List

Stamper’s Toolkit

You will also need adhesive, acrylic blocks, scissors and other basic PaperCrafting items from the Stamper’s Toolkit

Hey Girlfriend

For real, I was NOT going to get the Hey Girlfriend Stamp Set. But then, I saw SO many cute cards and I just love the sentiments and the cute girlfriends, plus the cute puppy in this set and well, I was hooked. Hard to believe this one is #simplestamping, with just stamps, ink and paper!

Full list of supplies needed, listed below. A die cutting machine is needed for this card.
Card Base: Basic White Cardstock 5 1/2” x 8 1/2 h″ w folded to 4 1/4″ h x 5 1/2″ w.
Background: Artistry Blooms Designer Series Paper 5 1/4″ h x 4″ w
Embossed Layer: Basic White Cardstock 5 1/4″ h x 2 1/2″ w
Large Decorative Layer: Peony Garden Designer Series Paper 4 1/2″ h x2 1/2″ w
Small Decorative Layer: True Love Designer Series Paper 1″ h x 3″ w
Stitched Rectangle Layer: Basic White Thick Cardstock 3 1/2″ h x 2 1/4″ w cut with the Stitched Rectangle Die

  1. Affix all stamps to Acrylic Blocks.
  2. Fold the Card Base in half using a Bone Folder to sharpen the crease.
  3. Attach the Background Layer.
  4. Run the Embossed Layer through the Die Cut & Emboss Machine with the Meadow Moments Embossing Folder and Attach with Tear & Tape.
  5. Attach the Large and Small Decorative Layers.
  6. Die Cut scrap Basic White Cardstock with the Stitched Rectangle Die and stamp the Girlfriend and Puppy with Tuxedo Black Memento Ink, before coloring with Melon Mambo, Misty Moonlight, Crumb Cake, and Soft Suede Stampin’ Blends. Attach with Stampin’ Dimensionals.
  7. Stamp the Flower and Leaves in Tuxedo Black Memento Ink and color with Old Olive and Melon Mambo Stampin’ Blends. Die cut and attach with adhesive or Stampin’ Dimensionals.
  8. Stamp the Sentiment on scrap Basic Black Cardstock with Versamark. Heat emboss with white embossing powder and heat set. Fussy cut and attach to the flower.
  9. Decorate the Inside Layer and attach.
  10. Decorate the envelope.
  11. Lovely! Now send it to someone special.

Shopping List

Stamper’s Toolkit

You will also need adhesive, acrylic blocks, scissors and other basic PaperCrafting items from the Stamper’s Toolkit