You Make Me Smile

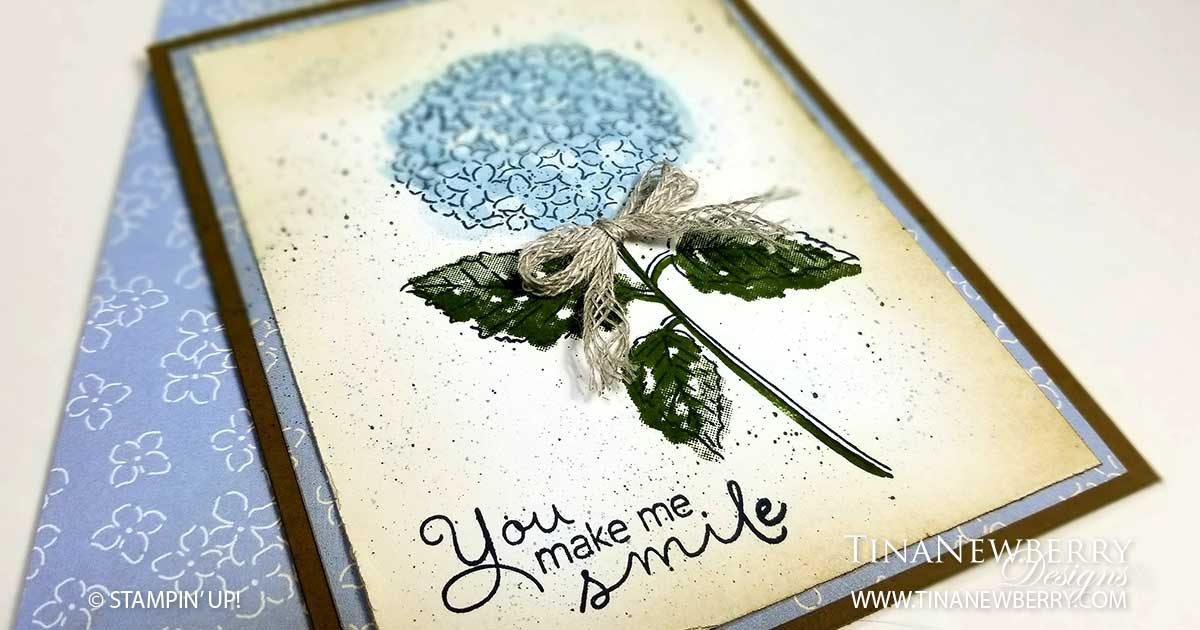
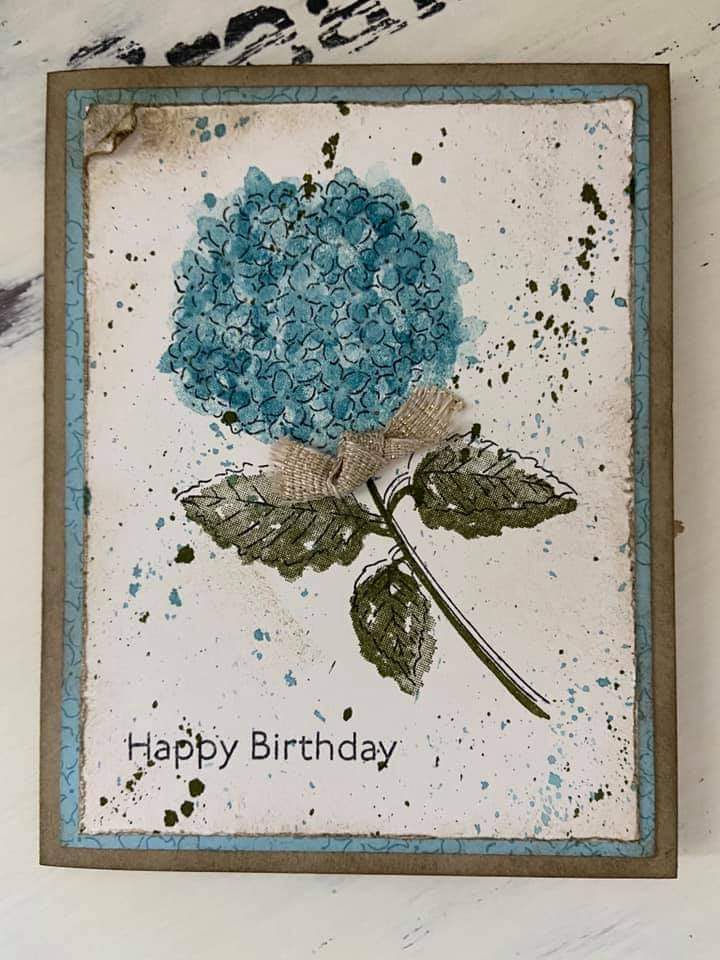
Paper, stamps, ink and one little braided linen bow are all you need to make this pretty nearly #simplestamping card. I saw this design somewhere and I can’t find out where. The photo had no name on it, so I’m not even sure who to give credit to, but I sure enjoyed re-creating it! There’s a little distressing, some two-step stamping, flicking, and a color wash I created using the new Blending Brushes. Read on for details to make it yourself.

Full list of supplies needed, listed below.
Card Base: Soft Suede Cardstock 5 1/2 h” x 8 1/2″ w folded to 5 1/2″ h x 4 1/4″ w.
Background Matte: Hydrangea Hill DSP 5 1/4″ h x 4″ w
Background: Basic White Cardstock 5″ h x 3 3/4″ w
Inside: Basic White Cardstock 5 1/4″ h x 4″ w

  1. Affix all stamps to Acrylic Blocks.
  2. Fold the Card Base in half using a Bone Folder to sharpen the crease.
  3. Use the Blending Brush blend some a light bit of Crumb Cake Ink onto the Background Matte and then attach to the Card Base.
  4. Use the Blending Brush blend some a light bit of Soft Suede Ink onto the Background.
  5. Stamp the large Hydrangea in Tuxedo Black Memento Ink. Then add the Stem and Leaves in Mossy Meadow Ink.
  6. For the Hydrangea, stamp off the Flower fill stamp with Seaside Spray and then use the Small Flower fill stamp to add Seaside Spray Flowers to create darker areas on the blossom.
  7. Stamp the Sentiment in Tuxedo Black Memento Ink
  8. Distress the edges with a Bone Folder before attaching the Background.
  9. Separate the Braided Linen Trim and tie into a bow. Separate some more and attach with a Mini Glue Dot.
  10. Decorate the Inside Layer and attach.
  11. Decorate the envelope.
  12. Lovely! Now send it to someone special.

Shopping List

Stamper’s Toolkit

You will also need adhesive, acrylic blocks, scissors and other basic PaperCrafting items from the Stamper’s Toolkit

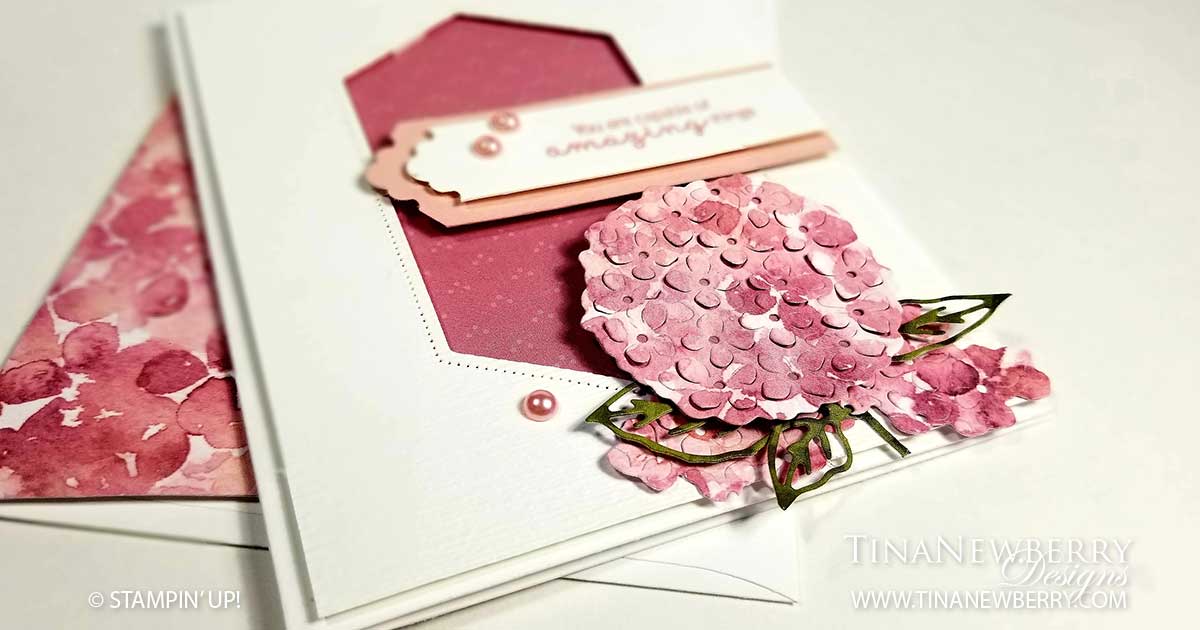
You Are Capable of Amazing Things

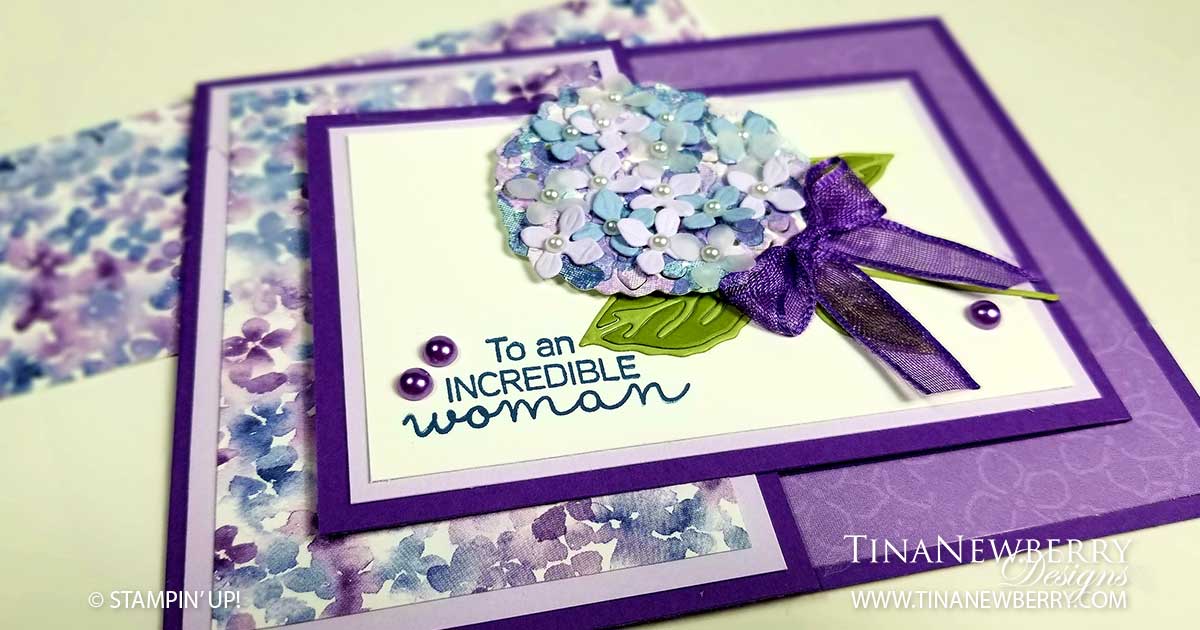
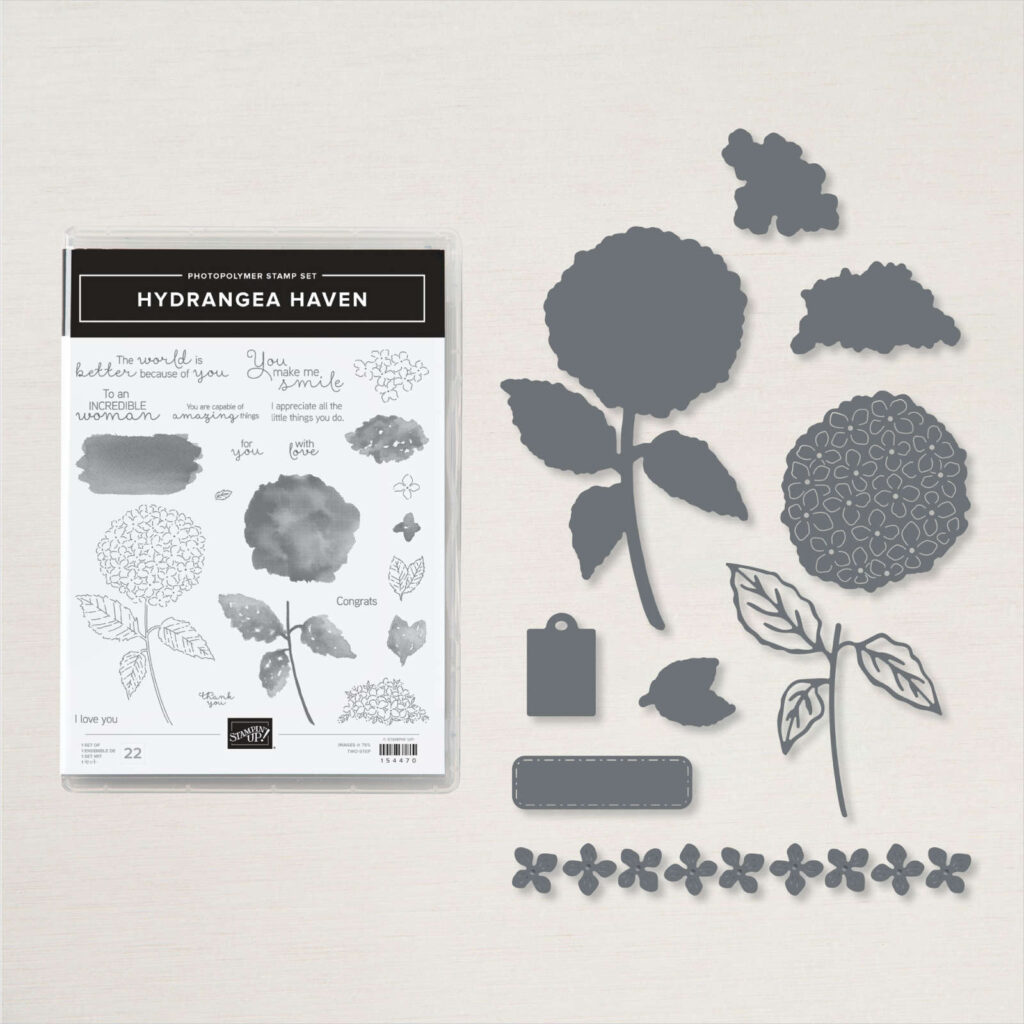
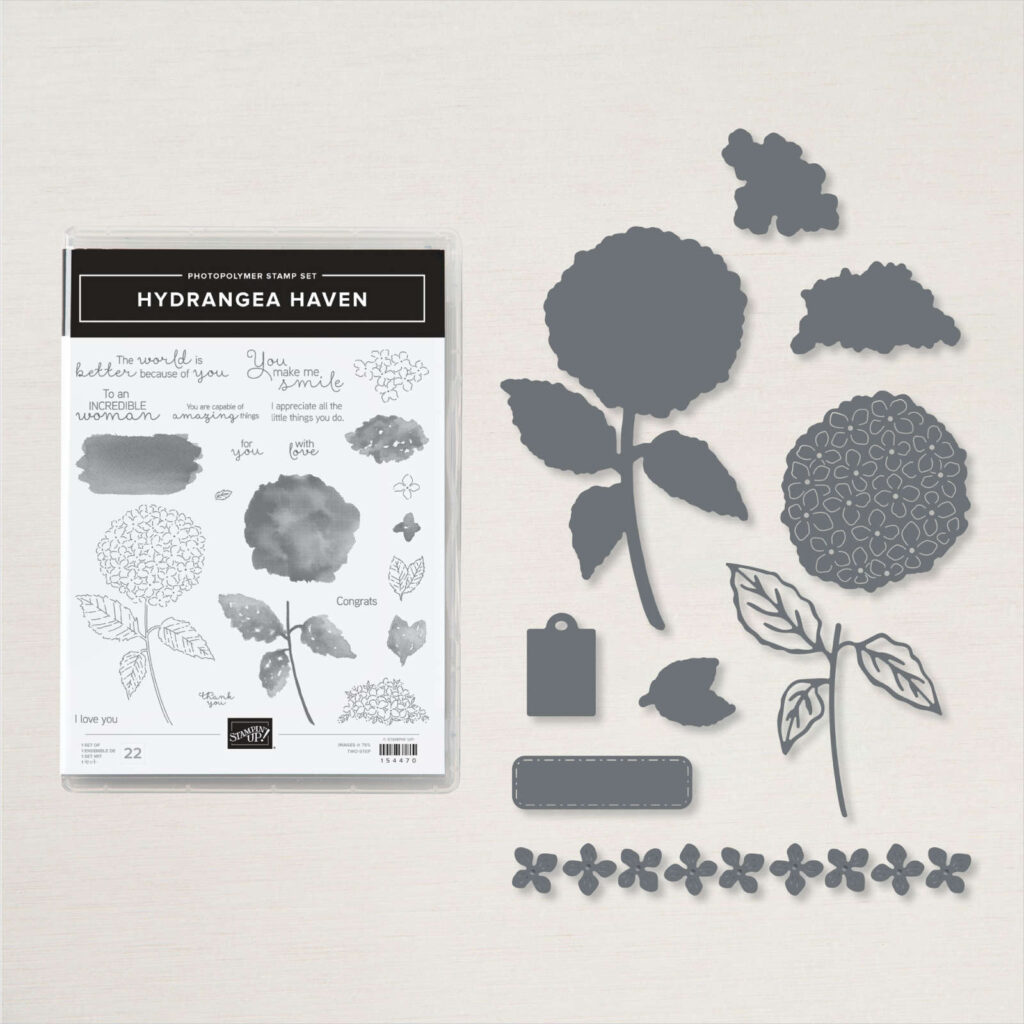
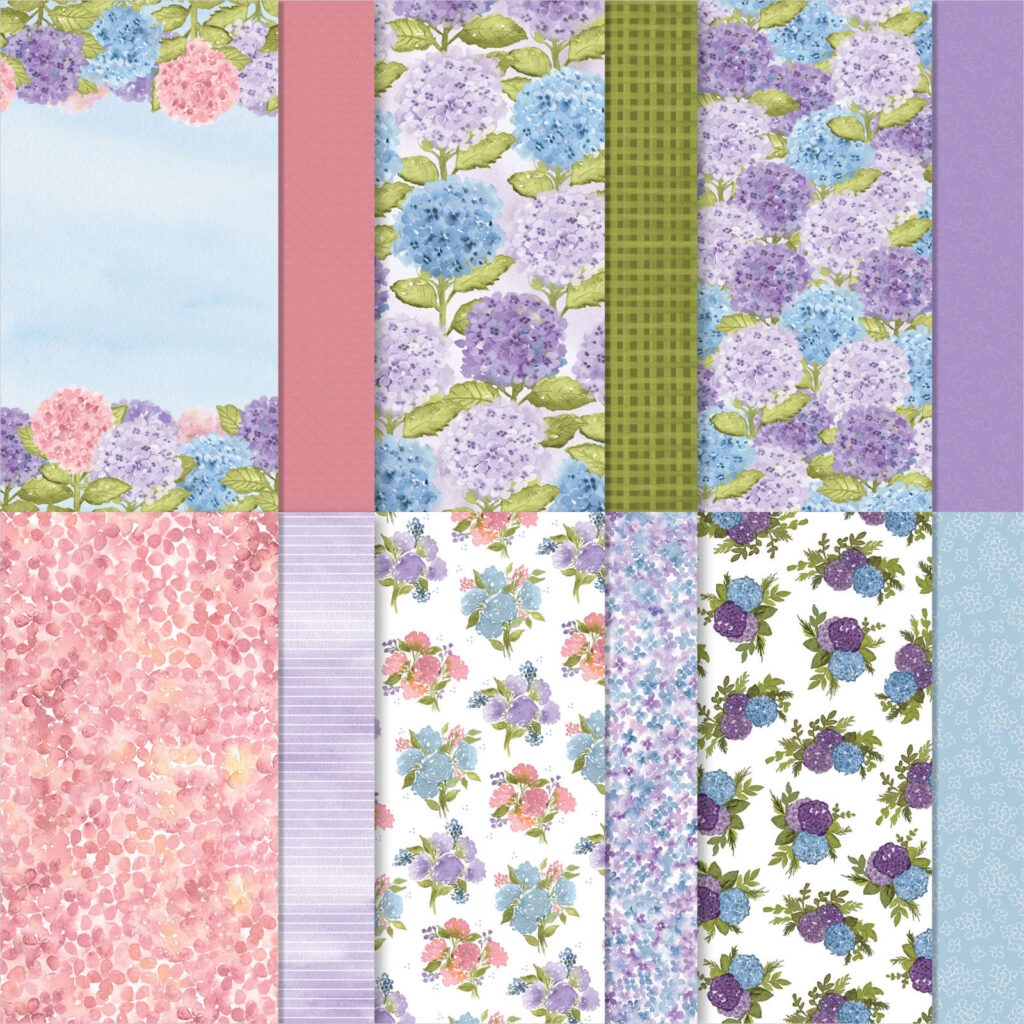
Hydrangeas are one of my favorite flowers! I had one little bush at our house in New Hampshire. It made me happy to look at it each on my way in and out of the house each day. The Periwinkle blue are my favorite color, but this Rococo Rose version created from the Designer Series Paper in the Hydrangea Hill Product Suite is quite pretty too. I love the big Hydrangea Die! Sadly the Nested Labels Dies are retiring, as well as the Subtle Embossing Folder, so I was happy to put them to work on this pretty card, along with the Lovely Labels Pick a Punch.

Full list of supplies needed, listed below. A die cutting machine is needed for this card.
Card Base: Basic White Thick Cardstock 5 1/2″ h x 8 1/2″ w folded to 5 1/2″ h x 4 1/4″ w .
Background: Basic White Cardstock 5 1/4″ h x 4″ w
Inset Background: Hydrangea Hill Designer Series Paper 3 1/4″ h x 2 1/2″ w
Sentiment Matte: Rococo Rose Cardstock 1″ h x 3 1/2″ w
Sentiment Layer: Basic White Cardstock 3/4″ h x 3″ w
Inside Layer: Basic White Cardstock 5 1/4″ h x 4″ w

  1. Affix all stamps to Acrylic Blocks.
  2. Fold the Card Base in half using a Bone Folder to sharpen the crease.
  3. Die Cut the Nested Layer from the Background and then run through with the Subtle Embossing Folder.
  4. Attach the Inset Layer behind the Background Layer with Stampin’ Dimensionals.
  5. Die Cut the three Hydrangeas and Leaves, from the Designer Series Paper.
  6. Attach small flowers and leaves to the Background.
  7. Attach the large Hydrangea with Stampin’ Dimensionals.
  8. Trim the left ends of the Sentiment and Sentiment Matte with the Lovely Labels Pick a Punch and the right ends with the Paper Trimmer, to desired width.
  9. Stamp the Sentiment in Rococo Rose Ink and attach to Sentiment Matte with Dimensionals.
    1. If you’re Sentiment Matte doesn’t span the width of the Nested Label Die Cut out, use two Stampin’ Dimensionals on the left side of the Sentiment and one on the right.
    2. If it does span the width, you can use one Dimensional for both the left and right sides.
  10. Add Pastel Pearls
  11. Decorate the Inside Layer and attach.
  12. Decorate the envelope.
  13. Lovely! Now send it to someone special.

Shopping List

Stamper’s Toolkit

You will also need adhesive, acrylic blocks, scissors and other basic PaperCrafting items from the Stamper’s Toolkit

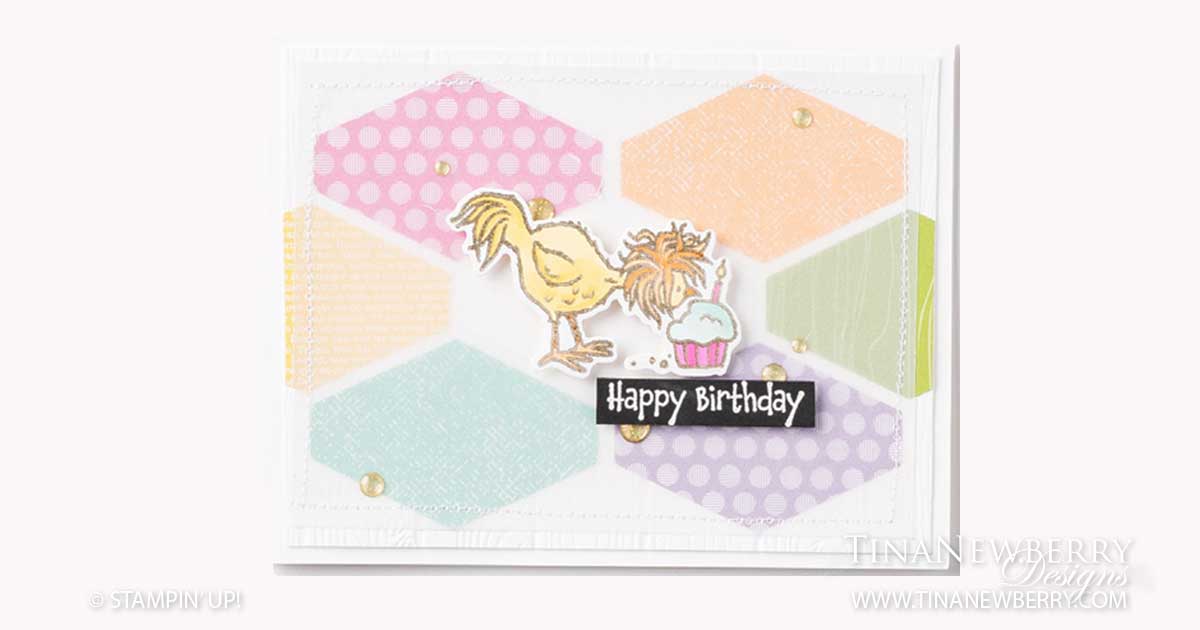
Happy Birthday Cupcake

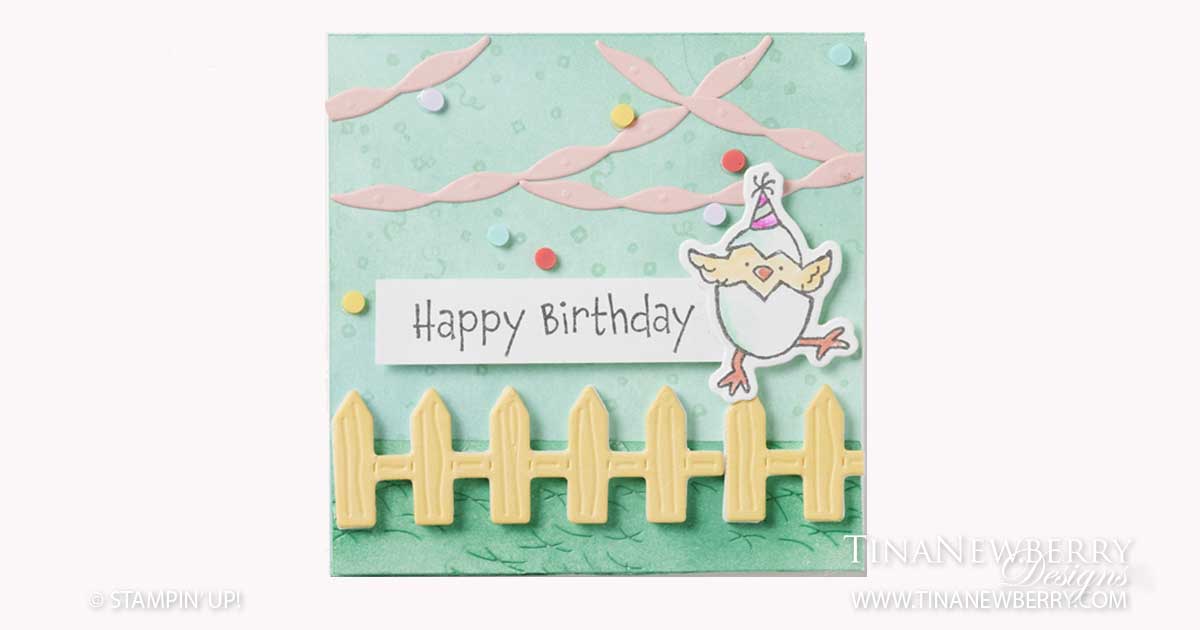
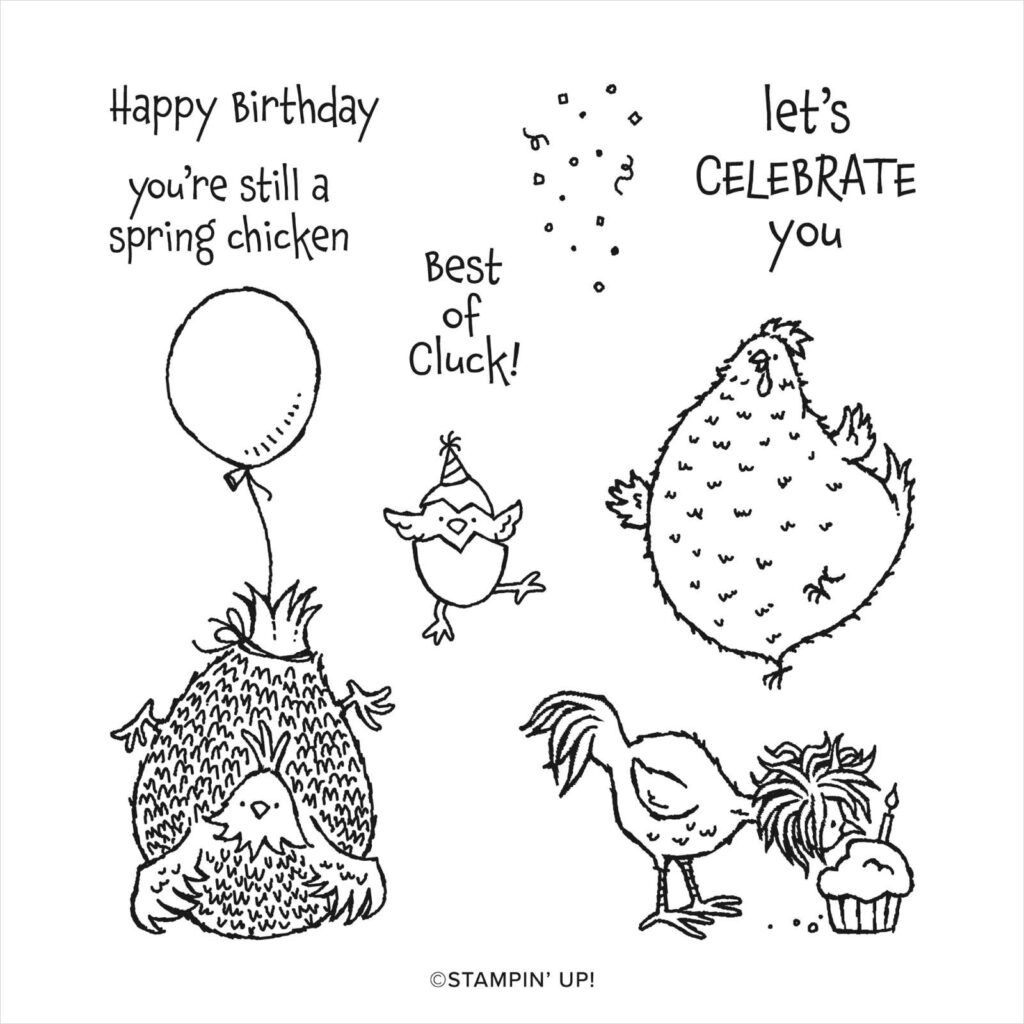
The crested chicken eating the cupcake in this stamp set cracks me up! This whole bundle is funny! I like the added color from the Tailored Tag punches in the background. This is a great card for using up scraps of paper. And that chicken! Ha!

Full list of supplies needed, listed below. A die cutting machine is needed for this card.
Card Base: Basic White Thick Cardstock 8 1/2 h” x 5 1/2″ w folded to 4 1/4″ h x 5 1/2″ w .
Background Matte: Basic White Cardstock 4″ h x 5 1/4″ w
Background: Designer Series Paper Scraps – these are from the 2020-2021 patterns of the Brights Designer Series Paper Pack and the 2020-2022 In-Color Designer Series Paper Pack
Vellum Layer: Vellum Cardstock 3 3/4″ h x 5″ w
Sentiment Layer: Basic Black Scrap
Inside Layer: Basic White Cardstock 4″ h x 5 1/4″ w

  1. Affix all stamps to Acrylic Blocks.
  2. Fold the Card Base in half using a Bone Folder to sharpen the crease.
  3. Run the Background through the Pinewood Planks embossing folder.
  4. Punch several colors from the Designer Series Paper scraps with the Tailored Tag Punch.
  5. Attach the punched pieces to the background in a pattern and trim off the excess.
  6. Attach the Background with Stampin’ Dimensionals.
  7. For the Vellum Layer, the designer of this card sewed the edges with a sewing machine. You could also use a Stitched Rectangle Die or use your the piercing tip of your Take a Pick Tool to punch a border along the edge. Or leave it plain. Either way, adhesive shows through vellum, so add adhesive strategically so it will be covered by the chick and add to the card.
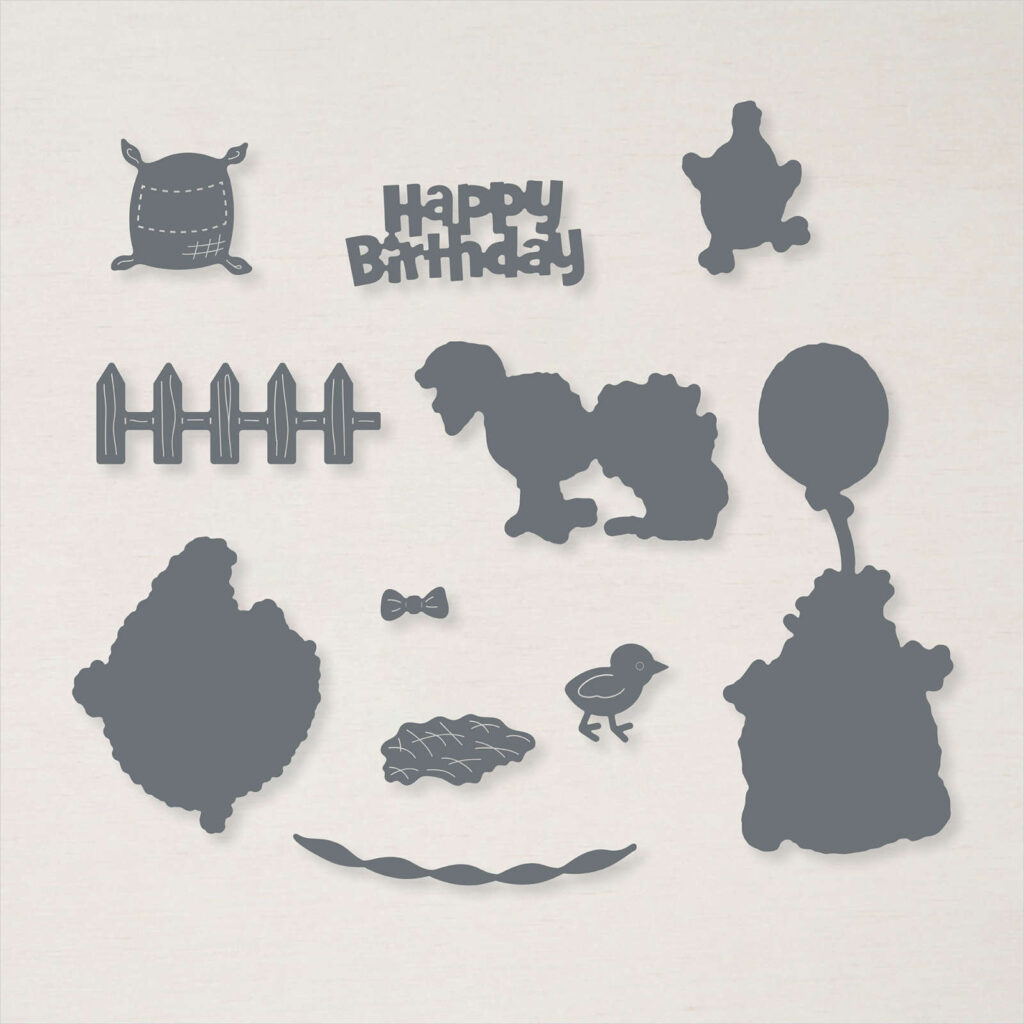
  8. Stamp the Chick Eating the Cupcake in Versamark Ink on scrap Basic White Cardstock, sprinkle with Gold Embossing Powder and heat set. Then color with Stampin’ Blends and die cut.
  9. Stamp the Sentiment in Versamark Ink on scrap Basic Black Cardstock with White Embossing Powder and heat set. Trim the Sentiment.
  10. Attach the Chick Eating the Cupcake and the Sentiment with Stampin’ Dimensionals.
  11. Add some Gold Glitter Enamel Dots.
  12. Decorate the Inside Layer and attach.
  13. Decorate the envelope.
  14. Funny!! Send it to someone with a sense of humor. LOL

Shopping List

Stamper’s Toolkit

You will also need adhesive, acrylic blocks, scissors and other basic PaperCrafting items from the Stamper’s Toolkit