Congratulations

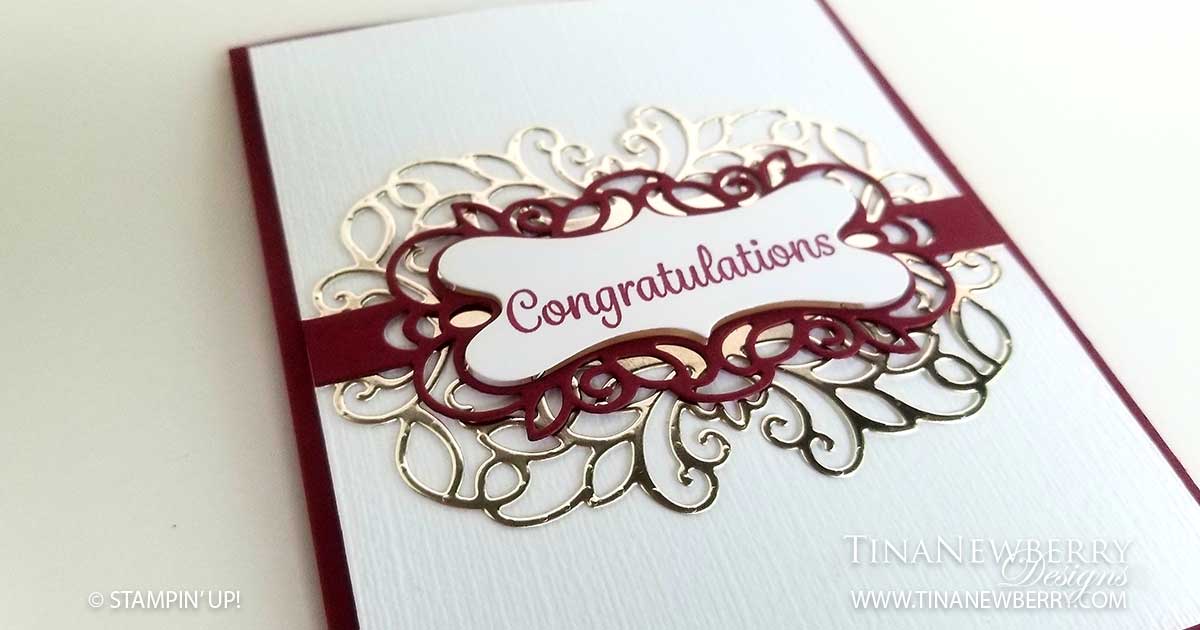
These Detailed Band dies really take the show. Their intricate details add so much to any card with extra WOW when layered as in this card. I was in fall color mood when I made this one. Maybe a card for an upcoming Anniversary…. hmmmm.

Measurements

Full list of supplies needed, listed below. A die cutting machine is needed for this card.
Card Base: Merry Merlot Cardstock 8 1/2 h” x 5 1/2″ w folded to 5 1/2″ h x 4 1/4″ w
Background: Whisper White Cardstock 5 1/4″ h x 4″ w
Sentiment Layer: 
Whisper White Cardstock die cut with Detailed Band Dies

Let’s Create

  1. Affix all stamps to Acrylic Blocks.
  2. Fold the Card Base in half using a Bone Folder to sharpen the crease.
  3. Run the Background through die cutting machine with the Subtle Embossing Folder and adhere with Stampin’ Seal.
  4. Die cut Champagne Foil and Merry Merlot Cardstock with Detailed Band Dies.
  5. Stamp the Sentiment with Merry Merlot ink.
  6. Use Fine-Tip Glue pen to attach the Detailed Band Dies and Stampin’ Dimensionals to position the Sentiment in place.
  7. Very Elegant! Ready for a special occasion.

Product List

Recommended Stamper’s Toolkit ❤


Design inspired by Diane Malcor.

With Love & Sympathy

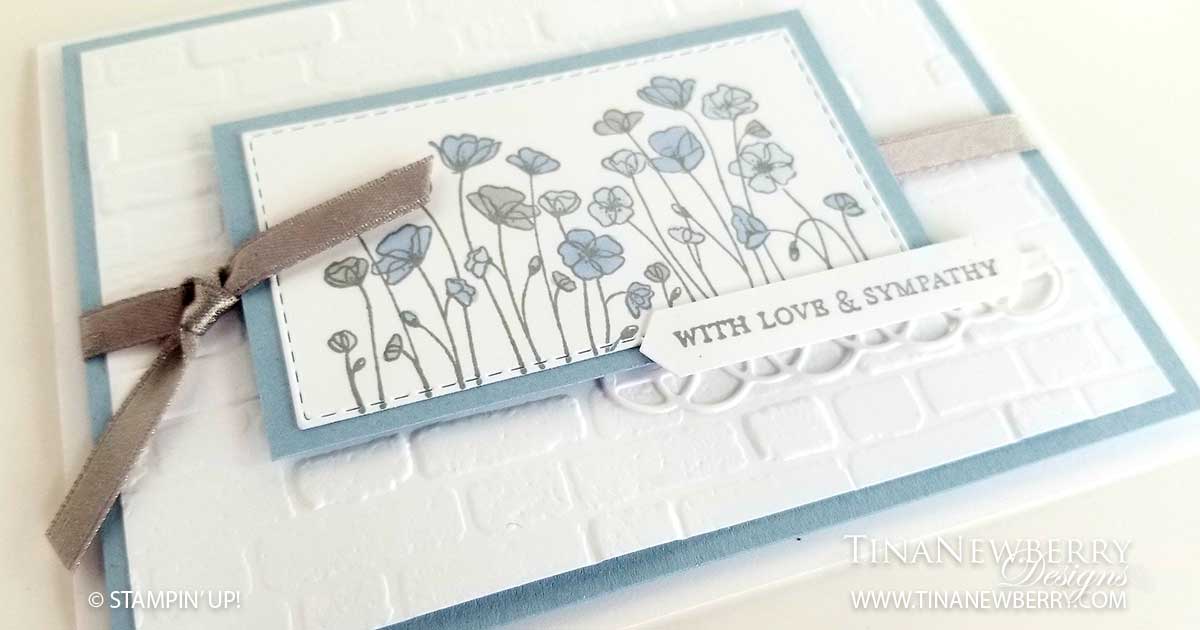
One of the most calming color palette’s I’ve come across perfect for the sad times in our lives. A sweet and simple card with a few added textures for interest along with the Painted Poppies Stamp Set and a sentiment by Itty Bitty Greetings . Simple yet elegant. Love it.

Measurements

Full list of supplies needed, listed below. A die cutting machine is needed for this card.
Card Base: Whisper White Thick Cardstock 8 1/2 h” x 5 1/2″ w folded to 5 1/2″ w x 4 1/4″ h.
Background Matte: Seaside Spray Cardstock 4″ h x 5 1/4″ w
Background: Whisper White Cardstock 3 3/4″ h x 5″ w
Stamped Matte: 
Seaside Spray Cardstock 2″ h x 3 1/2″ w
Stamped Layer: Whisper White Cardstock 1 3/4″ h x 3 1/8″ w Stitched Rectangle Die

Let’s Create

  1. Affix all stamps to Acrylic Blocks.
  2. Fold the Card Base in half using a Bone Folder to sharpen the crease.
  3. Emboss the Background with the Brick & Mortat 3D Embossing Folder and attach to the Background Matte.
  4. Tie the Ribbon around the layer and secure with a knot.
  5. Attach the Background Matte using Stampin’ Dimensionals.
  6. Stamp the Poppies using Basic Gray Stamp Pad and color in with Stampin’ Blends. Attach to the Stamped Matte.
  7. Attach the Stamped Matte to the card using Stampin’ Dimensionals.
  8. Stamp the Sentiment on scrap Whisper White Cardstock and punch with the Classic Label Punch. Attach to the Stamped Layer with Stampin’ Seal.
  9. Die cut the Lattice from scrap Whisper White Cardstock and adhere with Fine Tip Glue.
  10. Very pretty! Hold on to it. Sadly you will need to send it one day.

Shopping List

Recommended Stamper’s Toolkit ❤


Design inspired by Gail Ellis.

Let’s Celebrate You

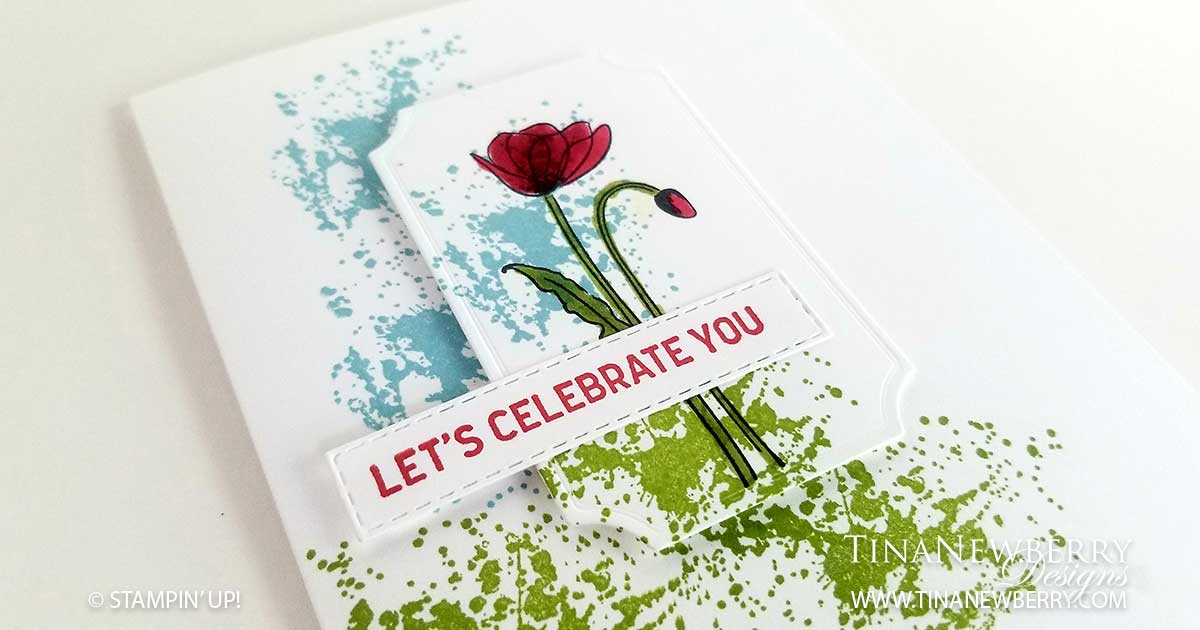
I tell you this a sleeper stamp set! I’m so glad I took a second look at the Painted Poppies Stamp Set and Painted Moments dies. This set came out last spring as a whole Suite of products with a lot of Ta Da. The Suite had such a beautiful pack of Designer Series Paper and the lovely coordinating Poppy Moment Dies that this sweet Painted Poppies stamp set and pretty Painted Moments die set were far overshadowed. This #simplestamping card uses just Stamps, Ink and paper for a simple stunning look.

Measurements

Full list of supplies needed, listed below. A die cutting machine is needed for this card.
Card Base: Whisper White Thick Cardstock 8 1/2 h” x 5 1/2″ w folded to 5 1/2″ h x 4 1/4″ w.
Background: Whisper White Cardstock die cut with Painted Label Die
Sentiment Layer: 
Whisper White Cardstock 1/2″ h x 2 1/2″ w Stitched Rectangle Die (stamp Sentiment first)

Let’s Create

  1. Affix all stamps to Acrylic Blocks.
  2. Fold the Card Base in half using a Bone Folder to sharpen the crease.
  3. Stamp the Flower in Tuxedo Black Memento Ink on the Background.
  4. Stamp the Large Splatter Stamp in Balmy Blue twice on the Card Base and once on the Background.
  5. Stamp the Large Splatter Stamp in Granny Apple Green twice on the Card Base and once on the Background.
  6. Adhere Background with Stampin’ Dimensionals.
  7. Use the Real Red Stampin’ Blend to color the Flower and Blossom and the Granny Apple Green to color the stems and leaf.
  8. Stamp the Sentiment in Real Red ink and Die Cut it out.
  9. Adhere Sentiment with one Stampin’ Dimensional where it overhangs and Stampin’ Seal on the Background Layer.
  10. Super Easy! Who will you send it to?

Shopping List

Recommended Stamper’s Toolkit ❤


Design inspired by Amanda Bates.

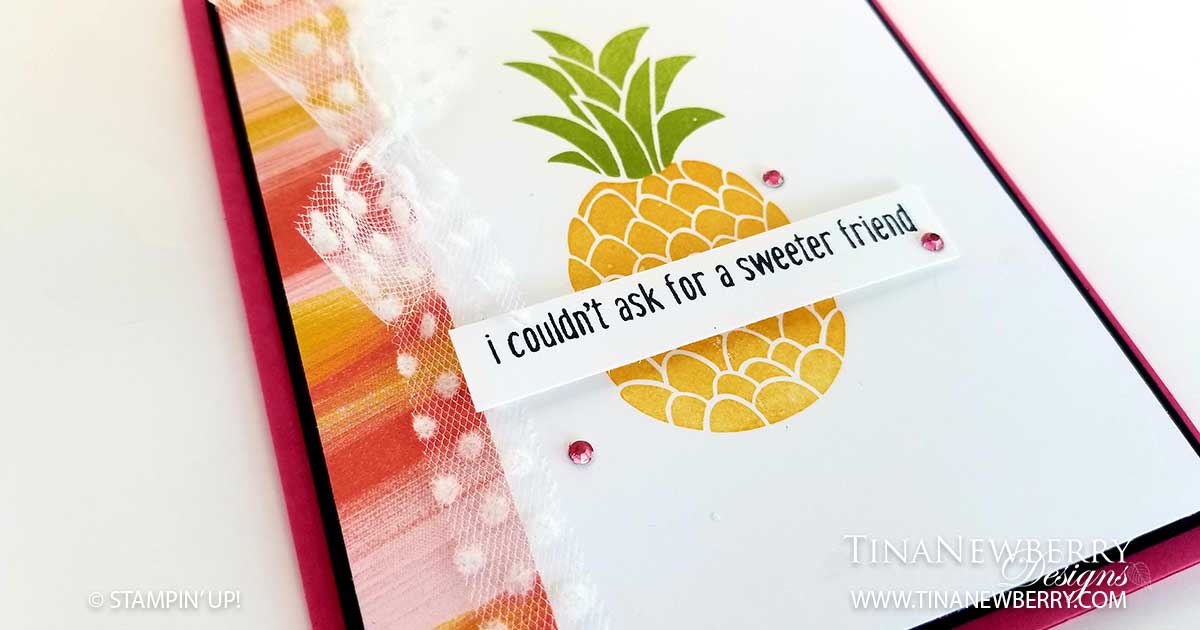
I Couldn’t Ask for a Sweeter Friend

Thank you for your interest in this project. Some projects are exclusive to subscribers who will receive passwords by email.

Are you a subscriber? Awesome! Check your email for the password and enter it here to view this project.

Not yet subscribed?  We’d love for you to join us.  Subscribe to my email list and receive news, information and inspiration by email.