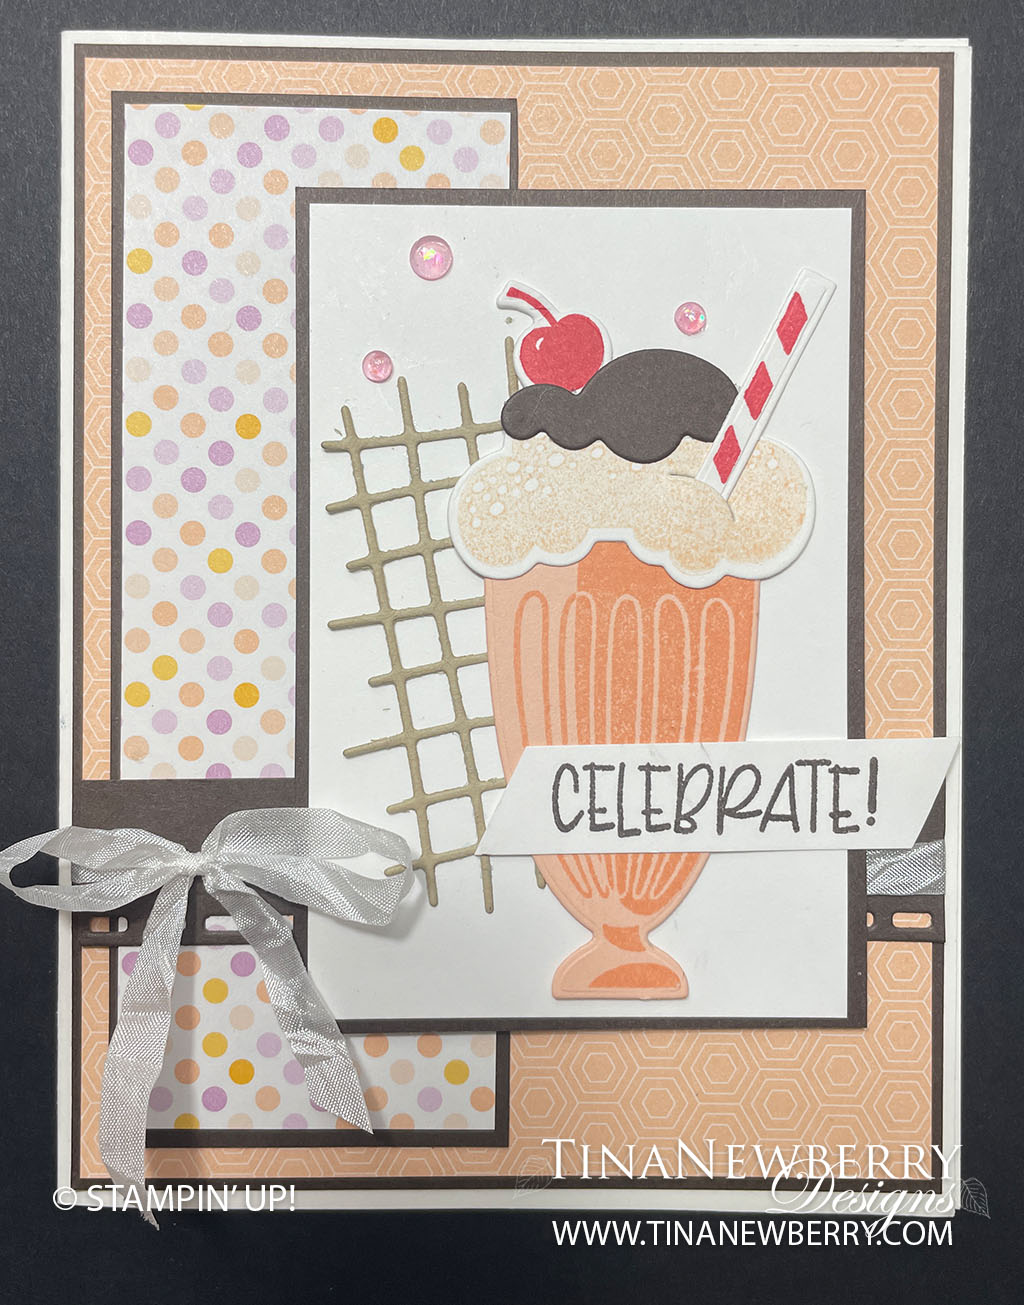
Celebrate Handmade Greeting Card

mmmmm What’s your favorite ice cream flavors? Mine is black raspberry, but orange creamsicle is a close second. Creating a card representing your favorite flavors is so much fun with the Share a Milkshake bundle. So fun and cheery!
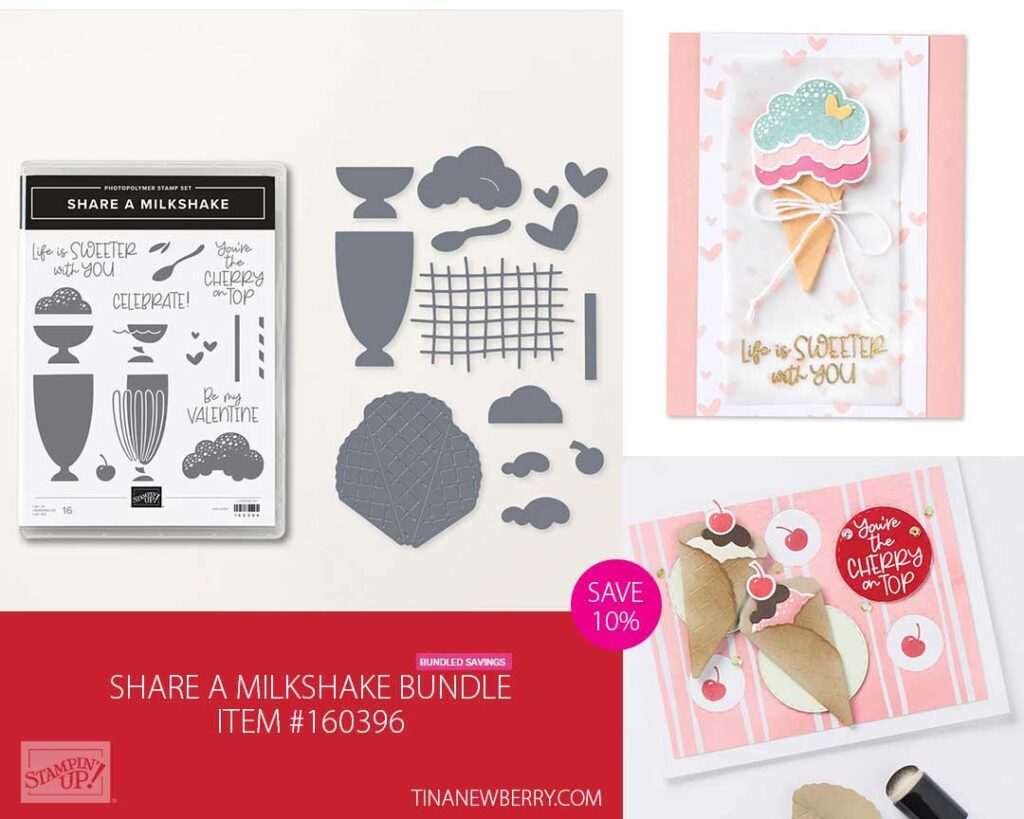
Nothing is more classic than a scoop of ice cream shared between friends. Make your paper crafts and cards extra sweet with the Share A Milkshake stamp set and die bundle. Create layered looks using the dies, then add details with the coordinating stamps. Celebrate those special occasions or simply share your love of frozen treats with this delicious bundle!

Measurements

Full list of supplies needed, listed below. A die cutting machine is needed for this card.

Basic White

  • 5 ½” x 8 ½”  scored and folded on the long-side at 4 ¼” 
  • 2 ½” x 3 ¾” 
  • 2 ½” x ½” (for stamping sentiment)
  • 2” x 2” (for stamping and die cutting ice cream, straw and cherry)

Early Espresso

  • 4 ⅛” x 5 ⅜”
  • 4 ⅞” x 1 ⅞”
  • 2 ⅝” x 3 ⅞” 
  • 4 ¼” x 1” 
  • 1” x 1” (for die cutting chocolate on ice cream)

Crumb Cake

  • 2 ¾” x 2 ½” 

Petal Pink

  • 2 ¾” x 1 ¾”

Dandy Designs Designer Series Paper

  • 5 ¼” 4” (Petal Pink)
  • 4 ¾” x 1 ¾” (Polka Dot Design)


Let’s Create

  1. Affix all stamps to Acrylic Blocks.
  2. Fold the Card Base in half using a Bone Folder to sharpen the crease.
  3. Using Petal Pink ink, stamp the Detail part of the milkshake glass onto the Petal Pink cardstock and die cut using the coordinating die from the Share A Milkshake Die Set.
  4. Using Petal Pink ink, stamp the largest Ice Cream onto 2” x 2” Basic White Scrap.  Using Sweet Sorbet ink, stamp the cherry and the straw stripes onto the same Basic White Scrap and die cut using the coordinating dies from the Share A Milkshake Die Set.
  5. Die cut the chocolate layer of the ice cream from the 1” x 1” piece of Early Espresso.
  6. Die cut the “waffle criss cross” die using the Crumb Cake piece of cardstock. 
  7. Using Early Espresso ink, stamp the “Celebrate” sentiment onto the 2 ½” x ½” Basic White.
  8. This step is optional – Using the straight border edge from the Blossoming Happiness Dies using the 4 ¼” x 1” Early Espresso.  If you decide not to die cut, then you’ll want to trim this piece to 4” x ¾”.
  9. Assemble the Milkshake – Slip the straw into the slit of the ice cream layer. Apply a thin line of multipurpose liquid glue to the top edge of the milkshake glass and adhere the ice cream layer.  Apply a thin line of glue to the lower edge of the Early Espresso (Chocolate) and adhere to the top of the ice cream layer.  Adhere a bit of glue to the back of the chocolate towards the left and adhere the cherry.
  10. Adhere the “waffle criss cross” crumb cake die cut to the 3 ¾” x 2 ½” Basic White panel at a bit of an angle toward the left.
  11. Using Stampin’ Dimensionals, adhere the Milkshake to this panel towards the lower right.
  12. Adhere the Petal Pink Designer Series Paper to its coordinating Early Espresso layer and adhere these layers to the folded Basic White Card Base.
  13. Adhere the Polka Dot Designer Series Paper to its coordinating Early Espresso layer and adhere these layers towards the left side of the card.
  14. Using the White Crinkled Seam Binding, tie a bow around the 4” strip of Early Espresso, with the bow towards the left edge. Adhere this strip towards the lower part of the card.
  15. Adhere the Milkshake Panel to its coordinating Early Espresso layer.  Using Stampin’ Dimensionals, adhere these layers toward the right side of the card centering up and down.
  16. Cut both sides of the sentiment at a slight angle.  Using tape or glue on the left side and 1 stampin’ dimensional on the very edge of the right, adhere this to the card over the lower part of the milkshake glass.
  17. Embellish with 3 pink opal rounds.
  18. Stamp and decorate the inside of your card and the envelope. And it’s ready to send for a special celebration!

Shopping List

Recommended Stamper’s Toolkit ❤


Quick & Easy Cards With No-Coloring

I love Two-Step Stamp Sets! First stamp the outline stamp, then stamp the fill stamp and voila, you’re done. Keep readying for all the details on this card.

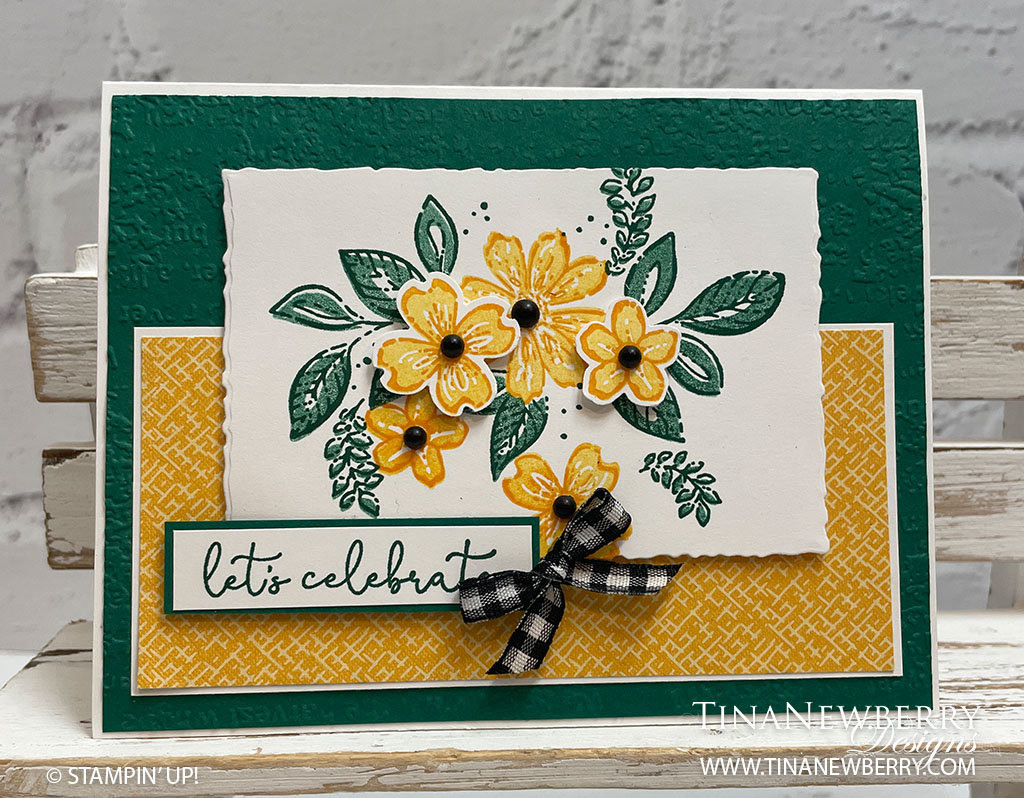
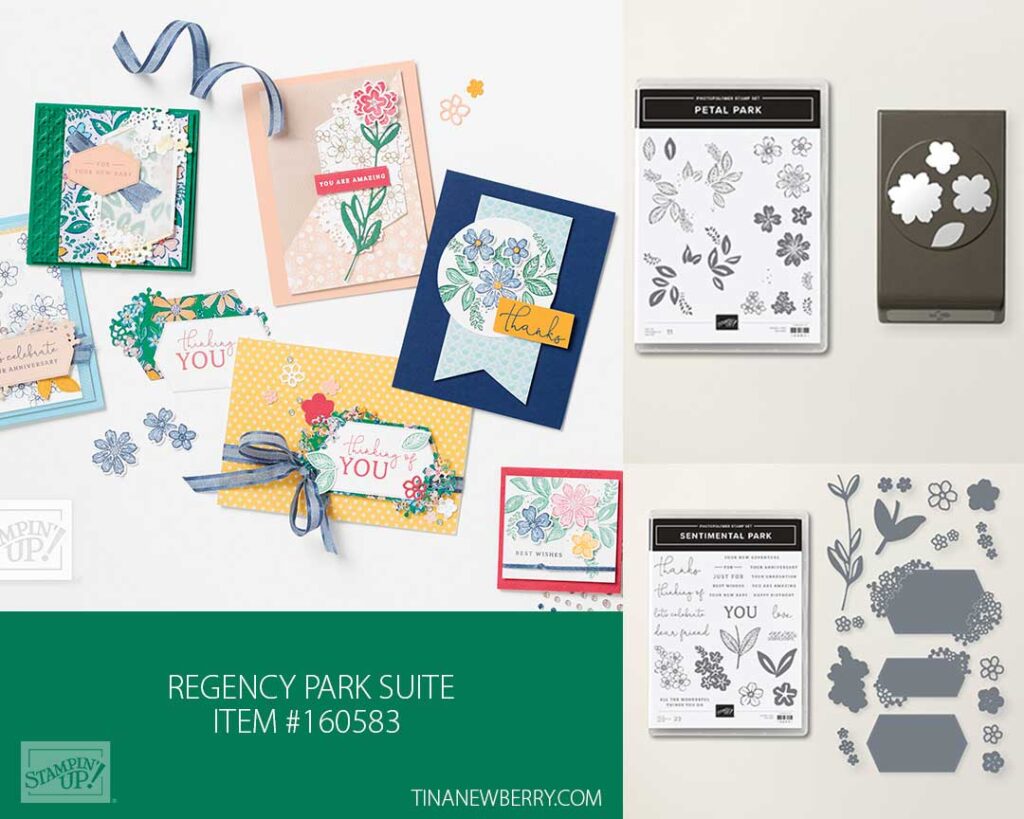
Fabulous florals in an elegantly bold color palette? Yes, please! The Regency Park Suite is a dashing combination of polished design and modern textures. This suite is packed to the brim with a punch bundle, a die bundle, an embossing folder, and fancy embellishments to make your projects feel extra special! Create easy multiples and dimension with the floral punch and use the everyday sentiments for everyone in your card lineup.

Measurements

Full list of supplies needed, listed below. A die cutting machine is needed for this card.

Basic White

  • 5 ½” x 8 ½”  scored and folded on the long-side at 4 ¼” 
  • 5” x 2 ⅜” 
  • 4 ¼” x 3” (for stamping flowers and die cutting using the deckled rectangle die)
  • 2” x 2” (for stamping and die cutting 2 small flowers)
  • 2 ¼” x ½” (for sentiment)

Shaded Spruce

  • 4 ⅛” x 5 ⅜”
  • 2 ⅜” x ⅝” 

Regency Park 6”x6” Designer Series Paper

  • 4 ⅞” x 2 ¼” (Mango Melody crosshatch print)

Let’s Create

  1. Affix all stamps to Acrylic Blocks.  TIP: for mounting the 2 step leaves stamp set in order for them to line up correctly.  Stamp the leaves outline onto your grid paper mat (or any scratch paper) Place the solid filled in stamp of the leaves onto the stamped image of the outline positioning them so the match up properly.  Then lay the clear block onto your stamp.
  2. Fold the Card Base in half using a Bone Folder to sharpen the crease.
  3. Emboss the 4 ⅛” x 5 ⅜” Shaded Spruce cardstock using the Timeworn Type 3D embossing folder.
  4. Die cut the Basic White 4 ¼” x 3” using the Deckled Rectangle Die.  (Counting out from the smallest die, it’s the 5th die).
  5. Using Shaded Spruce Ink, stamp the leaf outline onto the Basic White Deckled Rectangle. Stamp the solid image of the leaves using Shaded Spruce Ink, but stamp it off once to get a lighter shade.  Hint – with any 2-step stamping, it’s easier to see to line up your images if you stamp the darker color first.
  6. Using the stamp with the 3 flowers outline and Mango Melody Ink Pad, stamp the flowers.  You might want to practice on your scratch paper lining the flowers up in the opening.  It is directional to where you can get the flowers to line up without overlapping leaves. 
  7. Stamp the solid part of the flowers using Mango Melody Ink stamped off once.
    Stamp a second set of the smaller flowers onto the 2”x2” Basic White Cardstock using the same technique as above.  Punch these 2 flowers using the Petal Park Builder Punch. Adhere these 2 flowers to the stamped panel using Stampin’ Dimensionals.
  8. Using Shaded Spruce Ink Pad, stamp the “let’s celebrate” sentiment onto the small rectangle of Basic White Cardstock. Mat this piece with the coordinating Shaded Spruce rectangle.
  9. Mount the Mango Melody Designer Series Paper onto the 5” x 2 ⅜” Basic White Cardstock.
  10. Adhere these layers to the Embossed Shaded Spruce Cardstock, then attach to the folded Basic White Card Base.
  11. Attach the Stamped Basic White panel to the Card Front using Stampin’ Dimensionals along the top edge and adhesive along the bottom edge.  (this accounts for the thicker laying on the lower half of the card)
  12. Attach the Sentiment to the lower left side of the card using a Stampin’ Dimensional on the far left and adhesive in the middle to the right. 
  13. Tie a small bow using Black & White Gingham Ribbon and attach it to your card using a Mini Glue Dot.
  14. Place Matte Black Dots in the flower centers.
  15. Stamp and decorate the inside of your card and the envelope. And it’s ready to send off to a special friend.

Shopping List

Recommended Stamper’s Toolkit ❤
 

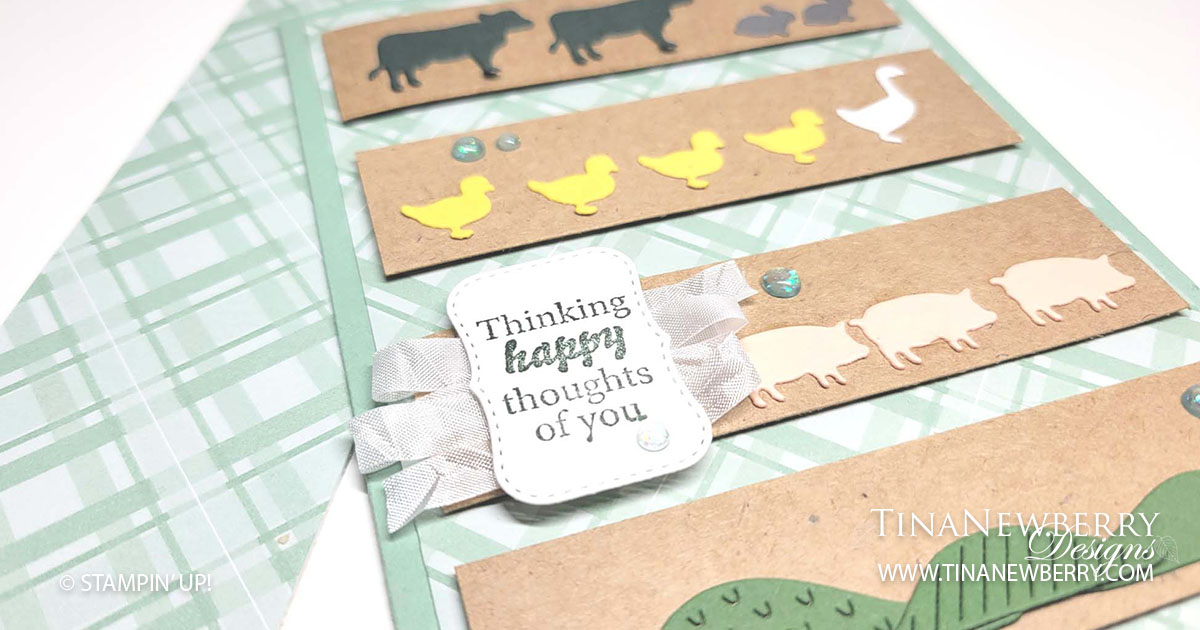
Thinking Happy Thoughts of You On the Farm

Stampin’ Up! Catalogs are full of inspiration. CASE the Catalog when you copy and share everything. This card was inspired by a design on page 34 of the new Jan-April Mini Catalog.

Measurements

Full list of supplies needed, listed below. A die cutting machine is needed for this card.

Mint Macaron Cardstock: 5 ½” h x 8 ½” h scored and folded at 4 ¼”

Kraft Paper:  1” h x 3 ¾” w (4)

2022-2023 Subtles Designer Series Paper

Basic White Cardstock:

  • 5 ¼” h x 4” w
  • Scrap for sentiment and goose

Scrap Cardstock for animals:

  • Evening Evergreen
  • Basic Gray
  • Daffodil Delight
  • Petal Pink
  • Garden Green

Let’s Create

  1. Affix all stamps to Acrylic Blocks.
  2. Fold the Card Base in half using a Bone Folder to sharpen the crease.
  3. Die cut all the animals:
    • Evening Evergreen Cardstock Cows (2)
    • Basic Gray Bunnies (2)
    • Daffodil Delight Goslings (4)
    • Basic White Goose
    • Petal Pink Pigs (3)
    • Garden Green Hills (3)
  4. Use Stampin’ Seal to attach the Mint Macaron DSP to the Card Base.
  5. Use Stampin’ Dimensionals to attach the Kraft Paper strips.
  6. Stamp the sentiment in Evening Evergreen Ink on Basic White Cardstock and die cut with the label die from Succulent Dies.
  7. Use Tear N’ Tape to attach a zig zag of Crinkle Seam Ribbon and then attach the Sentiment with Stampin’ Dimensionals. 
  8. Use Stampin’ Seal or Multipurpose Glue to attach the animals. 
  9. Add some 2021-2023 In Color Opal Rounds
  10. Stamp and decorate the remaining 5 ¼”  hx 4” w Basic White Cardstock and attach to the inside with Stampin’ Seal.
  11. Decorate your envelope.
  12. Great CASE!! ! Who needs this pick-me-up? Put it in the mail today.

Shoping List

This project also uses the On the Farm Bundle [160661]

Recommended Stamper’s Toolkit ❤


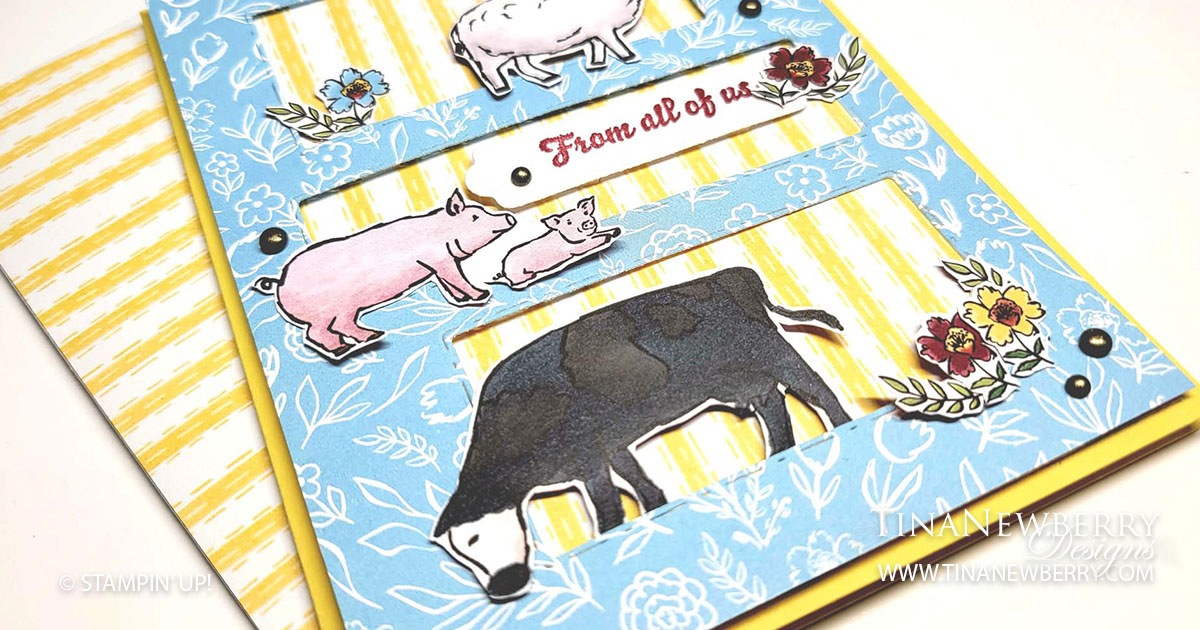
Create a Farm Scene From All of Us Card

My sister and her family run a farm in southeastern OH and I couldn’t wait to create with the new On The Farm Bundle and Sale-a-bration Designer Series Paper! So cute!! The On the Farm Bundle is new in the 2023 Jan-April Mini Catalog and the On the Farm Designer Series Paper is available for free with a $50 product order during Sale-a-bration. Both catalogs begin Jan. 5, 2023.

Choose a free Sale-A-Bration product – like this farm themed paper – with every $50 or $100 you spend (before tax and shipping) January 5 – February 28, 2023.

Measurements

Full list of supplies needed, listed below. A die cutting machine is needed for this card.

Daffodil Delight Cardstock; 5 ½” h x 8 ½” w scored and folded on the long-side at 4 ¼”

Basic White Cardstock: 

  • scrap for sentiment label
  • 5 ¼” h x 4” w

On the Farm Designer Series Paper (DSP):

  • Daffodil Delight Striped:5 ¼” h x 4” w
  • Balmy Blue Flower: 5 ¼” h x 4” w
  • Cow, sheep, pigs, and flowers

Let’s Create

  1. Affix all stamps to Acrylic Blocks.
  2. Fold the Card Base in half using a Bone Folder to sharpen the crease.
  3. Attach the Daffodil Delight Striped DSP to the from of the card base with Stampin’ Seal.
  4. Use the Picture This! Die to die cut the rectangles from the Balmy Blue DSP.
  5. Use Paper Snips to fussy cut out the animals and flowers. If you want a black cow with a white face, like mine, use the Basic Black Dark Stampin’ Blend to color the cow.
  6. Stamp the sentiment in Cherry Cobbler ink on the Basic White Cardstock and die cut with the label from the Seasonal Label Dies.
  7. Arrange the Balmy Blue, sentiment, animals, and flowers on the front of the card in a pleasing manner.
  8. Carefully attach the Balmy Blue die cut with Stampin’ Dimensionals.
  9. Attach the Sentiment with Stampin’ Dimensionals.
  10. Attach the animals and flowers with Stampin’ Seal, Mini Glue Dots and/or Stampin’ Seal as needed.
  11. Add some Rustic Metal Dots
  12. Stamp and decorate the remaining 5 ¼” hx 4” w Basic White Cardstock and attach to the inside with Stampin’ Seal.
  13. Decorate your envelope.
  14. So Fun!! ! Now who will you send it to?

Shopping List

This project also uses the On the Farm Bundle [160661] and On the Farm Sale-a-bration Designer Series Paper [160835] available Jan 5, 2023.

Recommended Stamper’s Toolkit ❤