
Stamp a beautiful focal image in your favorite colors to frame your sentiment with this quick and easy fun fold card.
Measurements
Full list of supplies needed, listed below.
Card base – Copper Clay
5 ½” x 8 ½” scored at 3 ¼” and 7 ½”
Old Olive – 2 1/8” x 2 5/8”
Very Vanilla – 4” x 5 ¼”
2” x 2 ½”
1 ½” x 3 ¼”
Tartan Foil Designer Series Paper (DSP) – 3” x 5 ¼” Copper Clay
¾” x 5 ¼”


Let’s Create
- Affix all stamps to Acrylic Blocks.
- Fold the Card Base in half using a Bone Folder to sharpen the crease.
- Add the DSP to the card front on each side.
- Take the 1 ½” x 3 ¼” piece of Very Vanilla and flag each end by cutting up the center then cutting from the side to the center and repeating on the other side to form a banner end. Repeat on the procedure on the other end. This gives you a banner on each end.
- Add the banner to the left flap of the card front making sure not to add glue to the side that overlaps the right flap or you will glue your card shut.
- Using your Old Olive marker, ink up just the word “smile” on the sentiment stamp. Stamp it in the center of the small Very Vanilla panel.
- Using Copper Clay, Crushed Curry, Old Olive, and Pumpkin Pie ink randomly stamp the leaves all over the panel.
- Add the panel to the Old Olive panel.
- Add a strip of Tear & Tape to the back of the panel. Remove the backing and add a length of Linen Thread twisting it back and forth so it shows on each end. Add another strip of Tear & Tape over the first one to sandwich the linen thread in place.
- Add dimensionals to the center back of the panel. Use some of the dimensionals to secure the linen thread in place if needed.
- Add the panel to the banner on the card front making sure to center on all sides.
- Sprinkle on the gems.
- Stamp and decorate the inside and attach with Stampin’ Seal.
- Decorate your envelope.
- So cute! Now send it to someone special.
Shopping List
")
")


 Specialty Designer Series Paper")

$5.00
Recommended Stamper’s Toolkit ❤

$12.00

$7.00

$4.25

$5.75

$5.50

$11.00

$26.00

$7.00

$6.50

$11.00

$20.00

$11.00

$80.75

$128.00


$16.00

$13.00


")


 Designer Series Paper")


![Sunny Springs Mix & Match Cards & Envelopes [ 163754 ]](https://assets1.tamsnetwork.com/images/EC042017NF/163754s.jpg "Sunny Springs Mix & Match Cards & Envelopes [ 163754 ]")
![Saying Something Mix & Match Ephemera Pack (English) [ 163761 ]](https://assets1.tamsnetwork.com/images/EC042017NF/163761s.jpg "Saying Something Mix & Match Ephemera Pack (English) [ 163761 ]")
![By Your Side Kit (English) [ 163876 ]](https://assets1.tamsnetwork.com/images/EC042017NF/163876s.jpg "By Your Side Kit (English) [ 163876 ]")
![Brights 6" X 6" (15.2 X 15.2 Cm) Designer Series Paper [ 163775 ]](https://assets1.tamsnetwork.com/images/EC042017NF/163775s.jpg "Brights 6\" X 6\" (15.2 X 15.2 Cm) Designer Series Paper [ 163775 ]")
![Regals 8 1/2" X 11" Cardstock [ 161704 ]](https://assets1.tamsnetwork.com/images/EC042017NF/161704s.jpg "Regals 8 1/2\" X 11\" Cardstock [ 161704 ]")
![Neutrals 8 1/2" X 11" Cardstock [ 161705 ]](https://assets1.tamsnetwork.com/images/EC042017NF/161705s.jpg "Neutrals 8 1/2\" X 11\" Cardstock [ 161705 ]")
![Baker's Twine Essentials Pack [ 155475 ]](https://assets1.tamsnetwork.com/images/EC042017NF/155475s.jpg "Baker's Twine Essentials Pack [ 155475 ]")
![Glossy Dots Assortment [ 158827 ]](https://assets1.tamsnetwork.com/images/EC042017NF/158827s.jpg "Glossy Dots Assortment [ 158827 ]")
![Spotlight On Nature Dies [ 163580 ]](https://assets1.tamsnetwork.com/images/EC042017NF/163580s.jpg "Spotlight On Nature Dies [ 163580 ]")

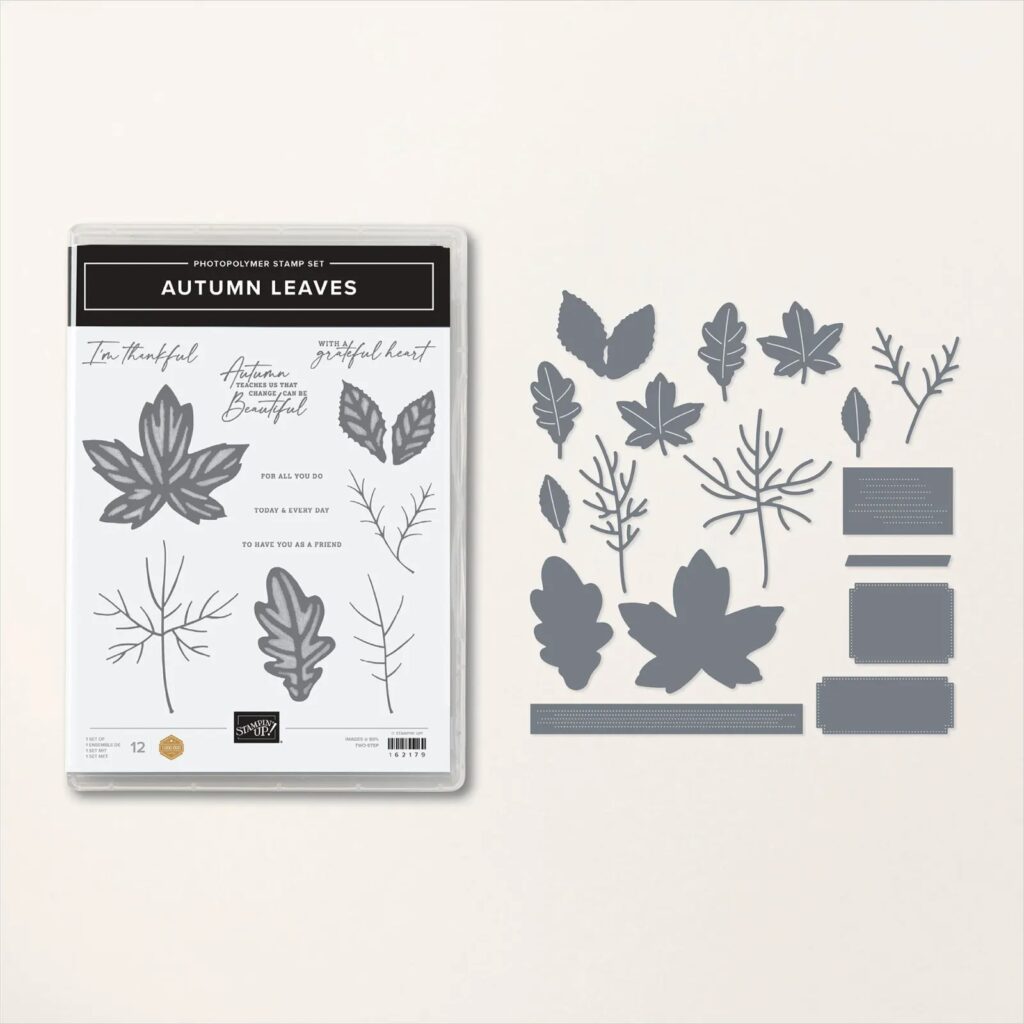


![Autumn Leaves Photopolymer Stamp Set (English) [ 162179 ]](https://assets1.tamsnetwork.com/images/EC042017NF/162179s.jpg "Autumn Leaves Photopolymer Stamp Set (English) [ 162179 ]")
![Mossy Meadow Classic Stampin' Pad [ 147111 ]](https://assets1.tamsnetwork.com/images/EC042017NF/147111s.jpg "Mossy Meadow Classic Stampin' Pad [ 147111 ]")
![Cajun Craze 8-1/2" X 11" Cardstock [ 119684 ]](https://assets1.tamsnetwork.com/images/EC042017NF/119684s.jpg "Cajun Craze 8-1/2\" X 11\" Cardstock [ 119684 ]")
![Crumb Cake 8-1/2" X 11" Cardstock [ 120953 ]](https://assets1.tamsnetwork.com/images/EC042017NF/120953s.jpg "Crumb Cake 8-1/2\" X 11\" Cardstock [ 120953 ]")
![Crushed Curry 8-1/2" X 11" Cardstock [ 131199 ]](https://assets1.tamsnetwork.com/images/EC042017NF/131199s.jpg "Crushed Curry 8-1/2\" X 11\" Cardstock [ 131199 ]")
![Iconic Celebrations 6" X 6" (15.2 X 15.2 Cm) Designer Series Paper [ 164193 ]](https://assets1.tamsnetwork.com/images/EC042017NF/164193s.jpg "Iconic Celebrations 6\" X 6\" (15.2 X 15.2 Cm) Designer Series Paper [ 164193 ]")
![Natural 3/8" (1 Cm) Polka Dot Trim [ 163465 ]](https://assets1.tamsnetwork.com/images/EC042017NF/163465s.jpg "Natural 3/8\" (1 Cm) Polka Dot Trim [ 163465 ]")
![Iridescent Faceted Gems [ 163368 ]](https://assets1.tamsnetwork.com/images/EC042017NF/163368s.jpg "Iridescent Faceted Gems [ 163368 ]")
![Autumn Leaves Dies [ 162185 ]](https://assets1.tamsnetwork.com/images/EC042017NF/162185s.jpg "Autumn Leaves Dies [ 162185 ]")