I have been helping small businesses, non-profits and institutions of higher education with a variety of print and digital solutions since 2000. From Save-the-Date postcards to eCommerce websites, I am prepared to help you grow your business without breaking the budget.
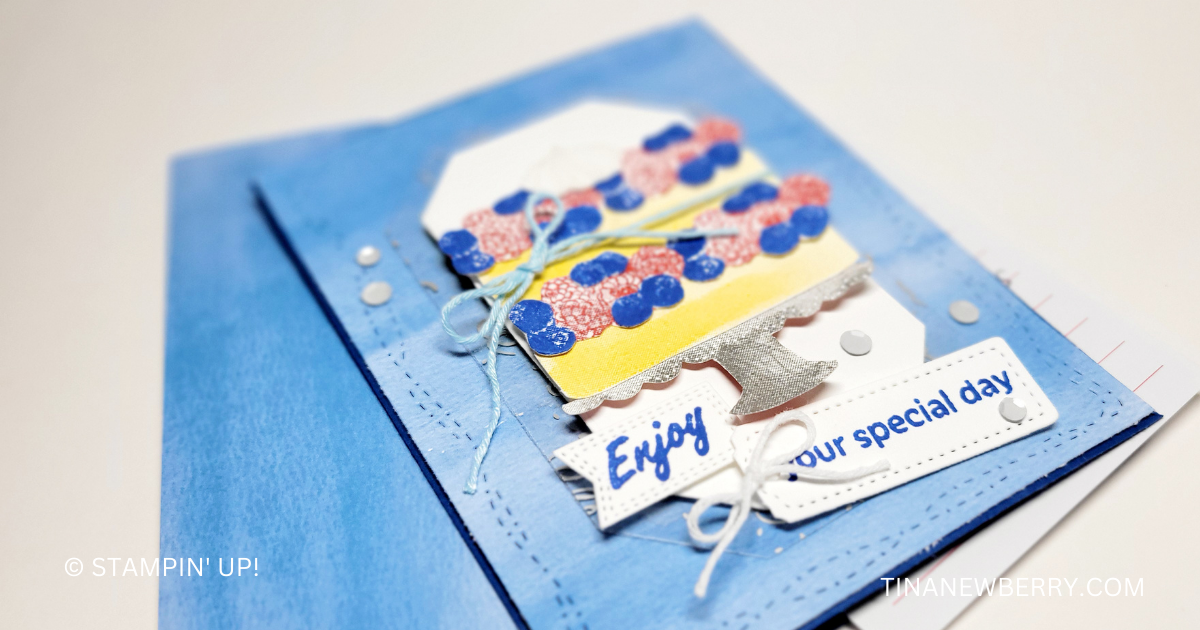
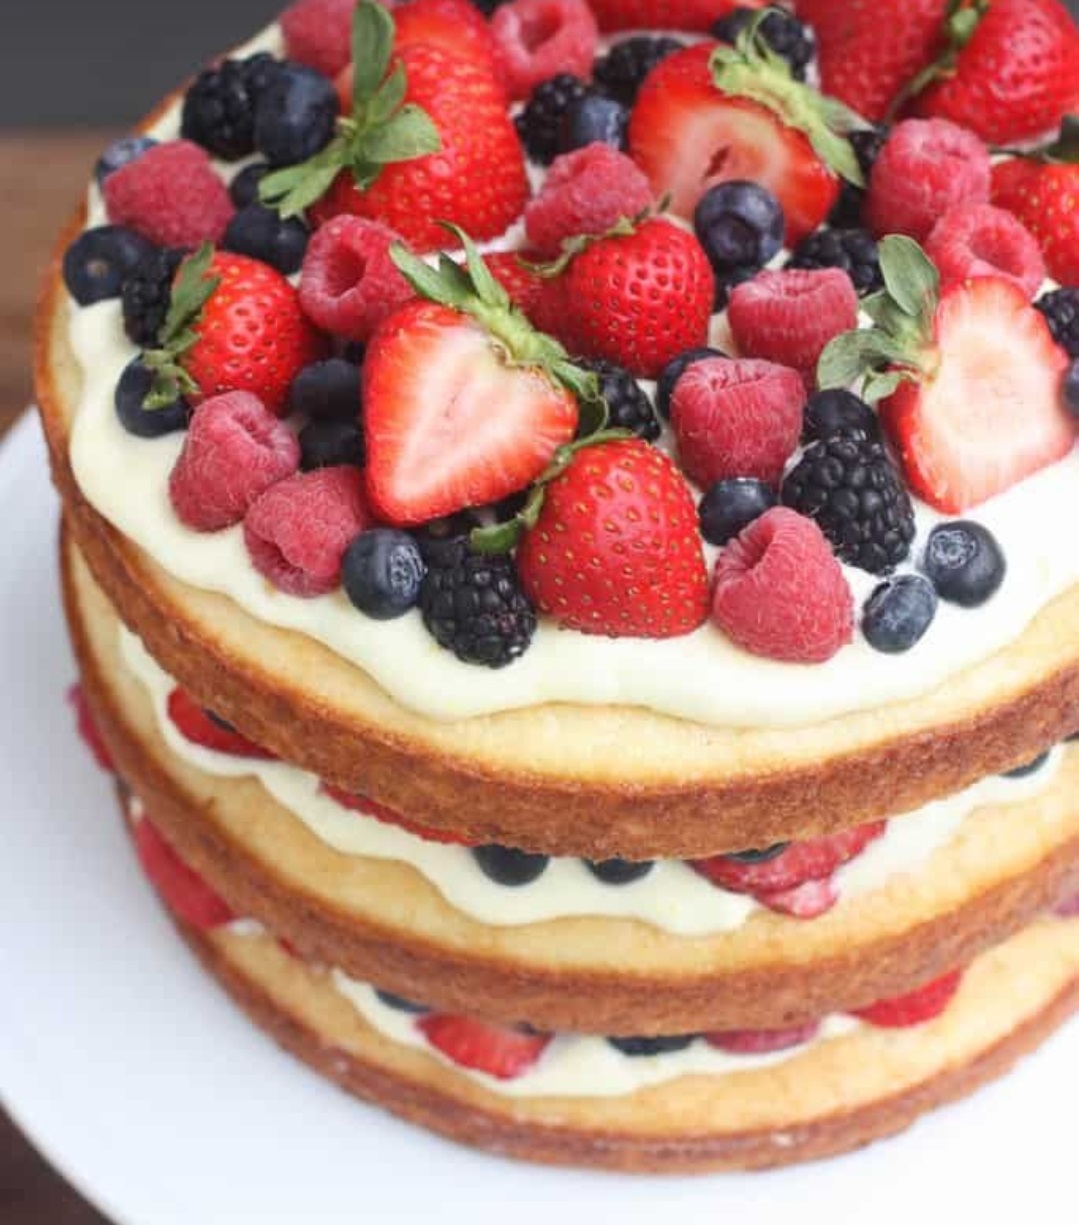
You know I love strawberry shortcake, so when I saw the Cake Fancy stamp set had berries and whip cream stamps, I was sold! Take a look at my inspiration for this card.
Treat yourself to something sweet with the Cake Fancy Stamp Set! These photopolymer stamps have delicious texture and detail. Create a layered cake or flip the stamps 180 degrees to make something more versatile. This set comes with multiple flowers and fruit to help you decorate your cake or use them individually for fresh designs. Celebrate big achievements and birthdays throughout the year with sentiments you can mix and match!
Measurements
Full list of supplies needed, listed below. A die cutting machine is needed for this card.
Blueberry Bushel Cardstock: 5 ½” h x 8 ½” w scored and folded at 4 ¼” w
Basic White Cardstock:
5 ½” h x 4 ¼” w (for inside)
Scrap for 2 ½ x 4 1/4”h for Countryside Corners Die
Scrap for cake, berries, whip cream, stand, and sentiment
Gold Celebrations Specialty Designer Series Paper (SDSP): 4 1/2” h x 3 1/4″ w scrap for Countryside Corners Die
Bright & Beautiful Designer Series Paper (DSP): 5 ½” h x 4 ¼” w
Let’s Create
Affix all stamps to Acrylic Blocks.
Fold the Card Base in half using a Bone Folder to sharpen the crease.
Run the DSP through the Stampin’ Cut & Emboss machine with Stitched with Whimsy Die.
Attach the DSP panel using Stampin’ Seal.
Run the SDSP through the Stampin’ Cut & Emboss Machine with the Countryside Corners Die.
Attach SDSP with Tear N’ Tape.
Run a piece of Basic White scrap through the Stampin’ Cut & Emboss Machine with a smaller Countryside Corners Die.
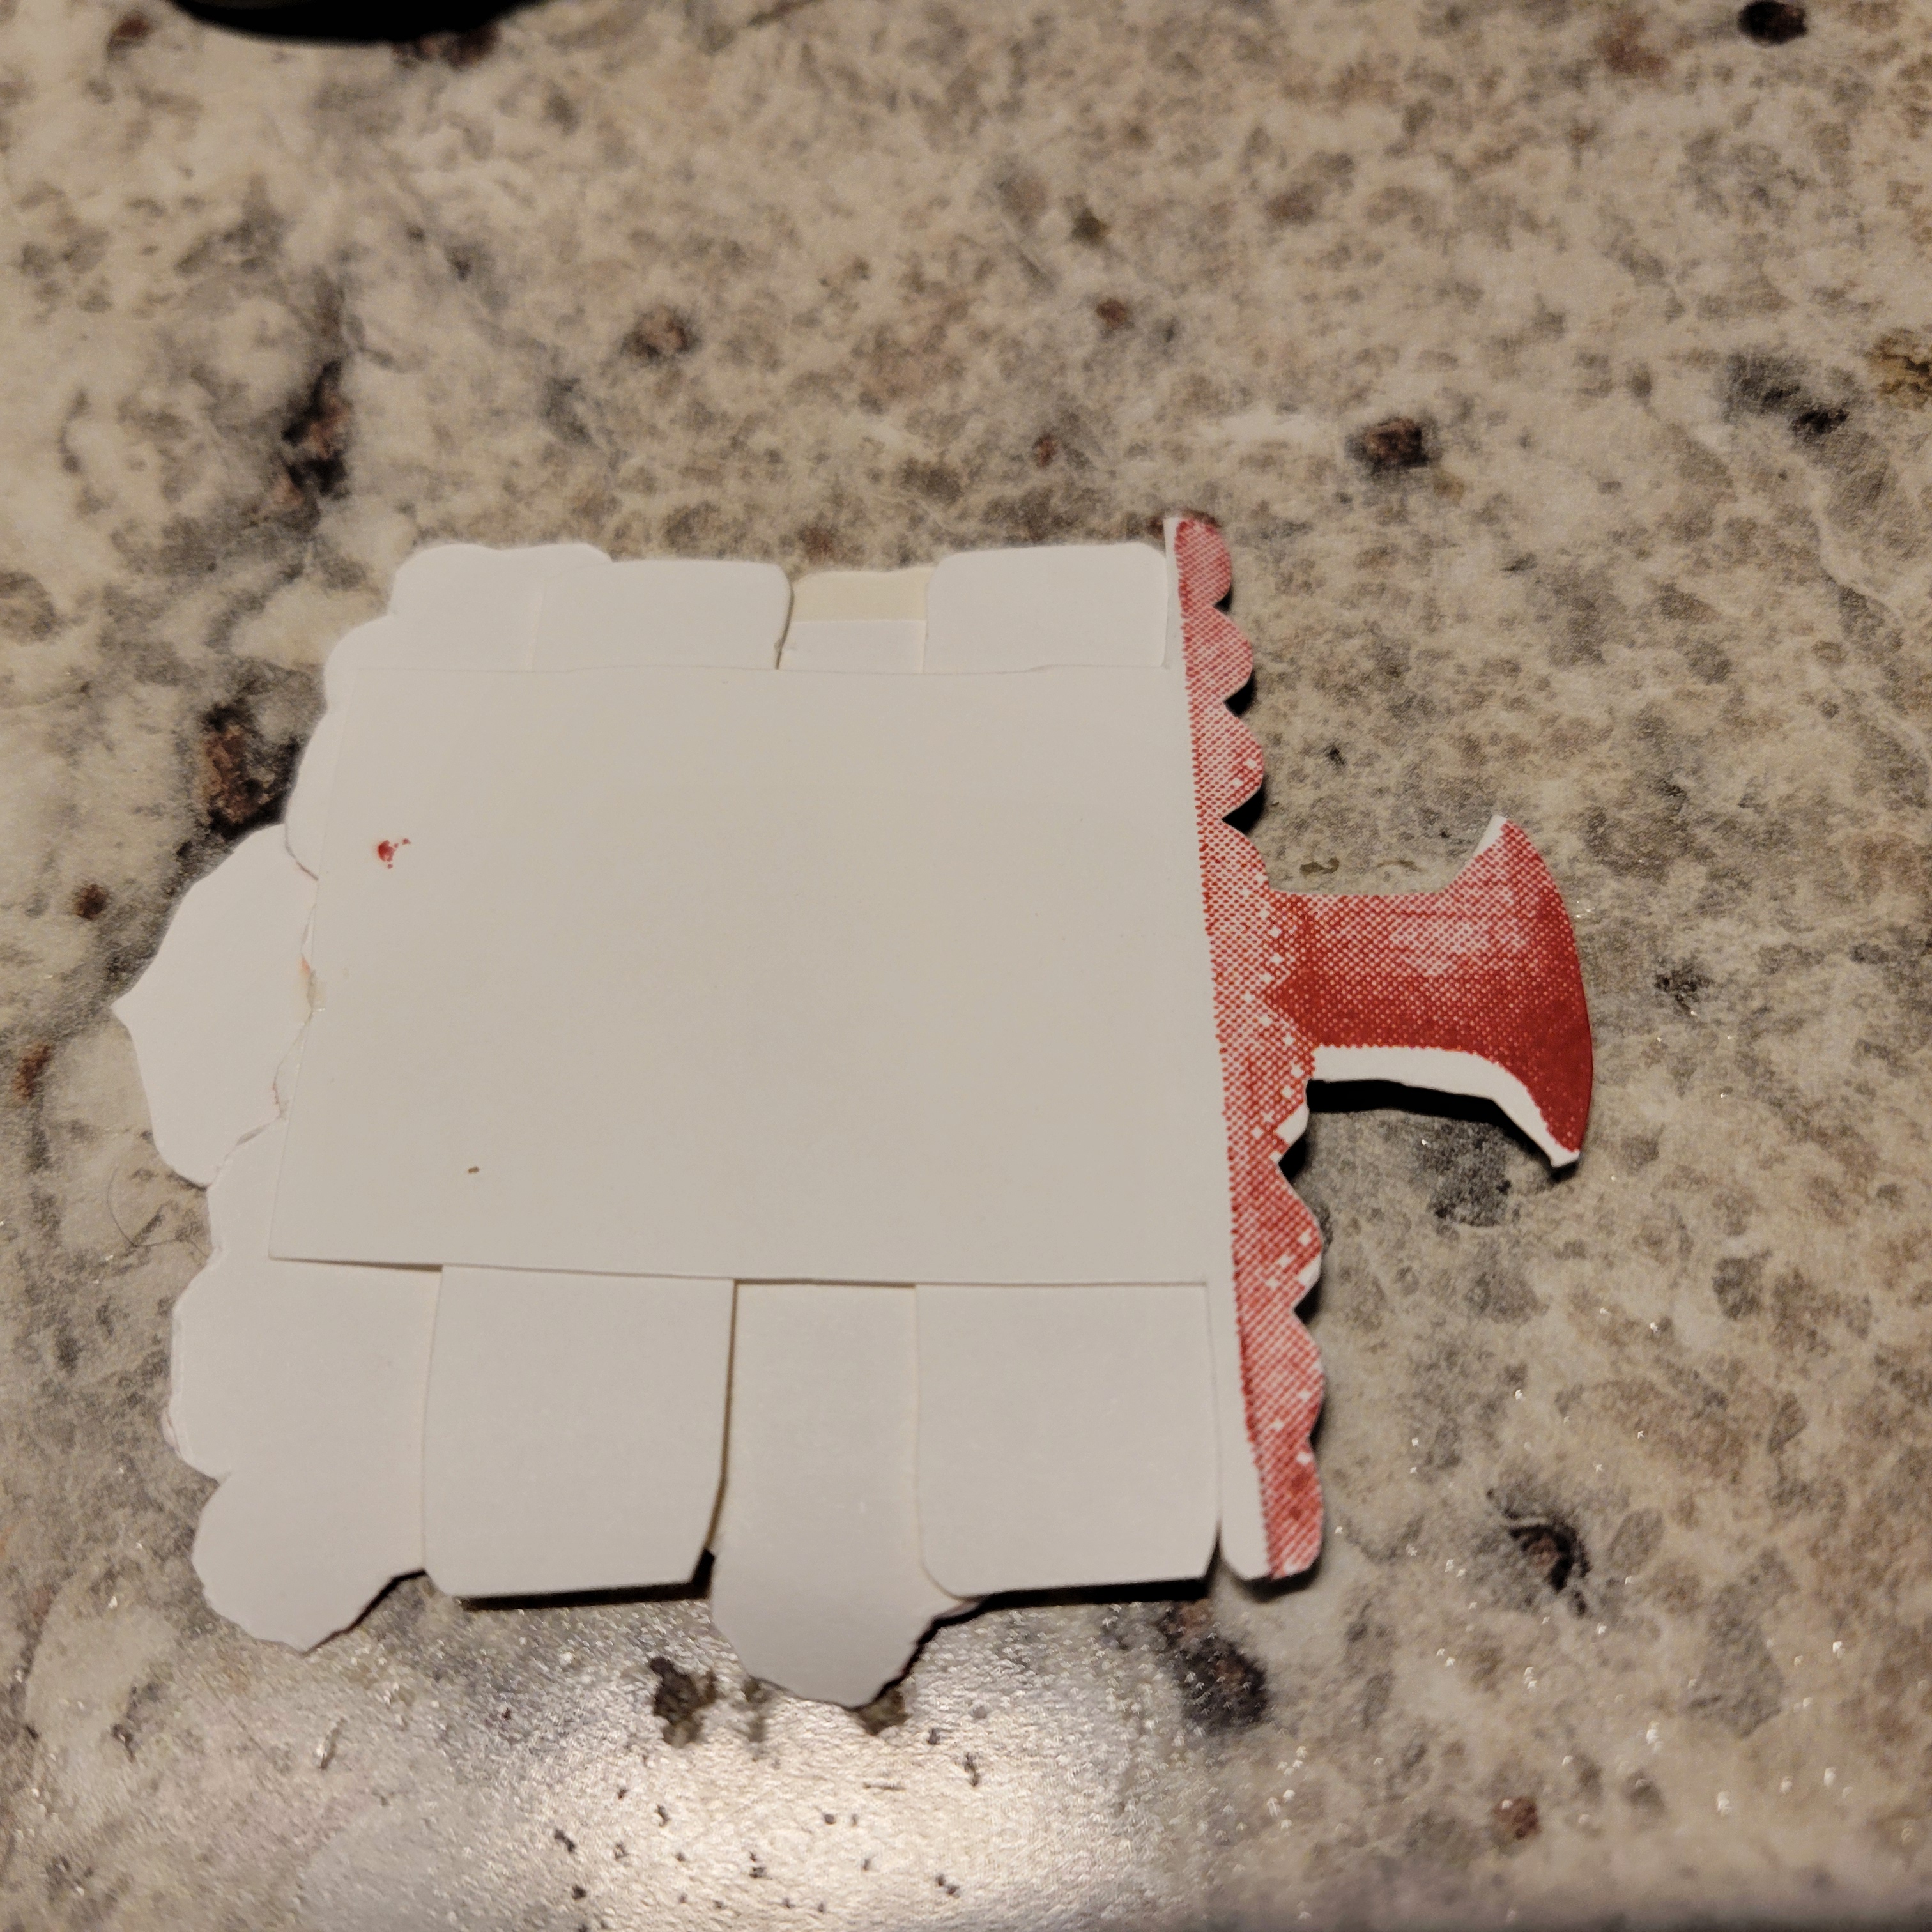
To make the cake:
On scrap Basic White
Stamp two layers of cake in Daffodil Delight ink
Stamp four berry sections in Real Red
Stamp four berry sections in Blueberry Bushel.
Stamp one whip cream in Grey Granite. You may like a ‘stamped off’ look better. To stamp-off simply ink your stamp, stamp on scrap paper to remove a bit of ink and then stamp on scrap cardstock.
On a 3” h x 2 ¾: w piece of Basic White scrap, stamp the cake stand pedestal in Grey Granite.
Attach Adhesive Sheets to the back of the Blueberry berry sections.
Use Paper Snips to cut out:
Red berry sections
Whip cream
Cake layers
Cake stand pedestal, instead of cutting across the top of the pedestal, leave a 1 ½” x 1 ½” section attached to the top of the pedestal so you can adhere your cake layers.
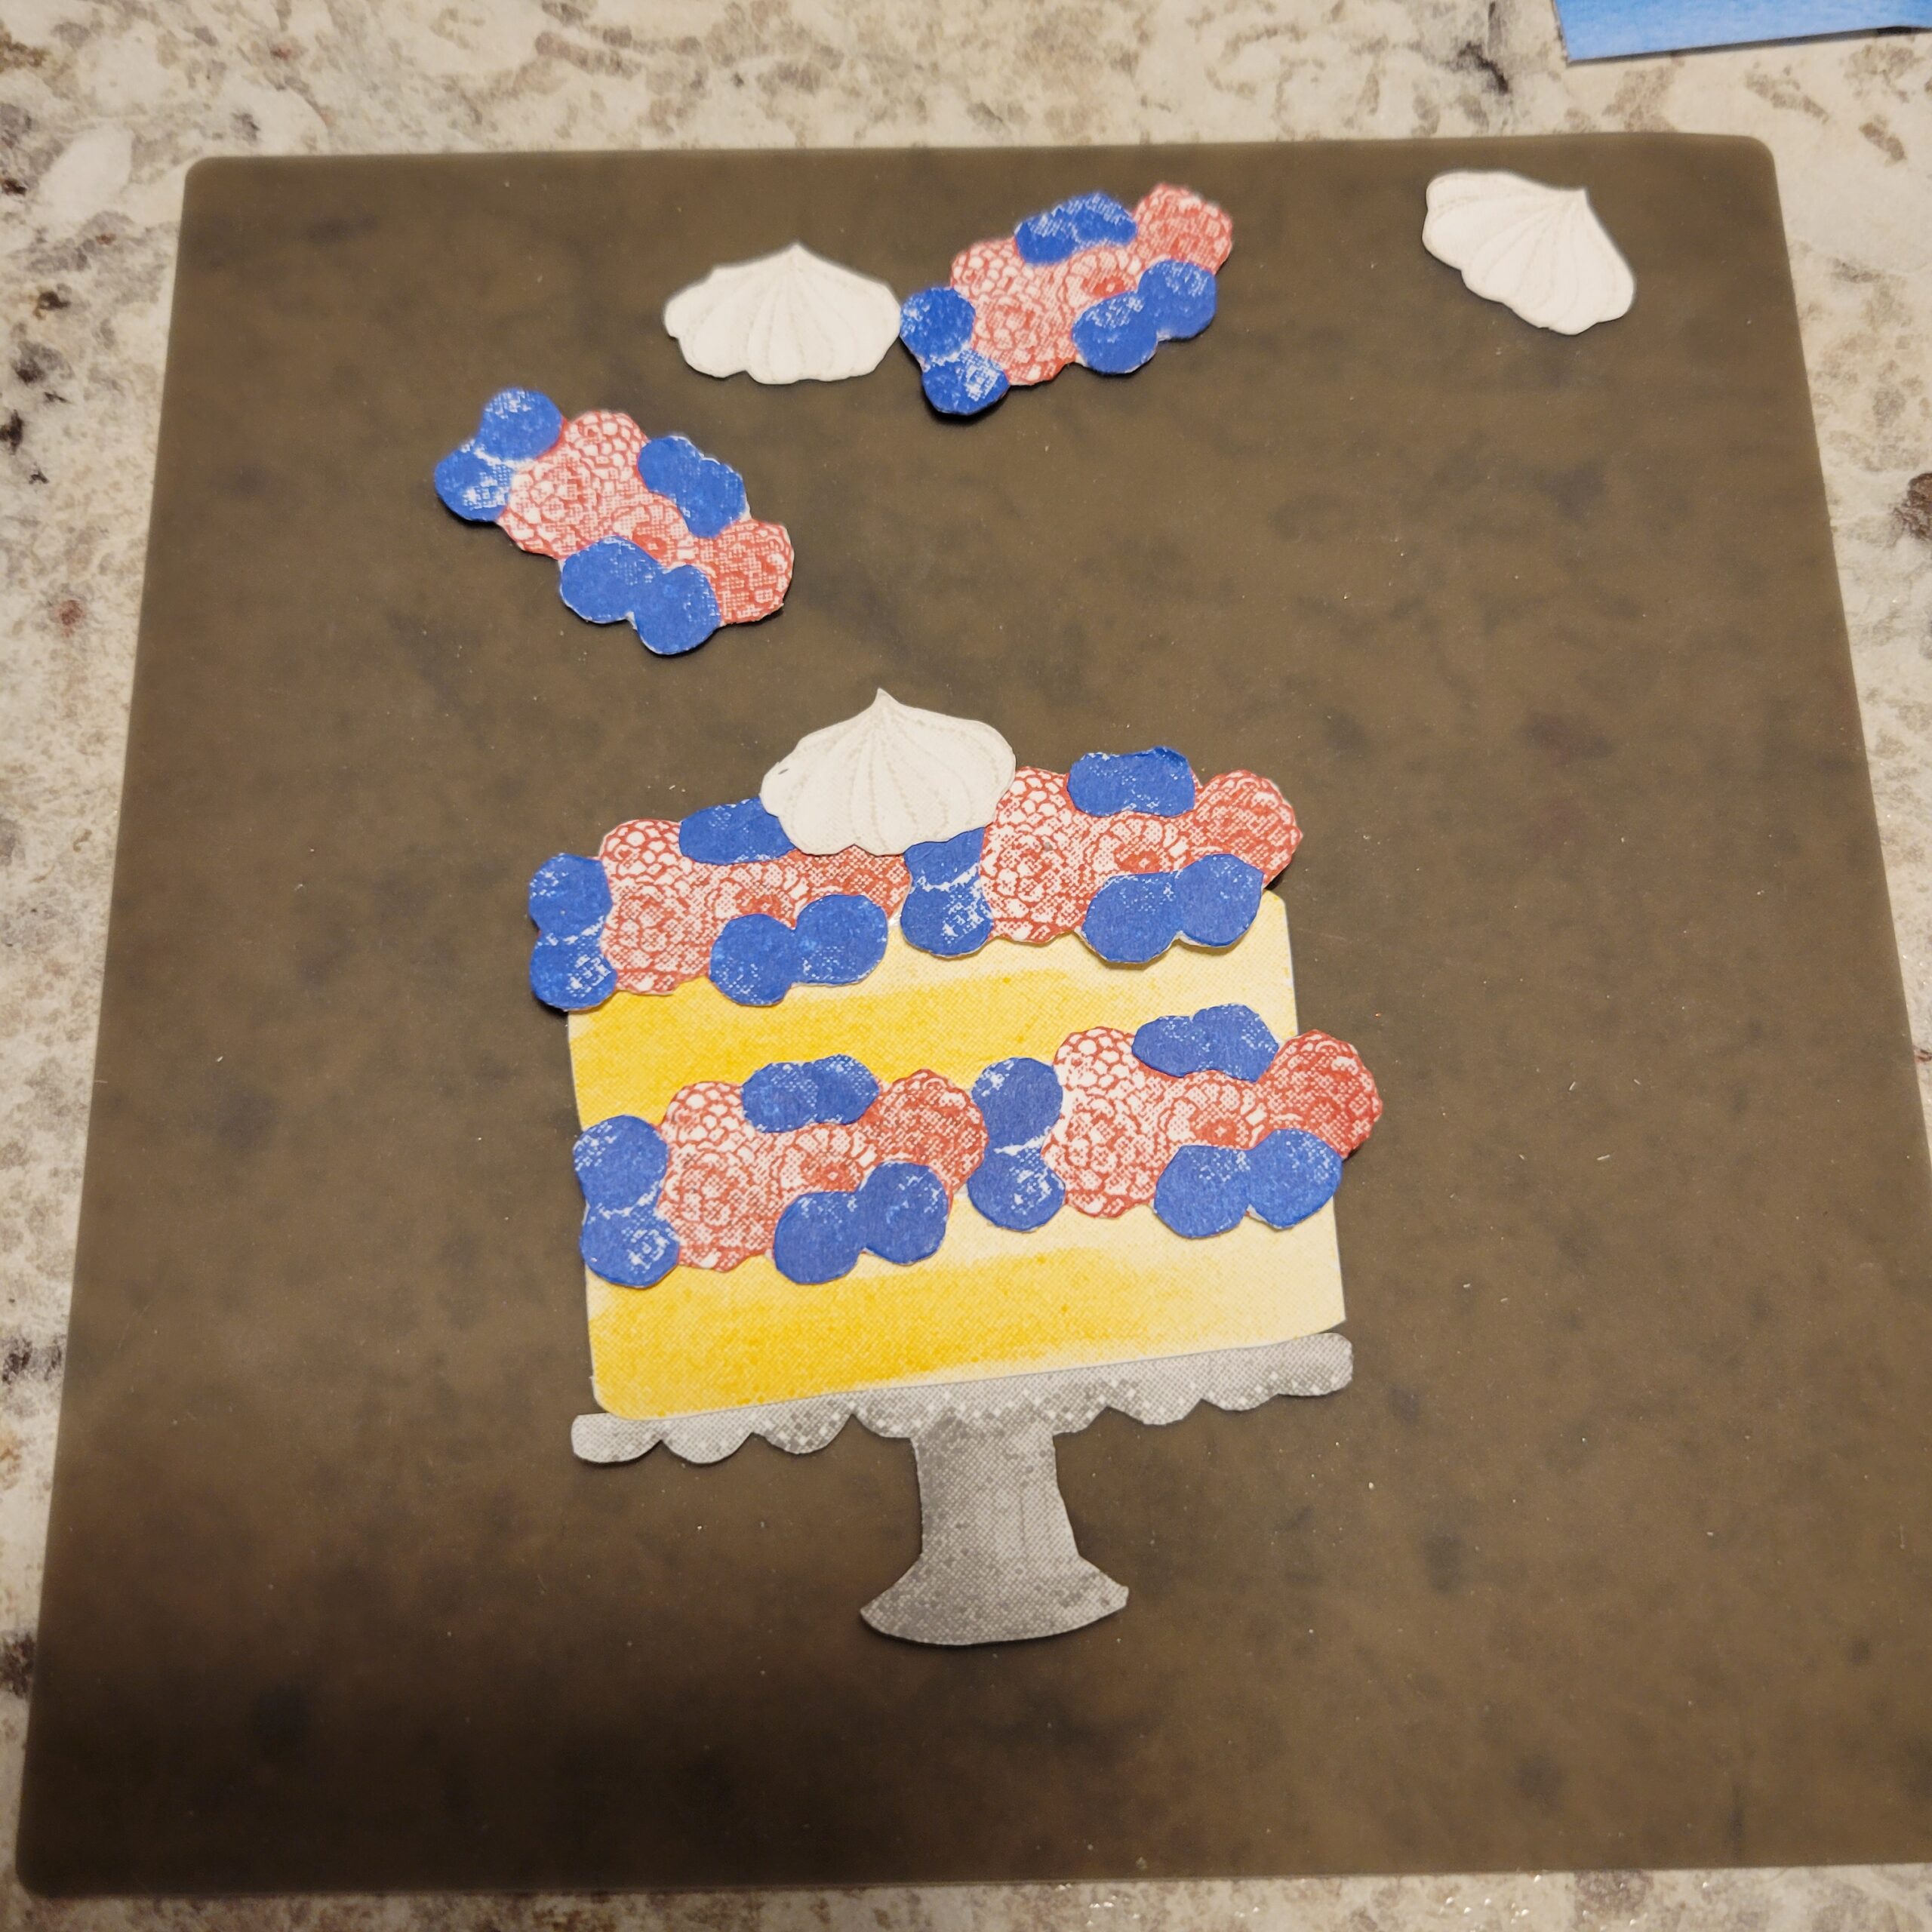
12 Blueberry sections, Affix to the red berry sections as you go, to more easily piece them together in the right spots.
Assemble your cake on the cake stand pedestal
Attach the cake layers with Stampin’s Seal
Attach the berry layers and whip cream with Mini Glue Dots.
Tie a piece of Baker’s Twine around the top cake layer.
Stamp sentiments on Basic White scrap and die cut out with dies from Nested Essentials and Tailor Made Tags dies.
Attach sentiments with Stampin’ Dimensionals.
Attach a white Baker’s Twine bow to the sentiment tag with a Mini Glue Dot.
Sprinkle on some Neutrals Sequins
Stamp and decorate the remaining 5 ¼” w x 4” h for inside
Decorate your envelope.
Looks good enough to eat! Who will you send it to?
Order online from the convenience of your own home or send me your order and I’ll take care of you. ❤ Either way, please use the host code ANTD9UHS. Order online AND, if your order is $50 or more using host code ANTD9UHS between now and the end of the month you’ll receive a free pack of embellishment as a THANK YOU gift from me. ❤ If your order is over $150, skip the host code, earn Stampin’ Rewards for free stuff yourself and I’ll still send you a free pack of embellishment as a THANK YOU gift from me. ❤
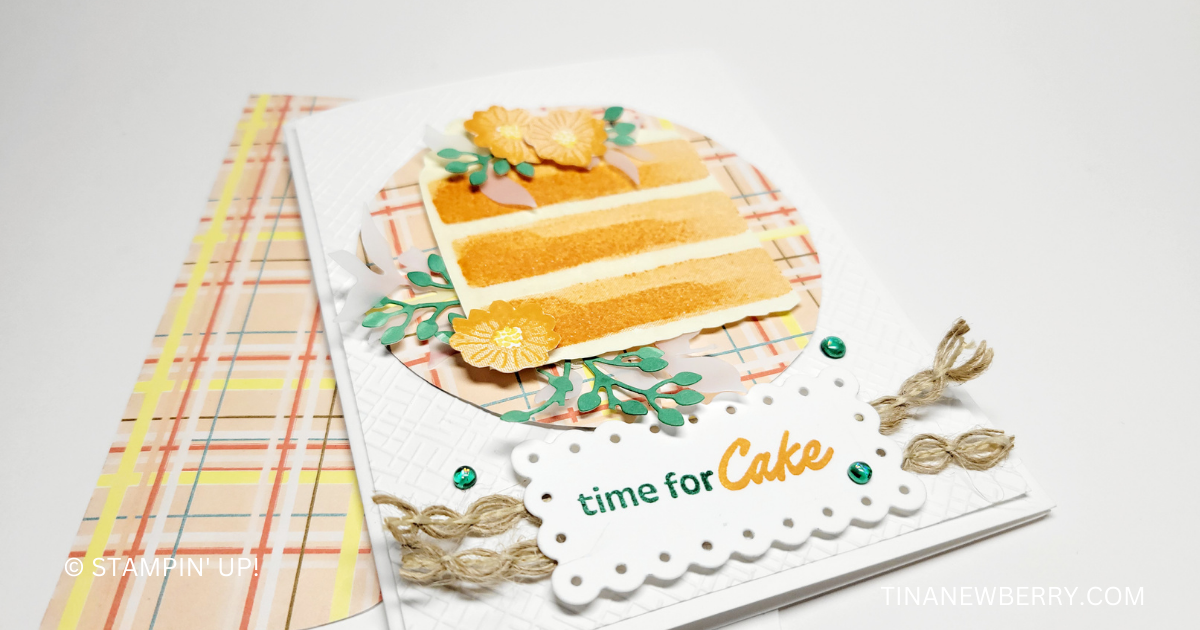
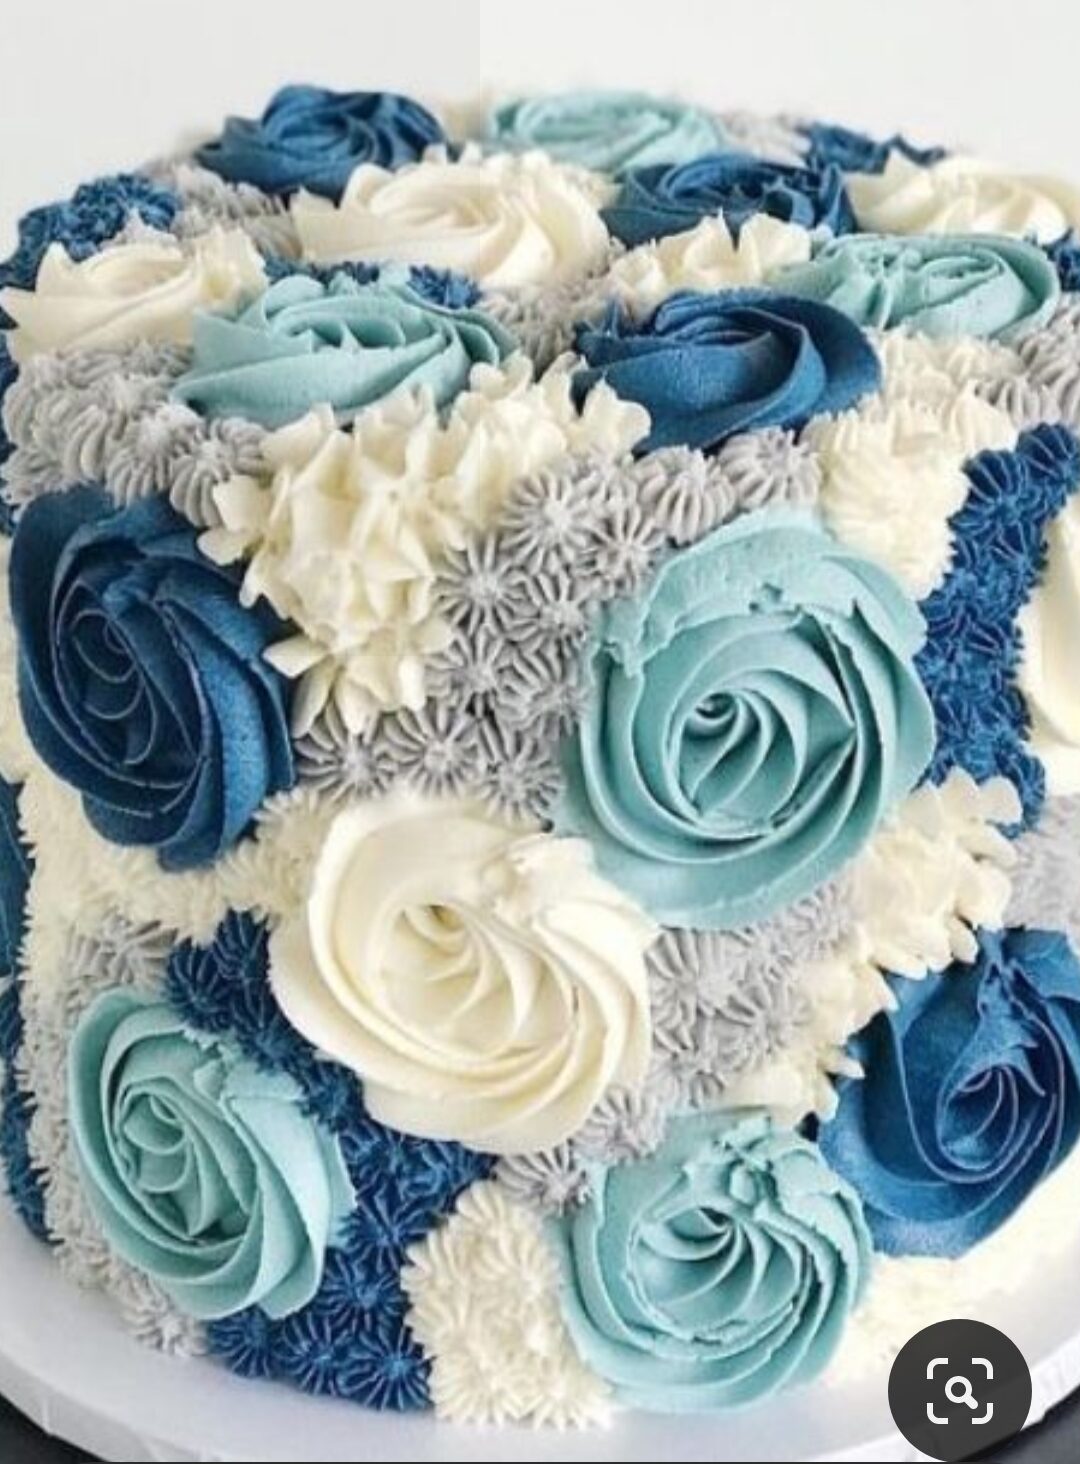
I’ve always been a bit of a ‘how its made’ junky and lately, I’ve been mesmerized by cake decorating videos! I had so much fun trying to re-create some cakes on my cards. I’ve added my inspiration cake. There are some things I would do differently on this one next time…like a shorter cake on this one, and I think I would like to copy the color palette of the real cake. It’s so pretty.
Treat yourself to something sweet with the Cake Fancy Stamp Set! These photopolymer stamps have delicious texture and detail. Create a layered cake or flip the stamps 180 degrees to make something more versatile. This set comes with multiple flowers and fruit to help you decorate your cake or use them individually for fresh designs. Celebrate big achievements and birthdays throughout the year with sentiments you can mix and match!
Measurements
Full list of supplies needed, listed below. A die cutting machine is needed for this card. Blackberry Bliss Cardstock: 5 ½” h x 8 ½” w scored and folded at 4 ¼” w
Basic White Cardstock:
5 ½” h x 4 ¼” w (for inside)
Scrap for 2 ½ x 4” h Deckled Rectangle
Scrap for cake, flowers, stand, and sentiment
Berry Burst Cardstock: 4 ¼” h x 3”
Delightful Floral Designer Series Paper (DSP): 5 ½” h x 4 ¼” w
Let’s Create
Affix all stamps to Acrylic Blocks.
Fold the Card Base in half using a Bone Folder to sharpen the crease.
Attach the DSP panel using Stampin’ Seal.
Run the Berry Burst panel through the Stampin’ Cut & Emboss Machine with the Timber 3D Embossing Folder
Run a Basic White scrap through the Stampin’ Cut & Emboss Machine with the 2 ½ x 4” h Deckled Rectangle. And then run it through again with the dots pattern from the Basics 3D Embossing Folders. Attach to the Berry Burst panel with Stampin’ Seal.
Wrap Bubble Bath Sheer Ribbon around the top ⅓ of the stacked Berry Burst and Basic White panels and tie a large bow. Shimmy the ribbon over to the left edge of the panels.
On a larger piece of scrap Basic White Cardsock, stamp the Cake Stand in Gray Granite.
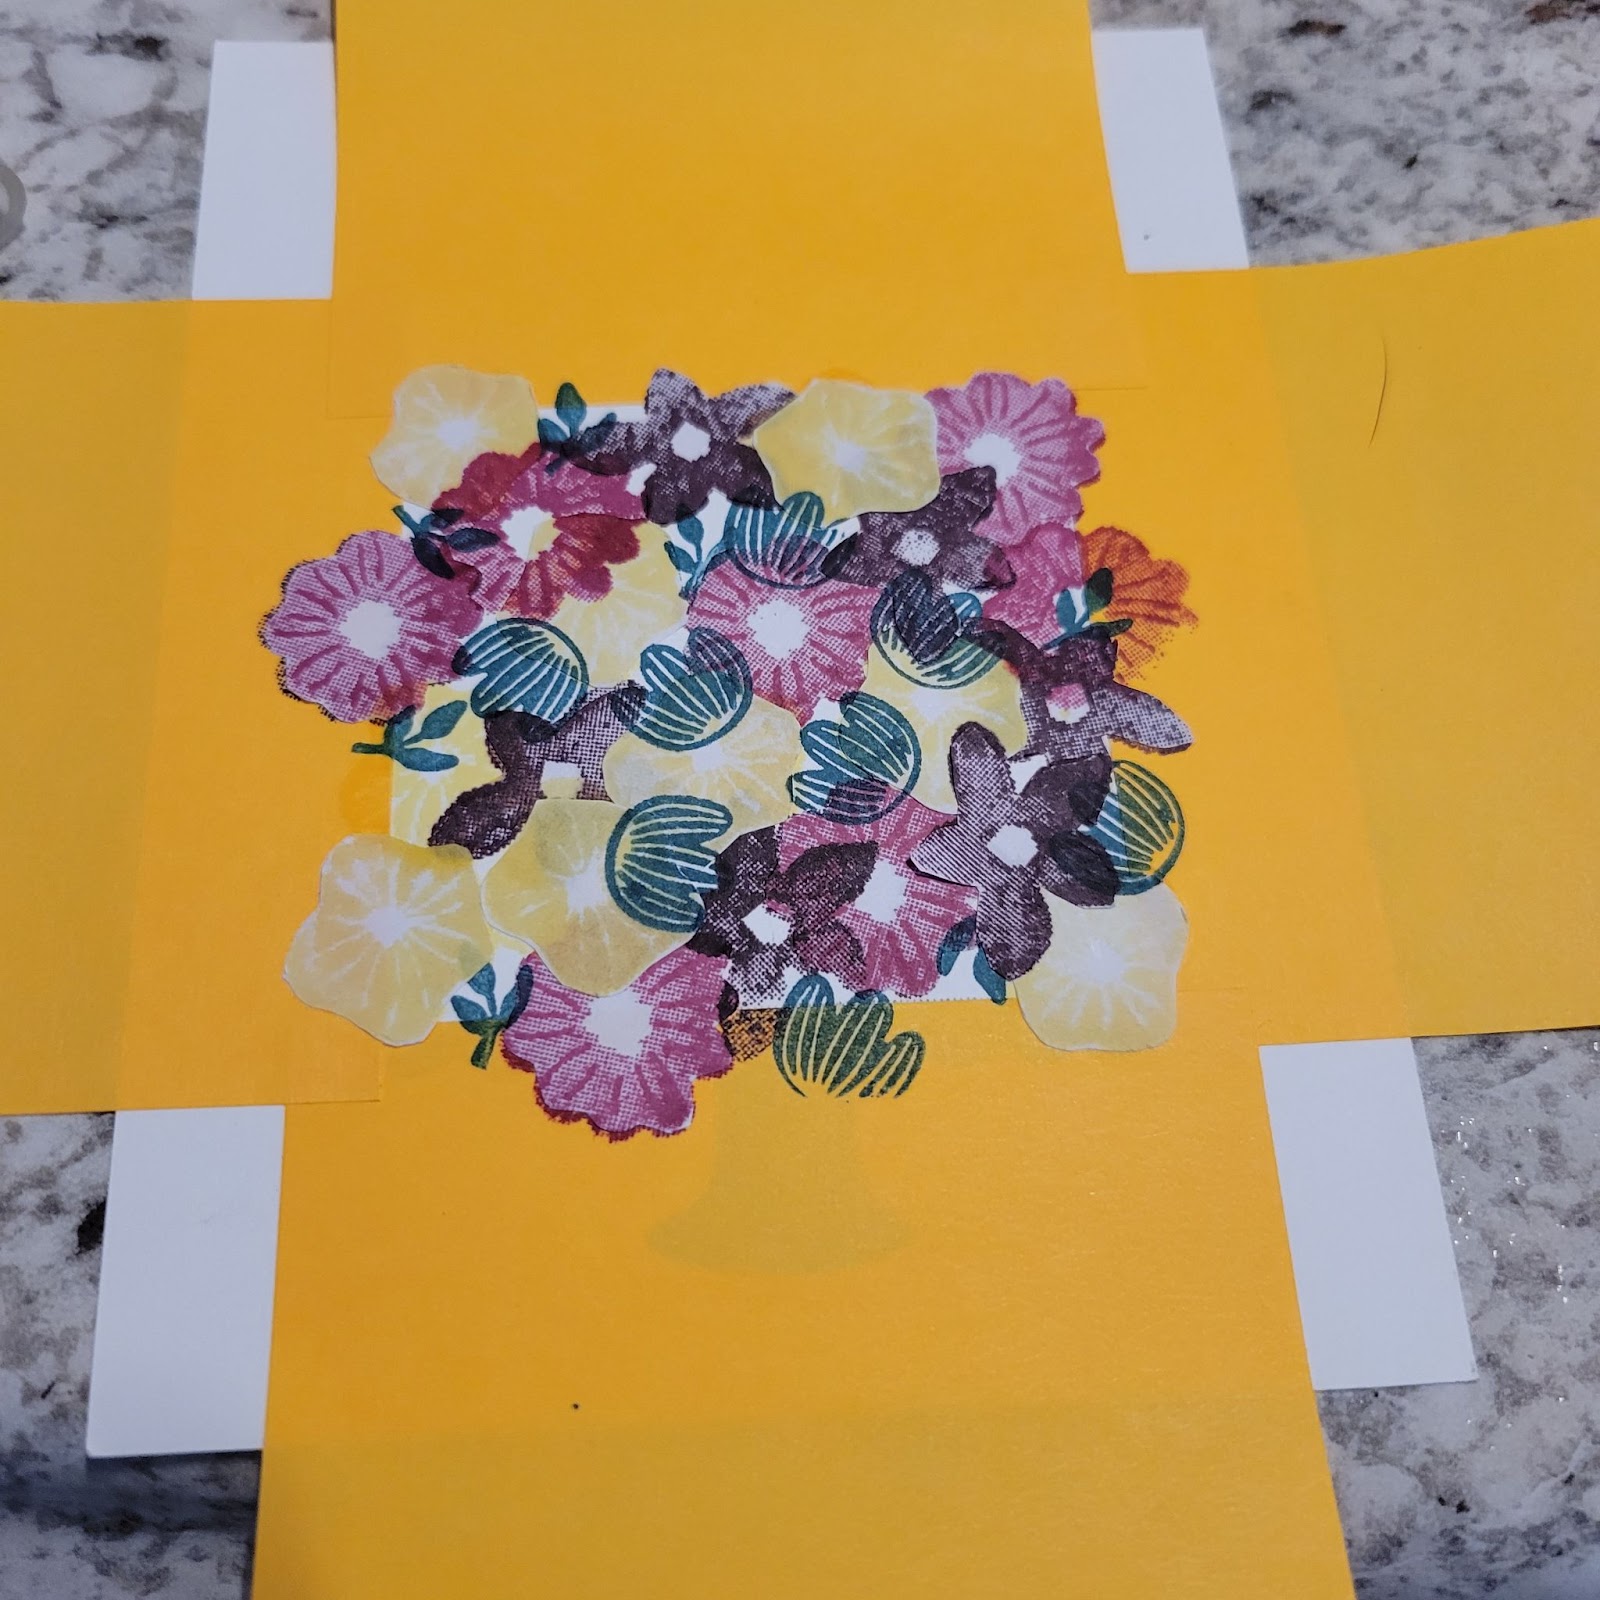
In the center of a scrap of Basic White Cardstock, use sticky notes to mask off an area as wide as the Cake Stand and as tall as you want your cake. I made mine about 2 ¼ x 2 ¼.
To make the cake you will use the masking technique and you will need Stampin’ Up! Masking Paper.
Within the Basic White square you have masked off with sticky notes, stamp several flowers in Berry Burst and Blackberry Bliss that are not touching each other. Stamp some overlapping the sticky notes.
On the Masking Paper, stamp the same amount of flowers. Note the Masking Paper has a shiny side. You will stamp on the non-shiny side.
Use Paper Snips to fussy cut out all the Masking Paper Flowers.
Peel off the Masking Paper backing and attach them over the flowers you stamped.
Next use Lemon Lolly and Pretty Peacock to stamp filler flowers, leaves and sprigs between and overlapping the masked flowers.
It’ll look like a hot mess during this phase. Lol
Next, carefully peel off all the Masking Paper flowers.
Use a trimmer to cut the excess cardstock off the sides and top of the cake, being careful not to cut the Cake Stand.
Use Paper Snips to fussy cut around the Cake Stand.
On scrap Basic White cardstock stamp several more flowers in Berry Burst, Blackberry Bliss and Lemon Lolly. Fussy cut them out and attach on top of stamped flowers on the cake with Mini Glue Dots.
On Basic White cardstock scrap, stamp the sentiment in Berry Burst ink. Then die cut with the tag from the Meadows Dies.
Attach the Cake and the sentiment with Stampin’ Dimensionals.
Sprinkle on Basic Rhinestones.
Stamp and decorate the remaining 5 ¼” w x 4” h for inside
Order online from the convenience of your own home or send me your order and I’ll take care of you. ❤ Either way, please use the host code ANTD9UHS. Order online AND, if your order is $50 or more using host code ANTD9UHS between now and the end of the month you’ll receive a free pack of embellishment as a THANK YOU gift from me. ❤ If your order is over $150, skip the host code, earn Stampin’ Rewards for free stuff yourself and I’ll still send you a free pack of embellishment as a THANK YOU gift from me. ❤
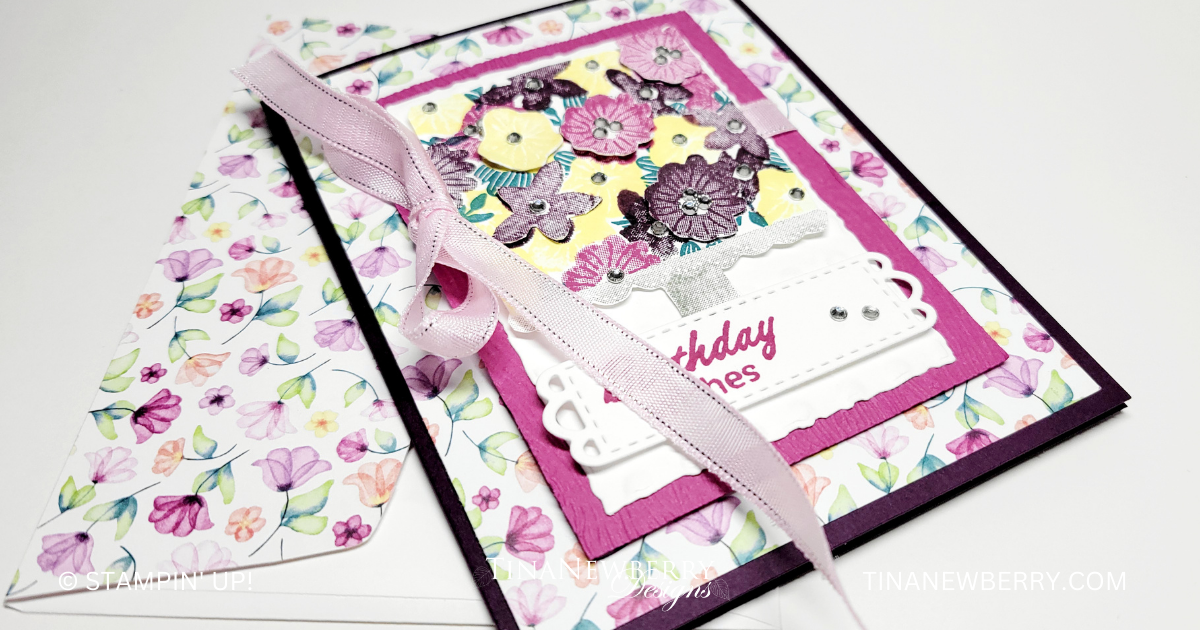
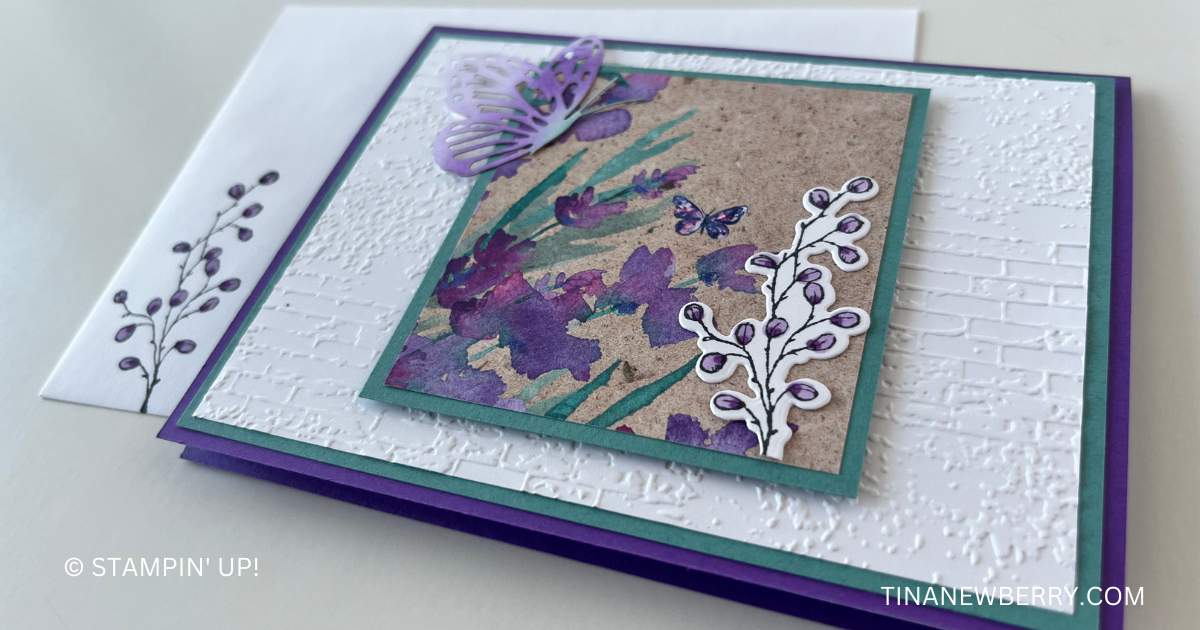
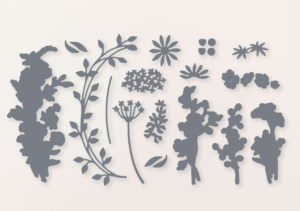
Use these beautiful florals on your handmade cards and watch the smiles bloom! Add a sentiment from the Dainty Delight stamp set or one from your stash.
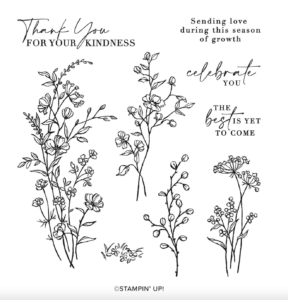
Little flowers send a big message when you use this Dainty Delight Stamp Set. Sure, they’re dainty, but they’ll send a powerful message of hope, thanks, celebration, and more on all your paper crafting projects. Use these beautiful florals on your handmade cards and watch the smiles bloom! The line art images can be custom colored using your favorite Stampin’ Up! coloring technique. Stamp a single stem for a clean, minimalist look, or mix and match the images for a lovely field of dainty delights—no matter how you style them, you can’t go wrong with these delicate beauties!
Make quick work of cutting out delicate floral images with these Dainty Delight Dies. Add these die-cut images to your handmade cards and wow everyone as they wonder just how you managed to get such perfect, delicate, and detailed floral cutouts (thank you, dainty dies!). Die cut the images then use your favorite coloring technique to customize and make each flower a unique work of art, just like nature intended!
Measurements
Full list of supplies needed, listed below. A die cutting machine is needed for this card.
Card base – Basic White Cardstock:
5 ½” x 8 ½” scored at 4 ¼”
Scraps for stamping and die cutting
Gorgeous Grape: Cardstock 4” x 5 ¼”
Scrap for die cutting
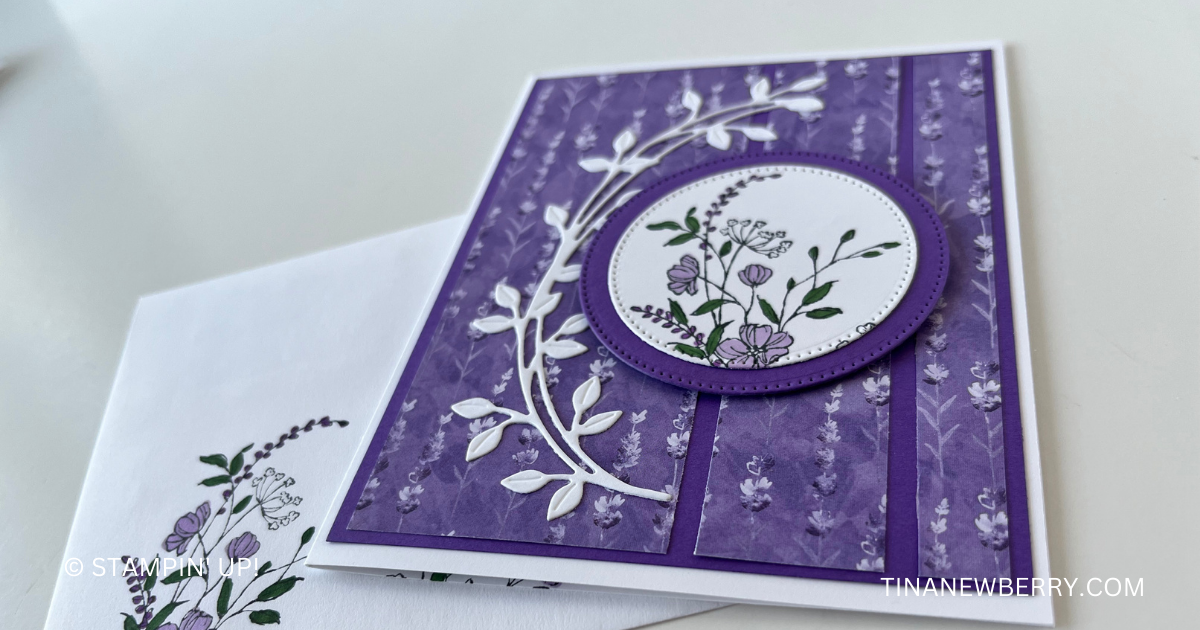
Perennial Lavender Designer Series Paper (DSP)– stalks of lavender pattern: 3 ½” x 5”
Let’s Create
Affix all stamps to acrylic blocks.
Fold and burnish card base at the score line using bone folder.
Using your trimmer, cut the piece of dsp at 2”. Take that piece and set aside. Using the remaining piece of dsp cut at 1”. That will leave ½”. Keep the dsp in the order it was cut so that the pattern is continuous.
Add the 2”piece of Perennial Lavender dsp to the left side of the Gorgeous Grape panel. Glue the ½” piece of dsp to the right hand side of the Gorgeous Grape panel making sure the spacing is the same as the panel on the left..
Attach the 1” piece of dsp in the center between the other 2 strips making sure the spacing side to side is even and the top and bottom are even with the other 2 strips.
Add the panel from Step 5 to the card front making sure it is centered on all sides.
Stamp the top of the largest flower stem using Memento Tuxedo black ink onto a scrap of White.
Use blends and markers to color the stamped image as below.
Flowers – Highland Heather blend
Buds – Gorgeous Grape marker
Leaves – Shaded Spruce blend
With the next to the largest circle die from Stylish Shapes die cut the top of the stamped image.
Use the largest circle die and the scrap of Gorgeous Grape to cut out the circle.
Layer the 2 circles centering the inside one
With a scrap of White cut out large curved leaf spray. Use glue to add the spray to the left side of the card front. See photo above.
Use dimensionals to add the circle element from Step 11 to the card front nested in the center of the leaf spray added to the card front in Step 12. See photo above.
Use the same coloring procedure and largest flower stem to stamp and decorate the inside of the card and envelope.
Order online from the convenience of your own home or send me your order and I’ll take care of you. ❤ Either way, please use the host code ANTD9UHS. Order online AND, if your order is $50 or more using host code ANTD9UHS between now and the end of the month you’ll receive a free pack of embellishment as a THANK YOU gift from me. ❤ If your order is over $150, skip the host code, earn Stampin’ Rewards for free stuff yourself and I’ll still send you a free pack of embellishment as a THANK YOU gift from me. ❤
")


 Designer Series Paper")
 Specialty Designer Series Paper")


 Designer Series Paper")

 Sheer Ribbon Combo Pack")


")

 Designer Series Paper")


