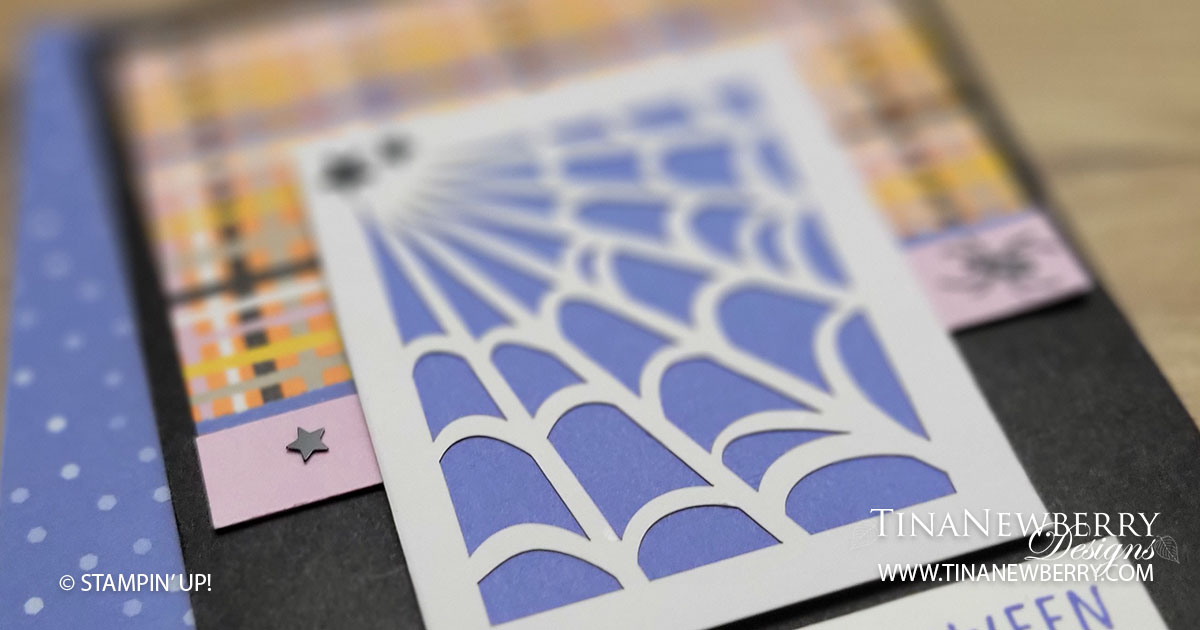
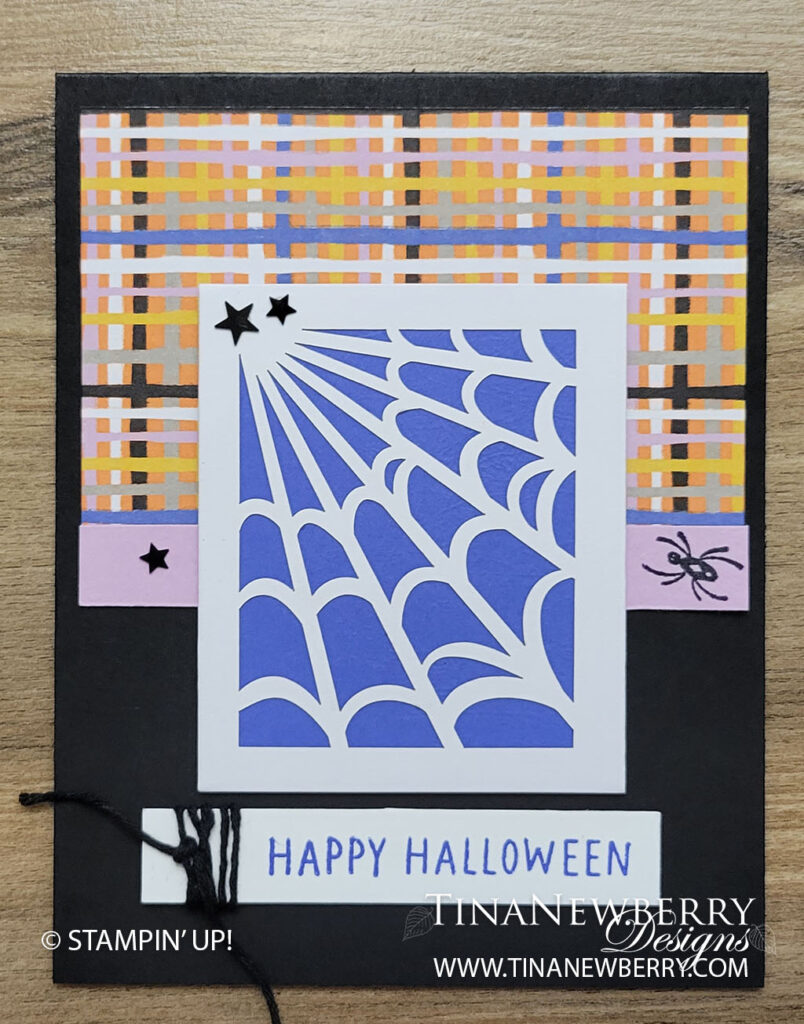
Use pieces from the kit to make a quick & easy Happy Halloween Card.

Measurements
Full list of supplies needed, listed below. A die cutting machine is needed for this card.
Basic Black Cardstock: 11″ h x 4 1/4″ w scored and folded on the long-side at 5 1/2″ for Card Base
Fresh Freesia Cardstock: 1/2″ h x 4″ w
Orchid Oasis Cardstock: 3″ h x 2 1/2″ w (cut a smidge smaller)
Basic White Cardstock:
- 1/2″ h x 3 1/8″ w
- 5 1/2″ h x 4″ w for inside
Plaid Panel: 2 1/2″ h x 4″ w cut from treat box in Kit.
Let’s Create
- Affix all stamps to Acrylic Blocks.
- Fold the Card Base in half using a Bone Folder to sharpen the crease.
- Stamp a spider on the right edge of the Fresh Freesia layer.
- Attach the Fresh Freesia layer to th Plaid Panel with Stampin’ Seal. And then Attach to the Card Base with Stampin’ Seal.
- Apply Stampin’ Seal around the backside of the web panel from the Spooky Treats kit and attach the Orchid Oasis panel behind the web. Attach to the card with Stampin’ Dimensionals.
- Stamp sentiment on 1/2″ h x 3 1/8″ w Basic White Panel in Orchid Oasis ink. Wrap black twine around and tie a knot. Then attach to the card with Stampin’ Dimensionals.
- Sprinkle on the stars from the kit
- Stamp and decorate the inside and attach with Stampin’ Seal.
- Decorate your envelope.
- Happy Halloween! Boo! Who will you send it to?
Recommended Stamper’s Toolkit ❤
Product List


