My favorite SU! color, Pretty Peacock, ties all of the elements of this card together. I was inspired by a card by Craft with Cheryl and used a few retired bits from my stash with the Frames and Flowers Specialty pack for a quick & easy card.

Measurements
Full list of supplies needed, listed below. A die cutting machine is needed for this card.
Pretty Peacock Cardstock: 5 1/2″ h x 8 1/2″ w folded to 5 1/2″ w x 4 1/4″ h
Petal Pink Cardstock: 5 3/8″ h x 4 1/8″ w
Basic White Cardstock: 5 1/2″ w x 4″ h
Frames & Flowers Specialty Designer Series Paper (SDSP):
- 5 1/4″ w x 2″ h (2)
- Scrap for sentiment
- Flower square

Let’s Create
- Affix all stamps to Acrylic Blocks.
- Fold the Card Base in half using a Bone Folder to sharpen the crease.
- Attach the two SDSP panels to the Petal Pink panel with Stampin’ Seal.
- Wrap ribbon around the seam of the two SDSP pieces and secure the two ends on the back of the Petal Pink panel with Tear & Tape.
- Attach SDSP flower square with Stampin’ Dimensionals.
- Stamp sentiment in Pretty Peacock ink on a piece of scrap greyish-white SDSP (from the center of one of the wreaths) and use Paper Trimmer to trim to size. Attach with Stampin’ Dimensionals.
- Sprinkle on some Brushed Brass Butterflies.
- Stamp and decorate the Basic White panel for the inside and attach with Stampin’ Seal.
- Decorate your envelope.
- So pretty! Who will you send it to?
![Ribbon Duo Combo Pack [ 161318 ]](https://assets1.tamsnetwork.com/images/EC042017NF/161318s.jpg "Ribbon Duo Combo Pack [ 161318 ]") $10.00 | ||||
![Brushed Brass Butterflies [ 158136 ]](https://assets1.tamsnetwork.com/images/EC042017NF/158136s.jpg "Brushed Brass Butterflies [ 158136 ]") $10.00 |
![Unbounded Love Photopolymer Stamp Set (English) [ 163378 ]](https://assets1.tamsnetwork.com/images/EC042017NF/163378s.jpg "Unbounded Love Photopolymer Stamp Set (English) [ 163378 ]")
![Pretty Peacock Classic Stampin’ Pad [ 150083 ]](https://assets1.tamsnetwork.com/images/EC042017NF/150083s.jpg "Pretty Peacock Classic Stampin’ Pad [ 150083 ]")
![Petal Pink 8-1/2" X 11" Cardstock [ 146985 ]](https://assets1.tamsnetwork.com/images/EC042017NF/146985s.jpg "Petal Pink 8-1/2\" X 11\" Cardstock [ 146985 ]")
![Frames & Flowers Specialty 12" X12" (30.5 X 30.5 Cm) Designer Series Paper [ 163765 ]](https://assets1.tamsnetwork.com/images/EC042017NF/163765s.jpg "Frames & Flowers Specialty 12\" X12\" (30.5 X 30.5 Cm) Designer Series Paper [ 163765 ]")
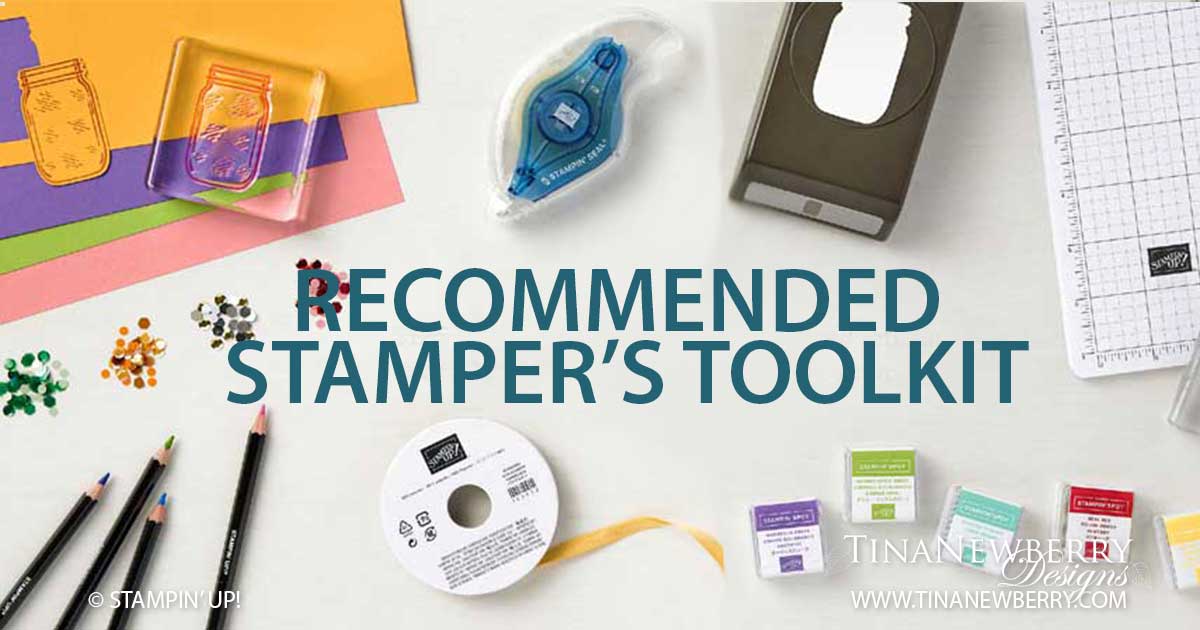
Recommended Stamper’s Toolkit ❤

$12.00

$7.00

$4.25

$5.75

$5.50

$11.00

$26.00

$7.00

$6.50

$11.00

$20.00

$11.00

$80.75

$128.00


$16.00

$13.00


![Saying Something Mix & Match Ephemera Pack (English) [ 163761 ]](https://assets1.tamsnetwork.com/images/EC042017NF/163761s.jpg "Saying Something Mix & Match Ephemera Pack (English) [ 163761 ]")
![Exposed Brick 3 D Embossing Folder [ 161600 ]](https://assets1.tamsnetwork.com/images/EC042017NF/161600s.jpg "Exposed Brick 3 D Embossing Folder [ 161600 ]")
![Lily Pond Lane 6" X 6" (15.2 X 15.2 Cm) Designer Series Paper [ 163342 ]](https://assets1.tamsnetwork.com/images/EC042017NF/163342s.jpg "Lily Pond Lane 6\" X 6\" (15.2 X 15.2 Cm) Designer Series Paper [ 163342 ]")
![Petal Pink Stampin' Blends Combo Pack [ 154893 ]](https://assets1.tamsnetwork.com/images/EC042017NF/154893s.jpg "Petal Pink Stampin' Blends Combo Pack [ 154893 ]")
![Linen Thread [ 104199 ]](https://assets1.tamsnetwork.com/images/EC042017NF/104199s.jpg "Linen Thread [ 104199 ]")


![Greetings For All Mix & Match Ephemera Pack (English) [ 164862 ]](https://assets1.tamsnetwork.com/images/EC042017NF/164862s.jpg "Greetings For All Mix & Match Ephemera Pack (English) [ 164862 ]")
![Cute As Can Bee 12" X 12" (30.5 X 30.5 Cm) Designer Series Paper & Sticker Sheet (English) [ 166618 ]](https://assets1.tamsnetwork.com/images/EC042017NF/166618s.jpg "Cute As Can Bee 12\" X 12\" (30.5 X 30.5 Cm) Designer Series Paper & Sticker Sheet (English) [ 166618 ]")
![Pool Party 8-1/2" X 11" Cardstock [ 122924 ]](https://assets1.tamsnetwork.com/images/EC042017NF/122924s.jpg "Pool Party 8-1/2\" X 11\" Cardstock [ 122924 ]")
![Basic White 8 1/2" X 11" Cardstock [ 166780 ]](https://assets1.tamsnetwork.com/images/EC042017NF/166780s.jpg "Basic White 8 1/2\" X 11\" Cardstock [ 166780 ]")
![Pool Party 5/8" (1.6 Cm) Pompom Ribbon [ 164129 ]](https://assets1.tamsnetwork.com/images/EC042017NF/164129s.jpg "Pool Party 5/8\" (1.6 Cm) Pompom Ribbon [ 164129 ]")
![Shades Of Green Hexagons [ 165233 ]](https://assets1.tamsnetwork.com/images/EC042017NF/165233s.jpg "Shades Of Green Hexagons [ 165233 ]")