Sweet Kitty Card

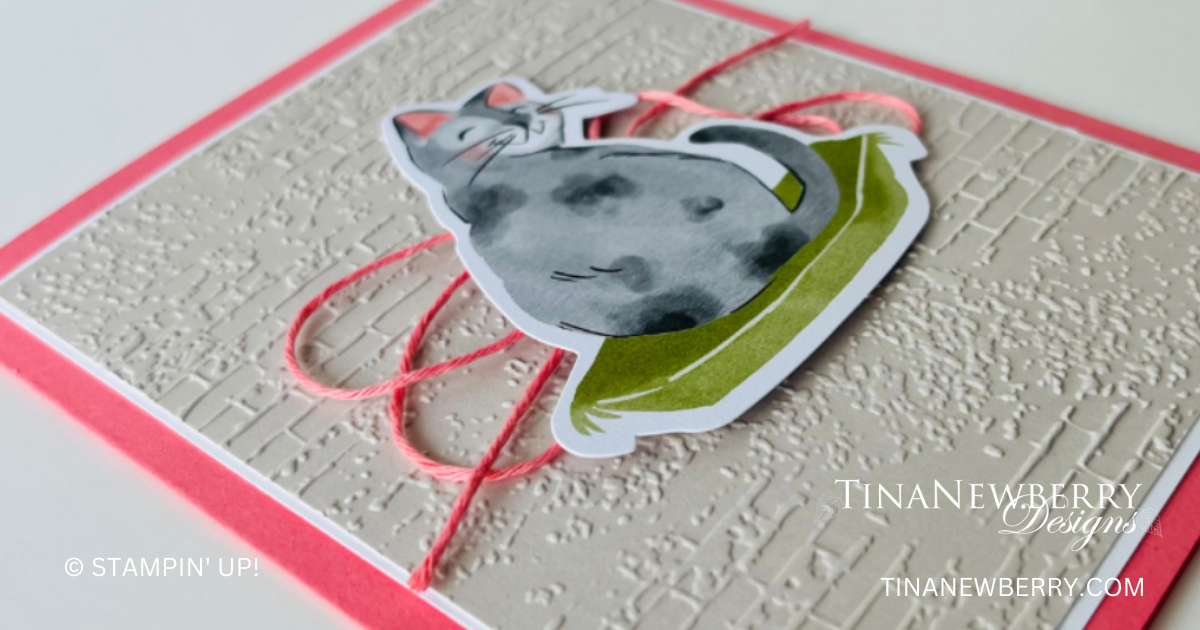
Use Sketch #2 from the Annual Catalog and a die cut from the By Your Side kit to create this sweet kitty card.

Celebrate the special people around you with the By Your Side Kit. Featuring lovely cat and dog designs, use this kit to make uplifting cards you can share with a pet loving friend, a relative, a special someone, and more! Choose a dog or cat die-cut image depending on which furry friend you or your recipient loves most, and complete your projects with embellishments and the stamped sentiment of your choice to create a card with the right message you want to share. Great for all occasions, you’ll love the possibilities this kit offers!

Measurements

Full list of supplies needed, listed below. A die cutting machine is needed for this card.

Card base – Flirty Flamingo Cardstock: 5 ½” x 8 ½” scored at 4 ¼”

Basic White Cardstock: 4” x 5 ¼”

Crumb Cake from back of Kit card base: 3 7/8” x 5 1/8”

Sketch 2 from page 22 of the ’24-’25 Stampin’ Up! Annual Catalog

Let’s Create

  1. Fold and burnish card base at the score line using bone folder.
  2. Add the White panel to the card front using Stampin’ Seal.
  3. Using the Exposed Brick embossing folder emboss the Crumb Cake panel.  Add this panel to the White panel on the card front using Tear & Tape.
  4. From the ByYour Side Kit, seperate out the die cut of the cat sitting on the green cushion.  
  5. Add a strip of Tear & Tape to the middle of the back of the cat die cut.
  6. Use the Flirty Flamingo twine to add to the back of the cat having loops on each side.  Make sure to catch the twine in the Tear & Tape.  Add another piece of Tear & Tape over the first strip to secure the twine in place.
  7. Attach the cat to the center of the card front using Stampin’ Dimensionals. 
  8. Stamp the fish across the bottom of the inside of the card using Flirty Flamingo. 
  9. Stamp the fish across the bottom of the envelope using Flirty Flamingo.
  10. Sprinkle on some gems (optional)
  11. Stamp and decorate the inside and attach with Stampin’ Seal.
  12. Decorate your envelope.
  13. Add a sentiment before you sent (optional)
  14. Adorbs! Now send it to someone special.
Product List

Recommended Stamper’s Toolkit ❤


You Make My Heart Happy

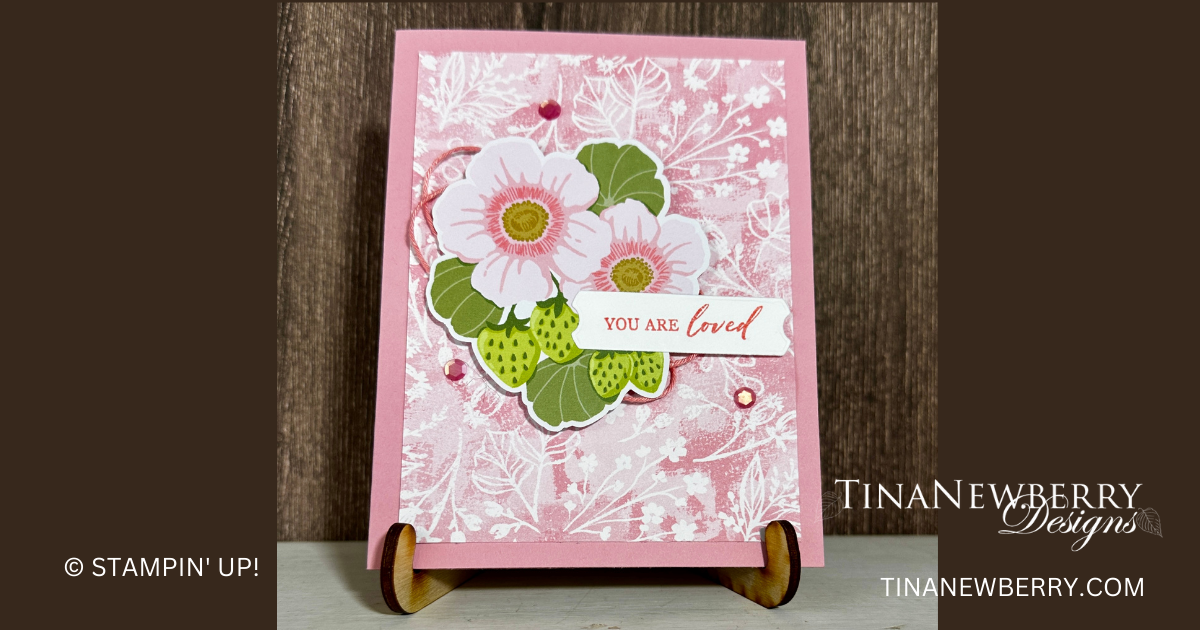
Add die cuts and pieces from The Kits Collection project kits to cardstock and ink from your stash to create cute alternative cards like this one featuring the By Your Side Kit.

Celebrate the special people around you with the By Your Side Kit. Featuring lovely cat and dog designs, use this kit to make uplifting cards you can share with a pet loving friend, a relative, a special someone, and more! Choose a dog or cat die-cut image depending on which furry friend you or your recipient loves most, and complete your projects with embellishments and the stamped sentiment of your choice to create a card with the right message you want to share. Great for all occasions, you’ll love the possibilities this kit offers! Make 8 cards: 4 each of 2 designs

Measurements

Full list of supplies needed, listed below. A die cutting machine is needed for this card.

Basic White Cardstock Card Base:  5 ½” x 8 ½” scored at 4 ¼”

Pecan Pie Cardstock: 3 ¾” x 5”                        

From the Kit

Card with large center panel and plaid sides

Banner die cut from kit

Heart embellishments

Brown and white dog die cut


Let’s Create

  1. Affix all stamps to acrylic blocks.
  2. Fold and burnish the Basic White card base at the score line using bone folder.
  3. Cut the front off of the card base from the By Your Side kit. Save the back to use on another card.
  4. Cut off 3/8” from the top and bottom of the card front panel.  Cut this way to make sure the green wash panel stays equal.  Cut off 3/8” from each side of the card front panel.  Cut this way to ensure the plaid sides are equal on each side.  See photo above.
  5. Attach the panel from Step 4 to the 3 ¾” x 5”  Pecan Pie panel.  Use Stampin’ Seal to add this to the card front centering on all sides.
  6. Use Stampin’s Seal to attach the dog die cut to the bottom of the card front. 
  7. Stamp the sentiment using Pecan Pie ink on the banner die cut from the kit making sure the black and white strip is at the bottom.  Keep the sentiment to the right hand side of the banner. 
  8. Stamp 2 of the dog bones using Pecan Pie on the left side of the sentiment banner. 
  9. Add the sentiment banner to the upper right hand of the card front at an angle using Stampin’ Dimensionals. 
  10. Sprinkle on some of the heart embellishments from the kit. 
  11. Stamp the dog paw along the bottom of the inside of the card using Pecan Pie ink.
  12. Stamp the dog paw along the bottom of the plaid envelope and in the circle on the flap using Pecan Pie ink.
  13. What a cutie! Now put it in the mail.

Shopping List

Recommended Stamper’s Toolkit ❤


You’re the Best Part of My Day

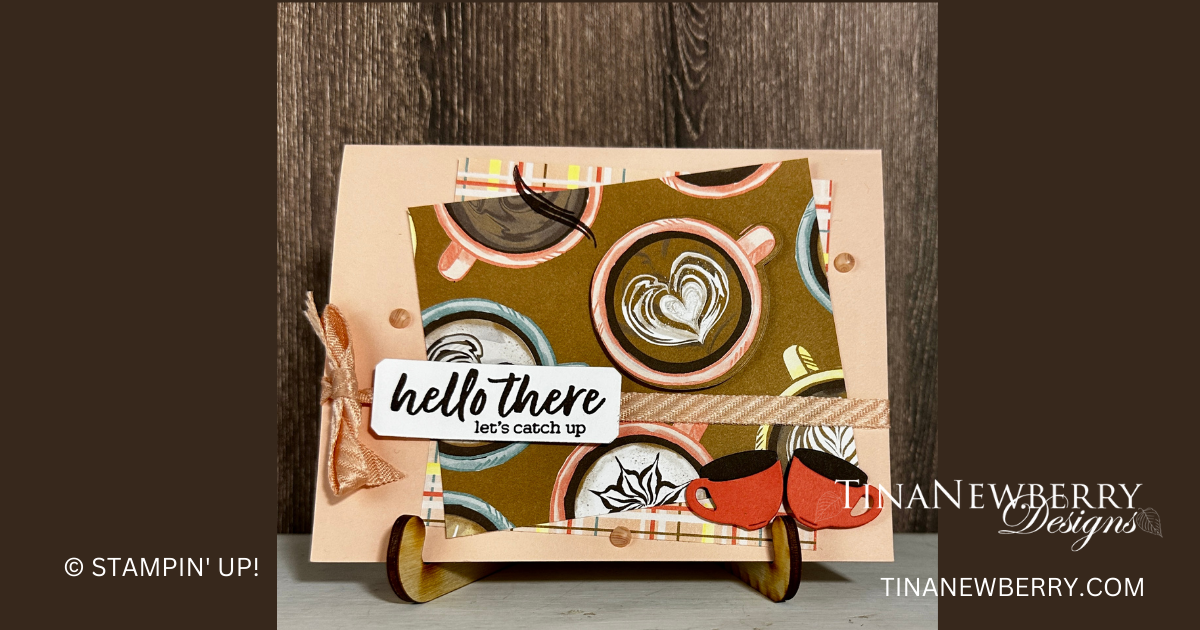
What is Ephemera? By scrapbooking definition it is collectible memorabilia that is was for a short term purpose, such as ticket stubs, postcards, show tickets, etc. But for me, ephemera means quick & easy pre-printed die cut objects, flowers, sentiments use to enhance your cards, like the cute coffee cup on this sweet card.

Measurements

Full list of supplies needed, listed below. A die cutting machine is needed for this card.
Wild Wheat Cardstock: 8 ½” x 5 ½”, score at 4 ¼”
Basic Beige Cardstock:

  • 4” x 5 ¼” (inside)
  • Scrap for Unbounded Love Label

Thoughtful Journey Designer Series Paper (DSP):

  • Pattern 1: 3 ¾”x 3 ¾”
  • Pattern 2: 3 ¾” x 4”

Let’s Create

  1. Affix all stamps to Acrylic Blocks.
  2. Fold the Card Base in half using a Bone Folder to sharpen the crease.
  3. Adhere DSP Pattern 1 at an angle using Stampin’ Seal.
  4. Adhere DSP Pattern 2 at an opposite angle using Stampin’ Seal.
  5. Die Cut Sentiment label using Unbounded Love Die.
  6. Stamp sentiment from Latte Love Stamp Set in Pebbled Path ink and adhere with Stampin’ Seal.
  7. Adhere coffee cup from Something for Everything Ephemera with Stampin’ Dimensionals.
  8. Attach a Pebbled Path Jute bow to the cup with a Mini Glue Dot.
  9. Sprinkle on the Adhesive Backed Swirl Dots.
  10. Stamp and decorate the 4” x 5 ¼” Basic Beige Cardstock for inside and attach with Stampin’ Seal.
  11. Decorate your envelope.
  12. So sweet! Now send it to someone special.

Shopping List

Recommended Stamper’s Toolkit ❤