In Color-ful Simple Stamping

Need a creative break? Sometimes a simple stamping session is just what you need to recharge and refresh!

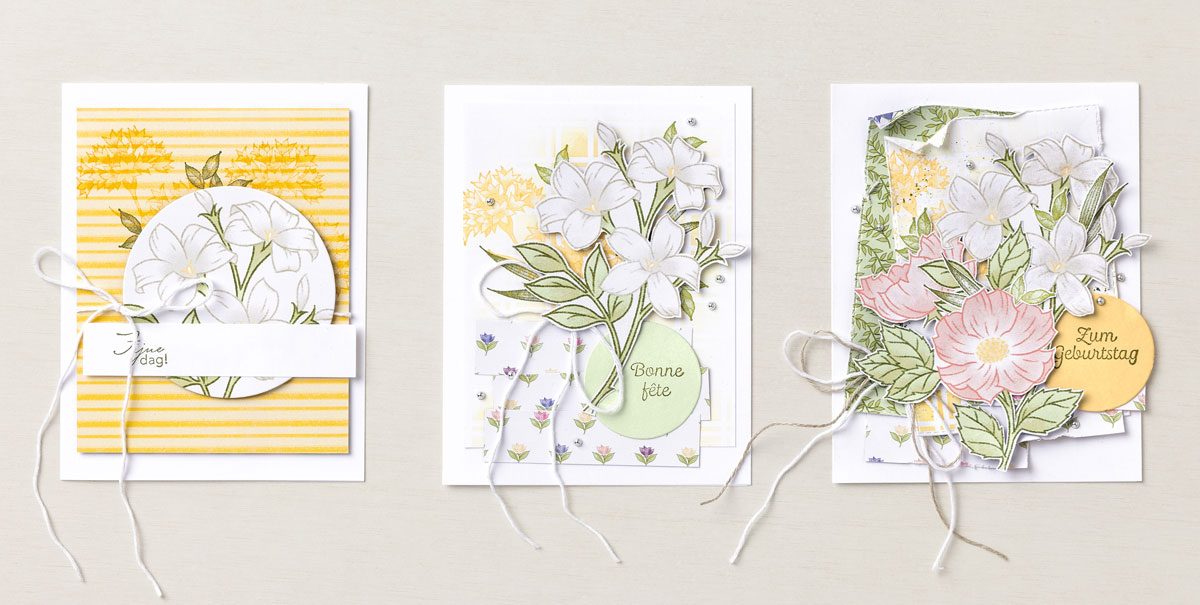
One of our favorite crafting experiences involves stamping our own Designer Series Paper—just as our concept artist did here. Do you love how the Parakeet Party lime images pop on Basic White Cardstock? To add interest to the hand-stamped layer, she cut a banner shape at the end. So cute!

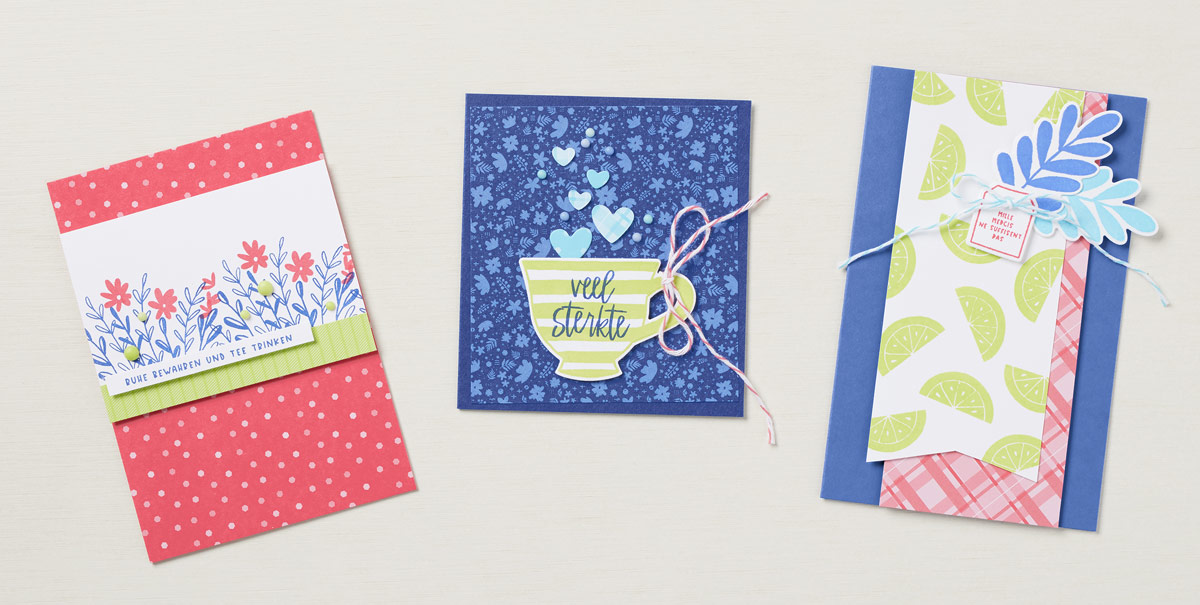
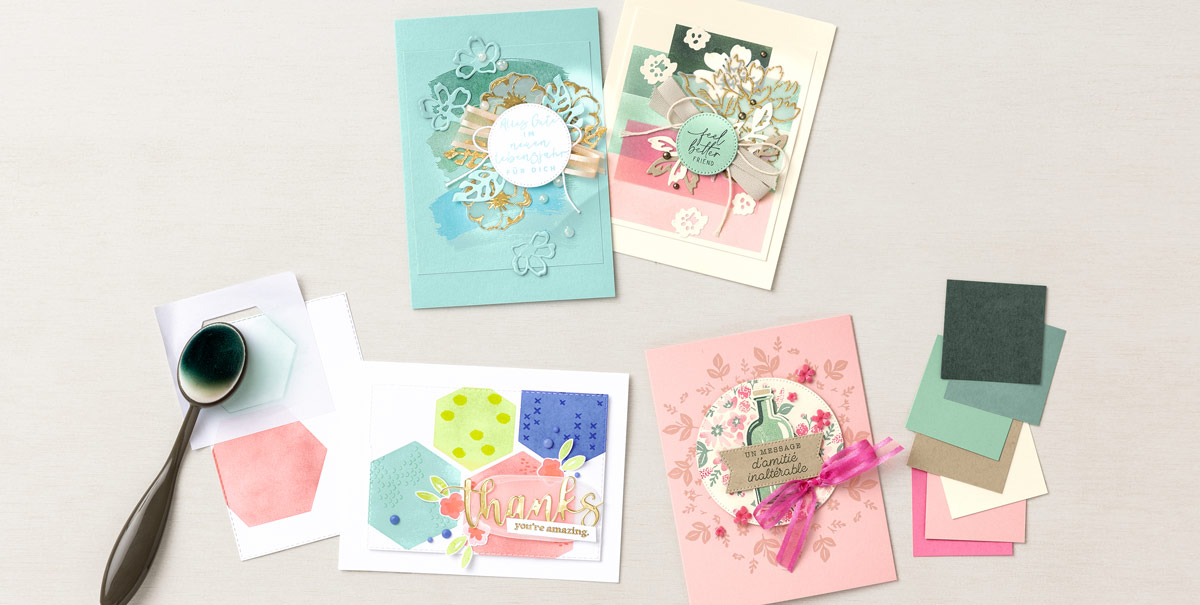
To create a sweet, bubbly look for our Veel sterkte card, we sprinkled on a few Tahitian Tide and Starry Sky 2022–2024 In Color Matte Decorative Dots. Our artist also die-cut paper hearts and flipped a few of them to show off the opposite side of the In Color 6″ x 6″ (15.2 x 15.2 cm) Designer Series Paper Assortment. Add a contrasting Baker’s Twine bow to finish the card.

For the Ruhe bewahren und Tee trinken card, we used Parakeet Party Matte Decorative Dots to mimic the look of adorable flower buds. Tip: Cut the edge off the Stampin’ Dimensional sheet to adhere behind the sentiment.

Have fun simple stamping! And don’t forget to share your work on social media using the hashtag #SimpleStamping. We love to see your work!

Shopping List

Simple Stamping

The joy we get from making cards is simple, but sometimes we can overcomplicate it by making over-the-top crafts that take hours to create. Sometimes a simple, no-frills card is best.

For our Hi, Sweet Friend card we kept it simple by using the Rectangle Postage Stamp Punch to create four fun rectangle shapes using Basic White and Subtles Cardstock. We love that the Subtles Cardstock allows us to play with more color while minimalizing the number of items we used for the card—simplicity at its finest! We adhered the rectangles to the card base using Mini Stampin’ Dimensionals and added Brushed Brass Butterflies to match the butterfly on the little girl’s nose. So cute!

Want to add more color to your card without using tons of products? Try using Stampin’ Write Markers! In our Nice to Have You by My Side card we used small, circular motions to add color and depth to our image, and we finished this card using Faux Sea Glass Shapes, which perfectly accent the trail.

For our Life is Better with Friends Like You card, we used Paper Snips Scissors to cut a V shape into Basic White Cardstock, creating a simple banner—no dies or punches necessary! With a stamped and colored image, a few embellishments, and some Baker’s Twine, this card is good to go!

Shopping List

CASEing Color

Color inspiration can be found everywhere! We always give creatives the green light to CASE (Copy and Share Everything) our catalog projects, and color combos are always a favorite.

For this project, our Concept Artist borrowed a vibrant palette from a Christmas card she admired in the July–December 2022 Mini Catalog. The winning combination? Blushing Bride, Coastal Cabana, Crumb Cake, Granny Apple Green, Sweet Sorbet, and silver.

Using the Amazing Phrasing Stamp Set from our Sale-A-Bration brochure, she stamped the words, then die cut them using the Picture This Dies. The result was an amazing card bursting with fun energy and party-bright colors!

Why not flip through our festive new mini catalog and find color combos you’d love to CASE? (Tip: A CASEing notebook might come in handy!) In fact, you may want to spend a few minutes sharing CASEd color combos with your friends and family—or maybe even have a CASEing party! You never know what new direction your creativity may take!

Shopping List

Step It Up: Wonderful World

This week we made some stunning cards using the Wonderful World Stamp Set and Designer Series Paper. If you like what you see, join Sale-A-Bration now until the end of August for access to these unique products!

Casual
For our Fijne dag card we used the Layering Circles Dies to cut out a bundle of lovely white lilies from the Designer Series Paper. Then we stamped some floral images on the yellow Designer Series Paper panel and tied a piece of white Baker’s Twine around it. We then positioned the die-cut piece as the focal point of the card, taking care that it wouldn’t cover our stamped images.

Avid
For our Bonne fête card we used the Artistic Mix Decorative Masks and a Blending Brush to add a fun design to the panel. We applied varying degrees of pressure with the Blending Brush, depending on how light or dark we wanted the color. We fussy cut the lilies from the Designer Series Paper and added a few Festive Pearls to finish the card.

Artfully Avid
For our Zum Geburtstag card, we die cut the Designer Series Paper with the Stitched Rectangles Dies to create some fun background pieces. We then used Paper Snips and a Bone Folder to distress the edges of the paper, and we fussy cut the main florals and a few leaves from the Designer Series Paper. We added Wink of Stella to the flower petals for a final bit of shine.

CASE—Copy And Share Everything!

Let’s get crafty! Take some time this week to CASE—Copy And Share Everything. Not sure how? We can show you!

For our Alles Gute im neuen Lebensjahr für dich card we CASEd the layout by stamping out a multicolored card base. We then used Gold Stampin’ Emboss Powder to heat emboss the flower image on Vellum and die cut those flowers. Using Pool Party Cardstock and Distressed Gold Specialty Paper, we die cut more flowers and leaves to add some pop. After adding some twine and ribbon, and we finished it off with a sentiment and some Opal Rounds.

We loved the color combination for our Feel Better card so much that we decided to copy it in our Un message d’amitié inalterable card. First, we inked the flower image in Blushing Bride, and used a sponge dauber to add Polished Pink directly to the stamp. Next, we stamped out the flower centers and some leaves in Soft Succulent. We used Mint Macaron to stamp out the solid bottle image and Evening Evergreen to stamp out the shadow image. We added one more dash of color using Crumb Cake Cardstock for the sentiment.

For our Thanks card we CASEd the technique by using Masking Paper to color different shapes on the card background. We did this by die cutting different sizes of hexagons from Masking Paper. Starting with the largest hexagon, we placed the die-cut Masking Paper on the Basic White Cardstock, then applied ink with a Blending Brush. We repeated this with the other sizes of hexagons.

Product List