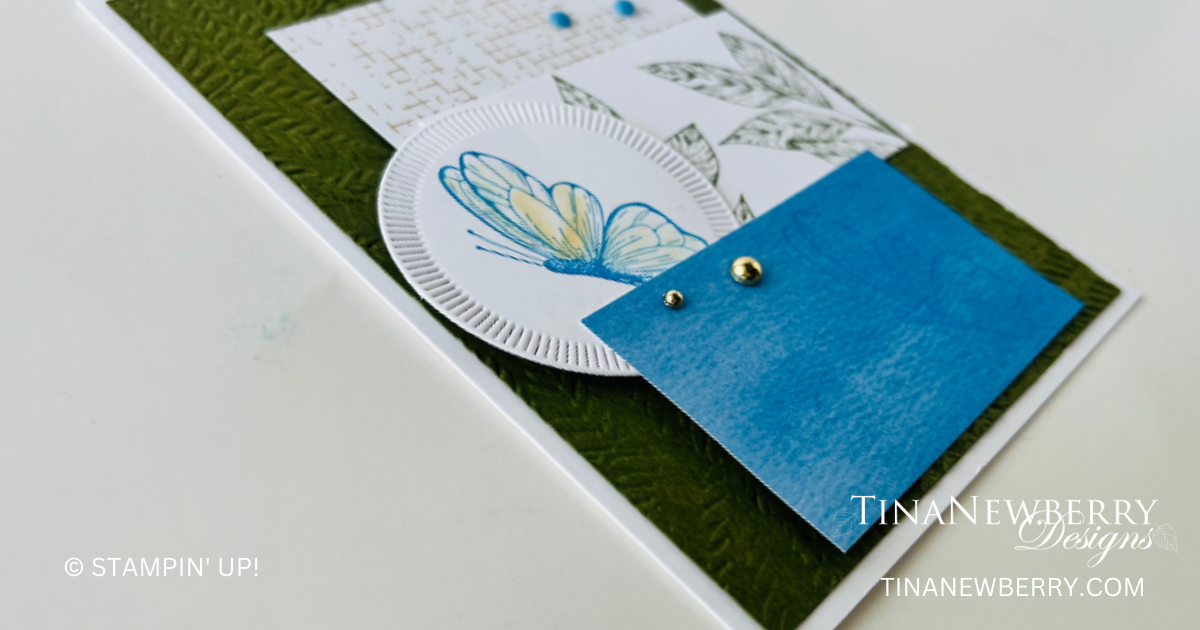
Did you notice all of the decorative circles in the Spotlight on Nature Dies? I refer to this one as the ‘paper plate’ die because the rippled edge reminds me of a paper plate. LOL. Which one is your favorite?

Measurements
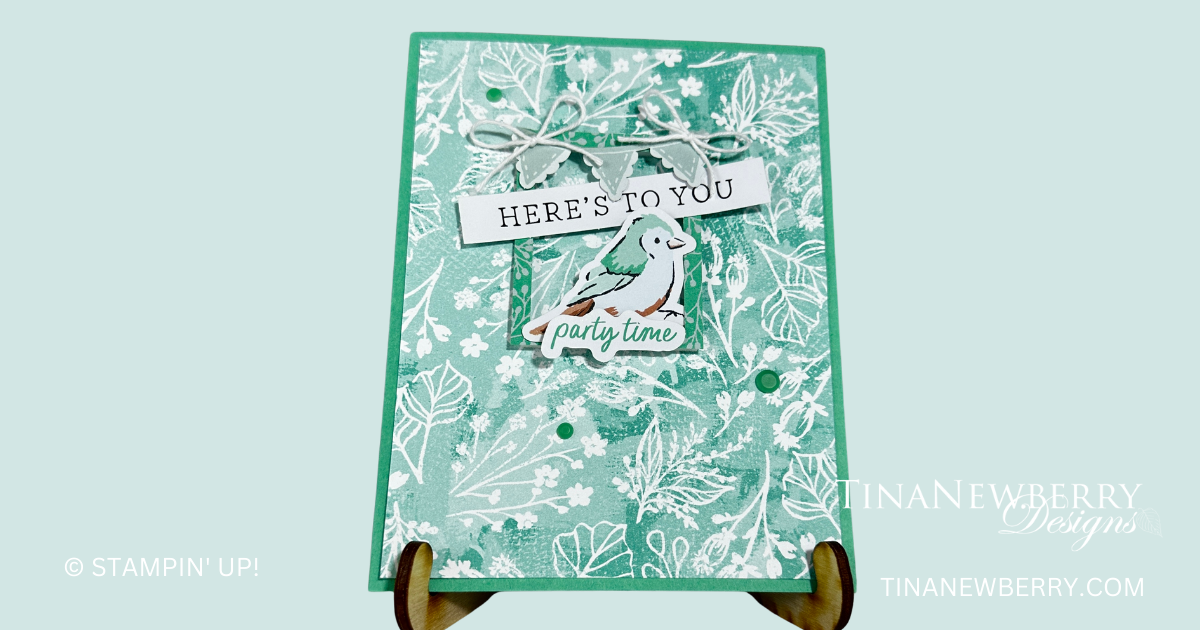
Full list of supplies needed, listed below. A die cutting machine is needed for this card.
Card base – Basic White Thick Cardstock – 5 ½” x 8 ½” scored at 4 ¼”
Basic White Cardstock:
1 ¾” x 3”
Scrap for die cutting
Mossy Meadow Cardstock – 4” x 5 ¼”
Nature’s Sweetness Designer Series Paper (DSP) – 1 ¾” x 3” gold grid pattern
Bright & Beautiful Designer Series Paper (DSP) – 1 ¾” x 3” Azure Afternoon watercolor pattern


Let’s Create
- Affix all stamps to acrylic blocks.
- Fold and burnish card base at the score line using bone folder.
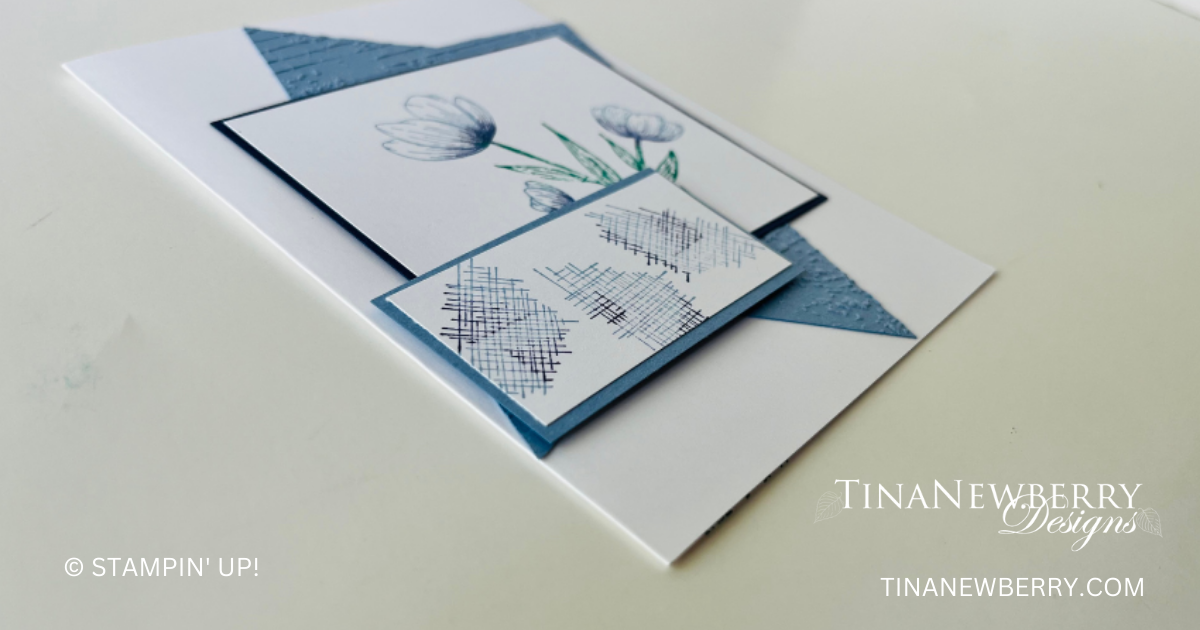
- Use the 3D Fern embossing folder to emboss the large Mossy Meadow panel. Add the embossed panel to the card front using Tear & Tape making sure to center on all sides.
- Add the Nature’s Sweetness dsp rectangle at the top of the card base about ¾” from the top and ½” from the right side of the card front.
- Stamp the leaf image using Mossy Meadow 2 times on the White panel. Add the panel to the card front centered top to bottom and about ¼” from the right side of the card front.
- Stamp the butterfly using Azure Afternoon onto the scrap of white. Use the 2 ¼” circle from the Spotlight on Nature dies to cut out the butterfly.
- Take a blender pen and pick up some Peach Pie scribble off just a little. Use the blender pen to blend the colors.
- Add the circle to the left hand side of the card front so the side of the circle is even with the Mossy Meadow layer.
- Attach the Azure Afternoon rectangle to the bottom of the card base about ¼” from the bottom and 5/8” from the right side of the card front.
- Add some Rainbow adhesive backed dots to the gold grid paper at the top and some Blooming Pearls to the Azure panel at the bottom.
- Stamp and decorate the inside.
- Decorate your envelope.
- Pretty! Now send it to someone special.
Shopping List

$52.00


 Designer Series Paper")
 Specialty Designer Series Paper")

$8.00

Recommended Stamper’s Toolkit ❤
Product List
$12.00

$7.00

$4.25

$5.75

$5.50

$11.00

$26.00

$7.00

$6.50

$11.00

$20.00

$11.00

$80.75

$128.00


$16.00

$13.00


")


 Designer Series Paper")


")


