We Can Get Through Anything Together

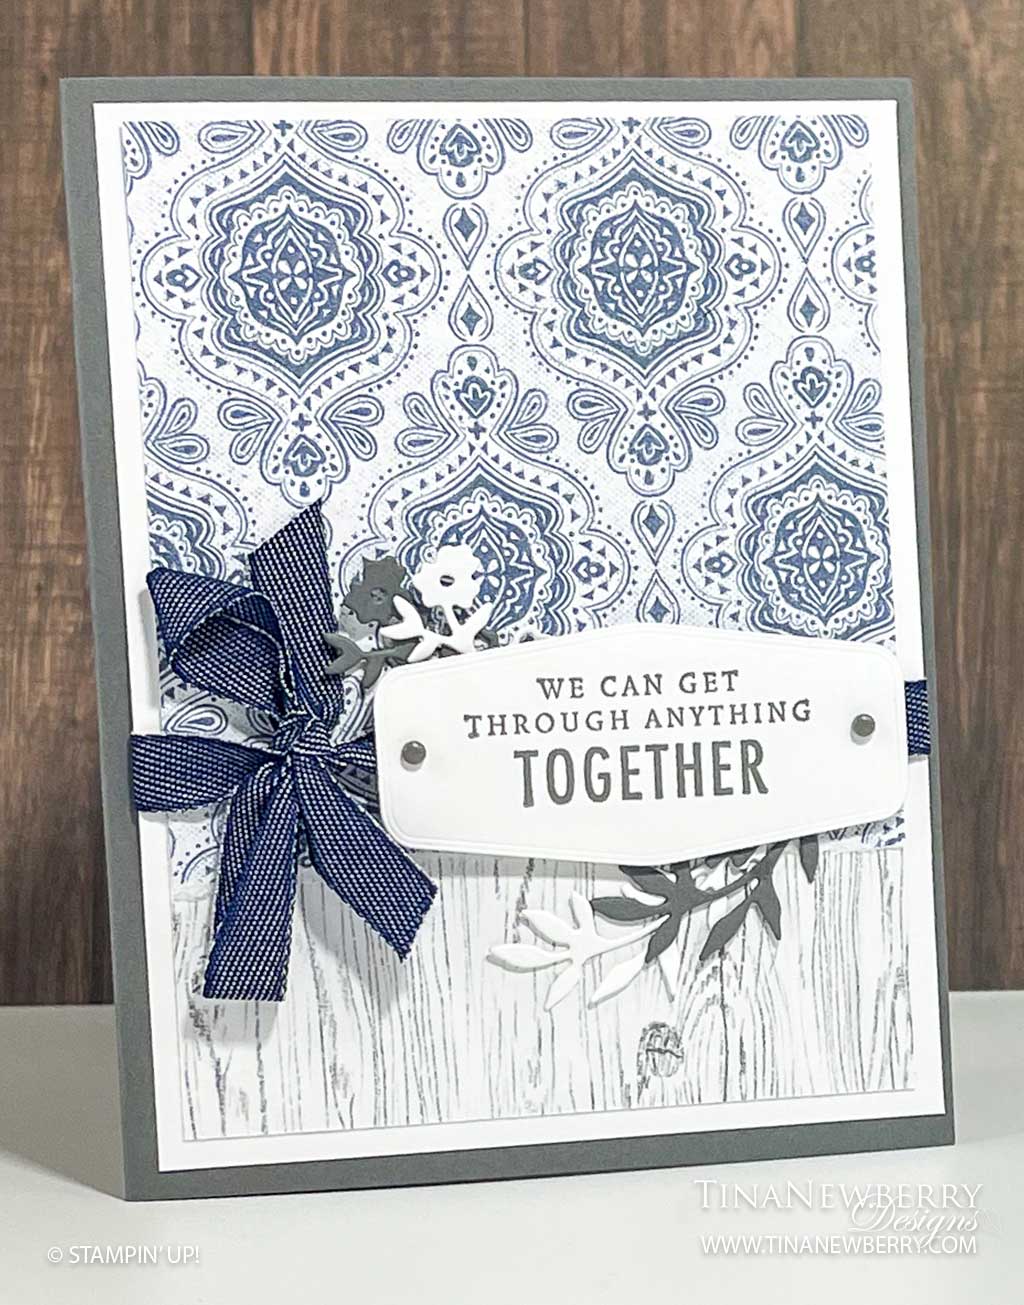
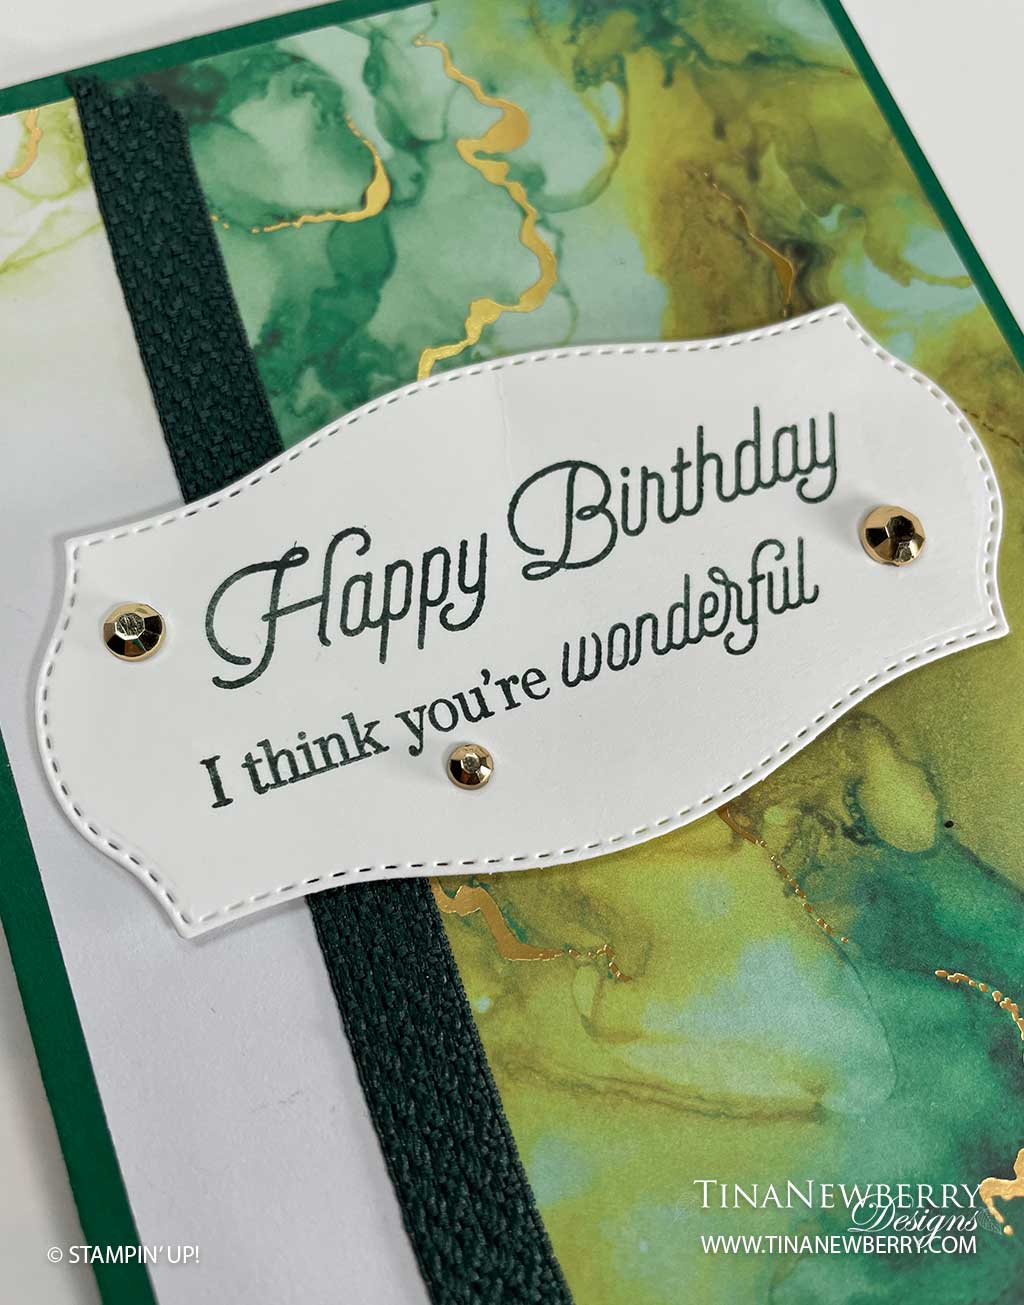
With a little patterned paper, an interesting label shape and some denim ribbon, this quick and easy card somes together in a jiff to have you on your way to making someone’s day.

Measurements

Full list of supplies needed, listed below. A die cutting machine is needed for this card.

Basic Gray:

  • 8 ½” x 5 ½”, scored at 4 ¼” for Card Base
  • scrap for die cuts

Basic White

  • 5 ¼” x 4” (2)
  • Scrap for label

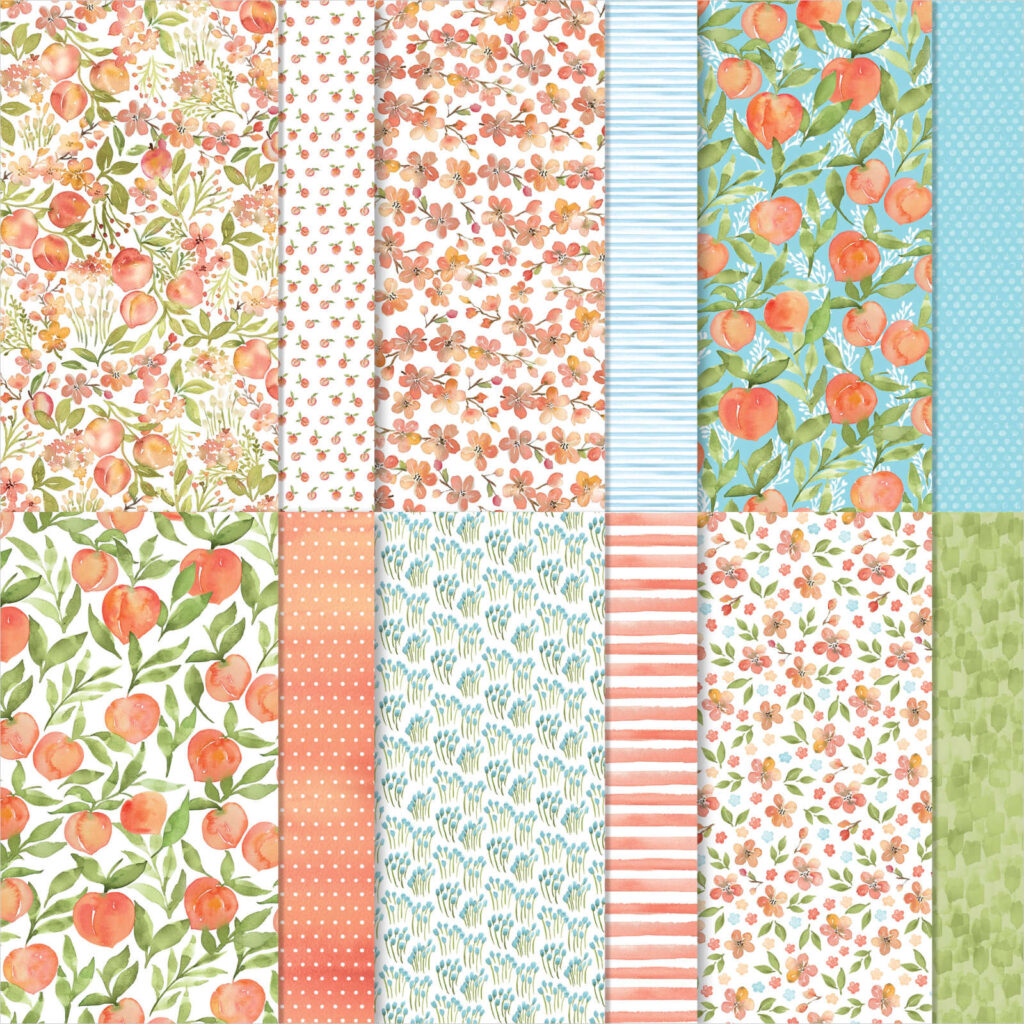
Heart and Home Designer Series Paper:

  • 3 ¾” x 6” (blue and white)
  • 3 ¾” x 2 ½” (woodgrain)
  • scrap for die cuts

Let’s Create

  1. Affix all stamps to Acrylic Blocks.
  2. Fold the Card Base in half using a Bone Folder to sharpen the crease.
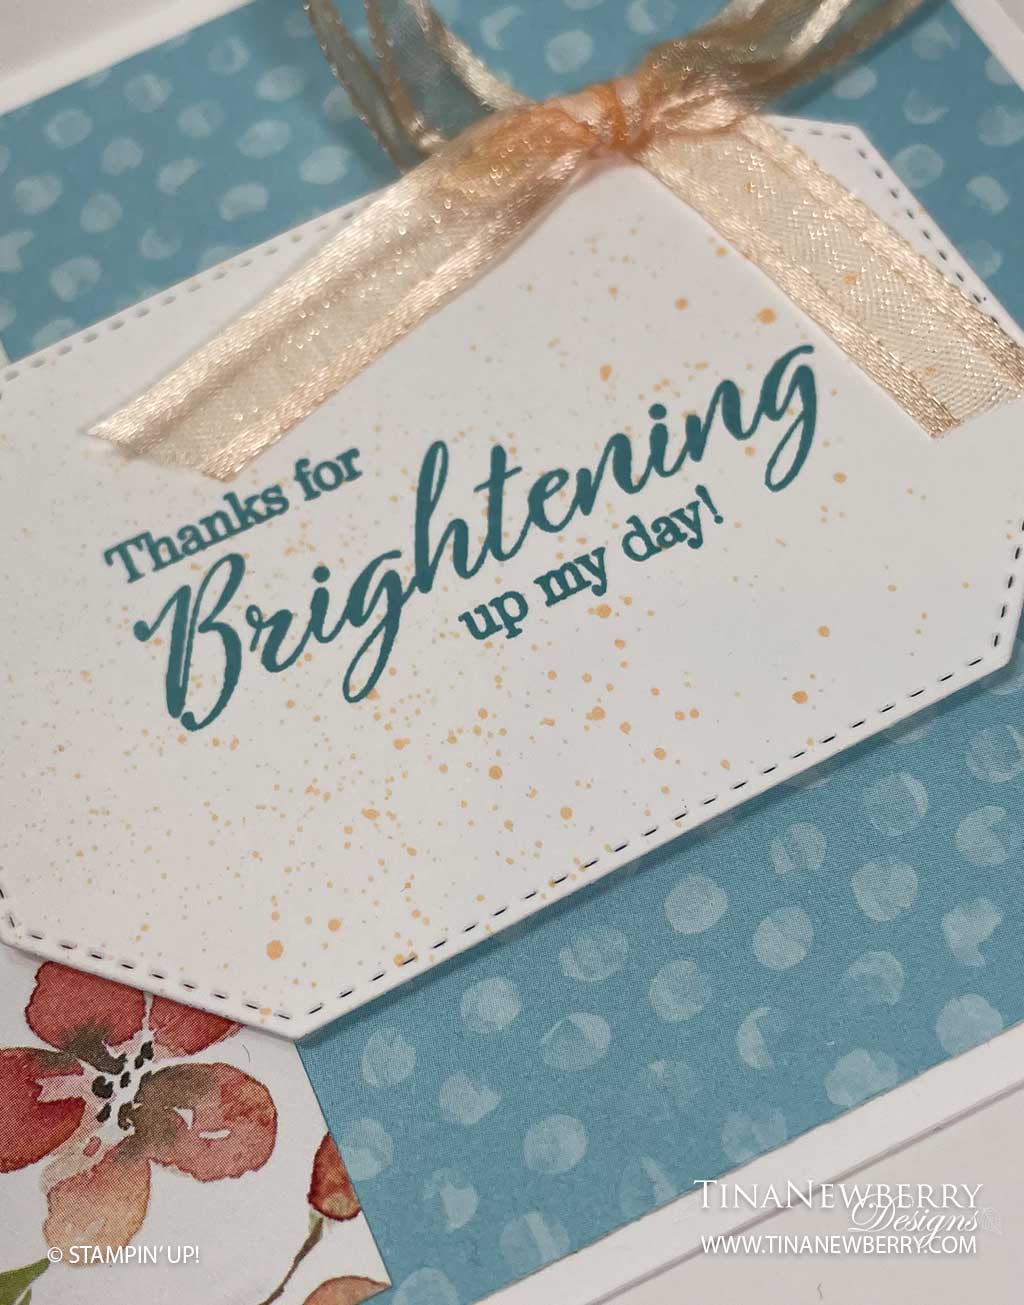
  3. Adhere the woodgrain DSP to the bottom of one of the Basic White panels. Tear the blue and white DSP around the 4” mark and attach to the top of the Basic White Layer. 
  4. Wrap ribbon around this panel, leaving enough length to tie a bow. Adhere this panel to the card front using Stampin’ Dimensionals.
  5. Die cut the Sentiment on the scap Basic White with the Tasteful Labels die cut.
  6. Stamp sentiment on Tasteful Label die in Basic Gray. Adhere two Matte Dots.
  7. Attach sentiment panel to card front with Stampin’ Dimensionals. Keep the Dimensionals near the center of the sentiment, so you can tuck in your die-cuts later.
  8. Tie a nice bow to the left of the sentiment.
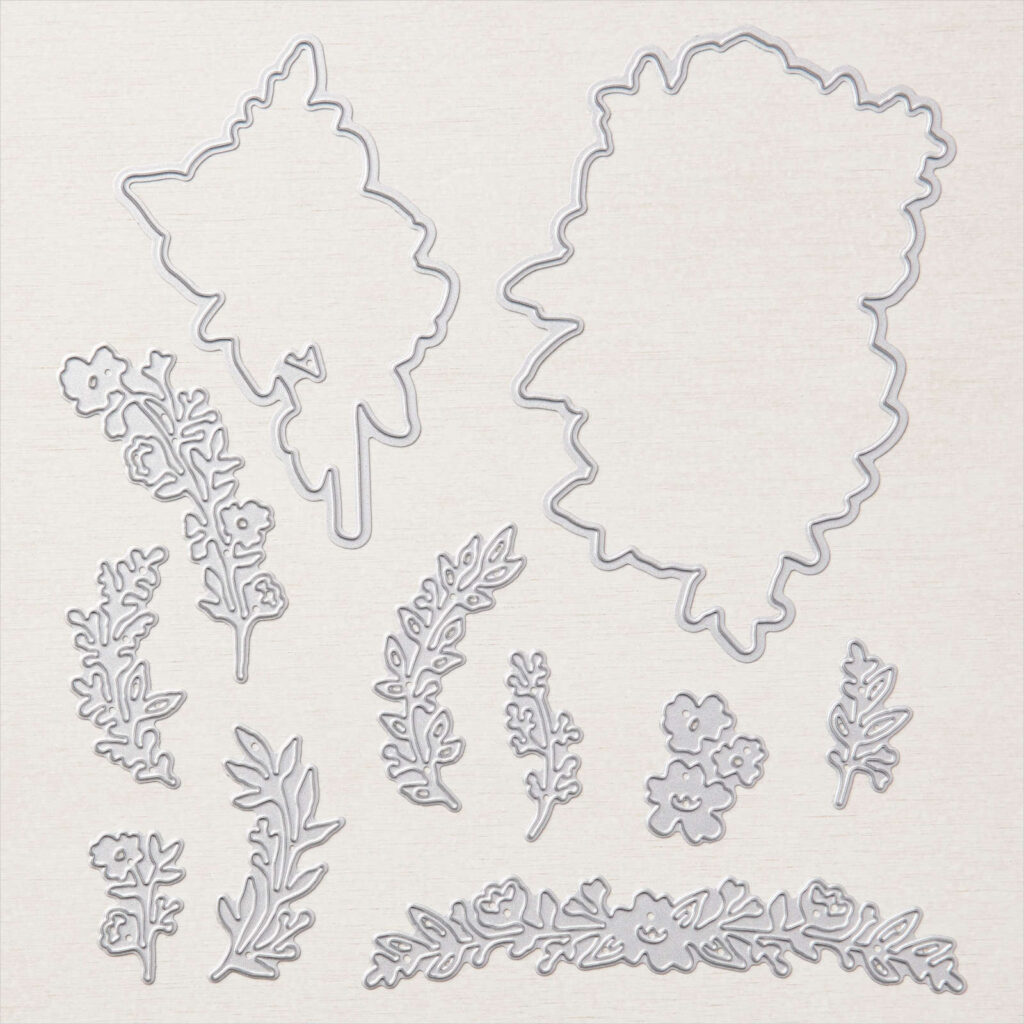
  9. Die cut a few branches from the Blessings of Home die cuts in Basic Grey and Basic White cardstock. Tuck in the Blessings of Home die-cuts in a pleasing manner around the Sentiment label.
  10. Stamp and decorate the inside and attach with Stampin’ Seal.
  11. Decorate your envelope.
  12. Lovely! Who needs some encouragement today? Put it in th email.

Shopping List

Recommended Stamper’s Toolkit ❤


I Think You’re Wonderful

Oohh the Expressions in Ink Paper is spectacular! It does all the work on this Quick & Easy Birthday Card. Make this in minutes, like a papercraft coffee break!

Measurements

Full list of supplies needed, listed below. A die cutting machine is needed for this card.
Shaded Spruce Cardstock

  • 5 ½” h  x  8 ½” w folded to 5 ½” h x 4 ¼” w for Card Base

Expressions in Ink Designer Series Paper: 

  • 5 1/4″ h x 1” w
  • 5 1/4″ h x 3” w

Basic White Cardstock

  • scrap to die cut for Sentiment
  • 5 1/4″ h x 4″ w for inside

Let’s Create

  1. Affix all stamps to Acrylic Blocks.
  2. Fold the Card Base in half using a Bone Folder to sharpen the crease.
  3. Use Stampin’ Seal to adhere the Expressions in Ink DSP layers onto the card front, the 1”w layer is on the left edge.
  4. Use Tear & Tape or Stampin’ Seal+ to adhere a 5 1/2″ length of Evening Evergreen Chevron Ribbon over the edge that the two layers of Expressions in Ink DSP meet. Trim the ends so it is slightly shorter than height of card.
  5. Stamp the sentiments with Evening Evergreen Stampin’ Pad onto Basic White cardstock.  I place the two stamps onto my grid paper to line them up.  Then I pressed my clear block onto the stamps to pick them up from the grid paper. 
  6. Die cut the sentiment with the Tasteful Labels Dies and the Stampin’ Cut & Emboss Machine.
  7. Adhere the sentiment label onto the card front with Stampin’ Dimensionals.
  8. Embellish the sentiment label with Gilded Gems.
  9. Stamp and decorate the inside and attach with Stampin’ Seal.
  10. Decorate your envelope.
  11. So cute! Now send it to someone special.

Shopping List

Stamper’s Toolkit

You will also need adhesive, acrylic blocks, scissors and other basic PaperCrafting items from the Stamper’s Toolkit

Thanks for Brightening Up My Day

Drop a quick and easy note of thanks with this #simplestamping card. I love this Balmy Blue Polka Dot paper!

Measurements

Full list of supplies needed, listed below. A die cutting machine is needed for this card.

Thick Basic White Card Stock:

  • 4 ¼” h  x  11” w folded to 4 1/4″ h x 5 1/2″ w for Card Base

You’re a Peach  Designer Series Paper: 

  • 4″ h x 5 1/4″ w
  • 3 ¾” h x 2” w

Basic White Cardstock

  • 4″ h x 5 1/4″ w
  • scrap for die cut

Let’s Create

  1. Affix all stamps to Acrylic Blocks.
  2. Fold the Card Base in half using a Bone Folder to sharpen the crease.
  3. Adhere the two You’re a Peach DSP layers onto the card front with Stampin’ Seal.
  4. Use Balmy Blue Stampin’ Pad to stamp your sentiment onto the Basic White cardstock.
  5. Die cut the stamped sentiment card stock with the Hippo and Friends large octagon die in the Stampin’ Cut & Emboss Machine. 
  6. Use the brush end of the Pale Papaya Stampin’ Blends and tap it against a clear block to splatter around the stamped sentiment. 
  7. Adhere the sentiment label with Dimensionals onto the card front.
  8. Tie a bow with the Pale Papaya ribbon, adhere to the label with a Mini Glue Dot.
  9. Sprinkle on some gems (optional).
  10. Stamp and decorate the inside and attach with Stampin’ Seal.
  11. Decorate your envelope.
  12. So pretty! Now send it to someone special.

Shopping List

Stamper’s Toolkit

You will also need adhesive, acrylic blocks, scissors and other basic PaperCrafting items from the Stamper’s Toolkit

It’s Your Day – Enjoy It!

Thank you for your interest in this project. Some projects are exclusive to subscribers who will receive passwords by email.

Are you a subscriber? Awesome! Check your email for the password and enter it here to view this project.

Not yet subscribed?  We’d love for you to join us.  Subscribe to my email list and receive news, information and inspiration by email.