There Are Not Enough Words

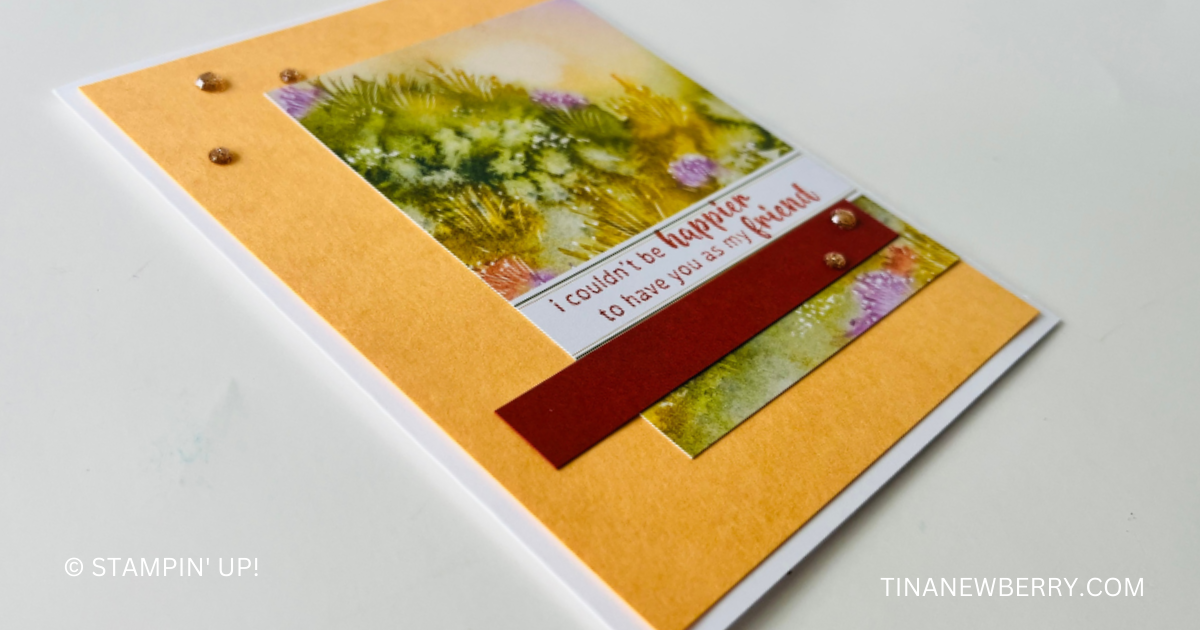
Create a thoughtful thank you card in minutes with a beaufitul die cut flower and a few pieces of paper. Read on for details.

Let your creativity bloom with this Fully Flowering Ephemera Pack! These laser-cut floral elements give you the look of hand-colored, detailed, die-cut pieces in a jiff—just remove them from the sheet and adhere to a card base using your favorite adhesive. Pair them with our blank cards and envelopes to make quick and easy cards with a personal touch!

Measurements

Full list of supplies needed, listed below.
Pretty in Pink Cardstock:

  • Card Base 8 ½” x 5 ½”, score at 4 ¼”
  • 3” x 1 ¾” (3)

Basic White Cardstock:

  • 4” x 5 ¼” (inside)
  • scrap for 2 1/3″ circle

Unbounded Beauty Designer Series Paper (DSP): 2 ⅞” x 1 ⅝” (3)


Let’s Create

  1. Affix all stamps to Acrylic Blocks.
  2. Fold the Card Base in half using a Bone Folder to sharpen the crease.
  3. Use Stampin’ Seal to attach the DSP layers (3) to the Pretty In Pink layers (3) to create three matted DSP layers.
  4. Arrange the matted DSP layers to the card base and attach with Stampin’ Seal.
  5. Die-Cut or Punch 2 ⅜” Circle from Basic White and attach with Stampin’ Seal.
  6. Use Stampin’ Dimensions to attach the Ephemera flower and sentiment.
  7. Tie a double bow with Basic White Baker’s Twine and attach with Mini Glue Dots.
  8. Sprinkle on the 2024–2026 In Color™ Shimmer Gems
  9. Stamp and decorate the remaining Basic White panel for the inside and attach with Stampin’ Seal.
  10. Decorate your envelope.
  11. So pretty! Now send it to someone special.

Shopping List

Recommended Stamper’s Toolkit ❤


Spotlight on Nature All Occasion Card

Use stamped images to create two background panels for sketch #6 and then accent with a piece of Designer Series Paper to bring out the colors of your focal image.

With soft greenery, florals, appreciative sentiments, and more, the Spotlight on Nature Bundle is a great way to make all-occasion, thank you, and friendship cards and paper crafts. Pair the circular dies with the flowers and Dear Friend sentiment to create a centerpiece on your card, or layer a few die-cut circles with the Thanks sentiment and filler stamps. This stamp set is versatile and has so much potential!

Measurements

Full list of supplies needed, listed below. A die cutting machine is needed for this card.
Card base – Old Olive

                      5 ½” x 8 ½” scored at 4 ¼”

Cajun Craze  – scrap for punching

White – 1 ¾” x 3” – 2 pieces

Country Lace dsp – 4” x 5 ¼”  use the Basic Beige denim pattern

Thoughtful Journey dsp – 1 ¾” x 3”  use the piece that has the Cajun Craze scribble grass

Let’s Create

  1. Affix all stamps to acrylic blocks.
  2. Fold and burnish card base at the score line using bone folder.
  3. Attach the panel of Country Lace dsp to the card base.
  4. Use Old Olive ink and the large leaf stamp and stamp it 2 times onto 1 of the 1 ¾” x 3” rectangles of white. 
  5. Stamp the large leaf stamp onto the other 1 ¾” x 3” rectangle of White using Cajun Craze.
  6. Glue the white rectangle with the Old Olive leaves at the top of the card base about ¾” from the top and ½” from the right side of the card front. 
  7. Add the Thoughtful Journey panel to the card front centered top to bottom and about ¼” from the right side of the card front. 
  8. Attach the white rectangle with the Cajun Craze leaves at the bottom of the card base about 5/8” from the bottom and ¾” from the right side of the card front. 
  9. Take the flower spray and ink up the flower using Peach Pie marker with a bit of Pumpkin Pie at the base of the flower.  Use a blender pen to blend the 2 colors.  Repeat with the other 2 flowers.  Use the Old Olive marker to color the stems and leaves.  Stamp onto a scrap of White.
  10. Use the 2 ¼” circle punch to punch out the image.  Use the 2 3/8” circle punch to punch out a circle from Cajun Craze.  Layer the 2 circles together. 
  11. Add dimensionals to the back of the circle from Step 10 then add it to the left hand side of the card front so the side of the circle is even with the side of the Basic Beige dsp. 
  12. Sprinkle on some Neutrals Adhesive Backed Sequins using the Copper ones.

Shopping List

Recommended Stamper’s Toolkit ❤


Thanks Friend

Need a card in a hurry? This is it! No stamping needed. Just assemble, stick and go.

Measurements

Full list of supplies needed, listed below. A die cutting machine is needed for this card.
Petunia Pop Cardstock: 8 ½” x 5 ½”, score at 4 ¼”

Basic White Cardstock: 4” x 5 ¼” (inside)

Mossy Meadow Cardstock:

  • 3 ⅝” x 4 ⅞”
  • ½”x 2”

Thoughtful Journey Designer Series Paper (DSP): 3 ½” x 4 ¾”

Let’s Create

  1. Affix all stamps to Acrylic Blocks.
  2. Fold the Card Base in half using a Bone Folder to sharpen the crease.
  3. Adhere DSP to right edge of Mossy Meadow layer with Stampin’ Seal.
  4. Adhere Mossy Meadow panel to right edge of Petunia Pop card front with Stampin’ Seal.
  5. Adhere Mossy Meadow ½”x 2” to card front.
  6. Adhere sentiment from Saying Something Mix & Match Ephemera Pack with Stampin’ Dimensionals.
  7. Create a double bow from Baker’s Twine and attach with Mini Glue Dots.
  8. Sprinkle on some Purple Fine Shimmer Gems.
  9. Stamp and decorate the 4” x 5 ¼” Basic White Cardstock for inside and attach with Stampin’ Seal.
  10. Decorate your envelope.
  11. Lovely!! Who will you send it to?

Shopping List

Recommended Stamper’s Toolkit ❤


I Couldn’t Be Happier to Have You As My Friend

Thank you for your interest in this project. Some projects are exclusive to subscribers who will receive passwords by email.

Are you a subscriber? Awesome! Check your email for the password and enter it here to view this project.

Not yet subscribed?  We’d love for you to join us.  Subscribe to my email list and receive news, information and inspiration by email.