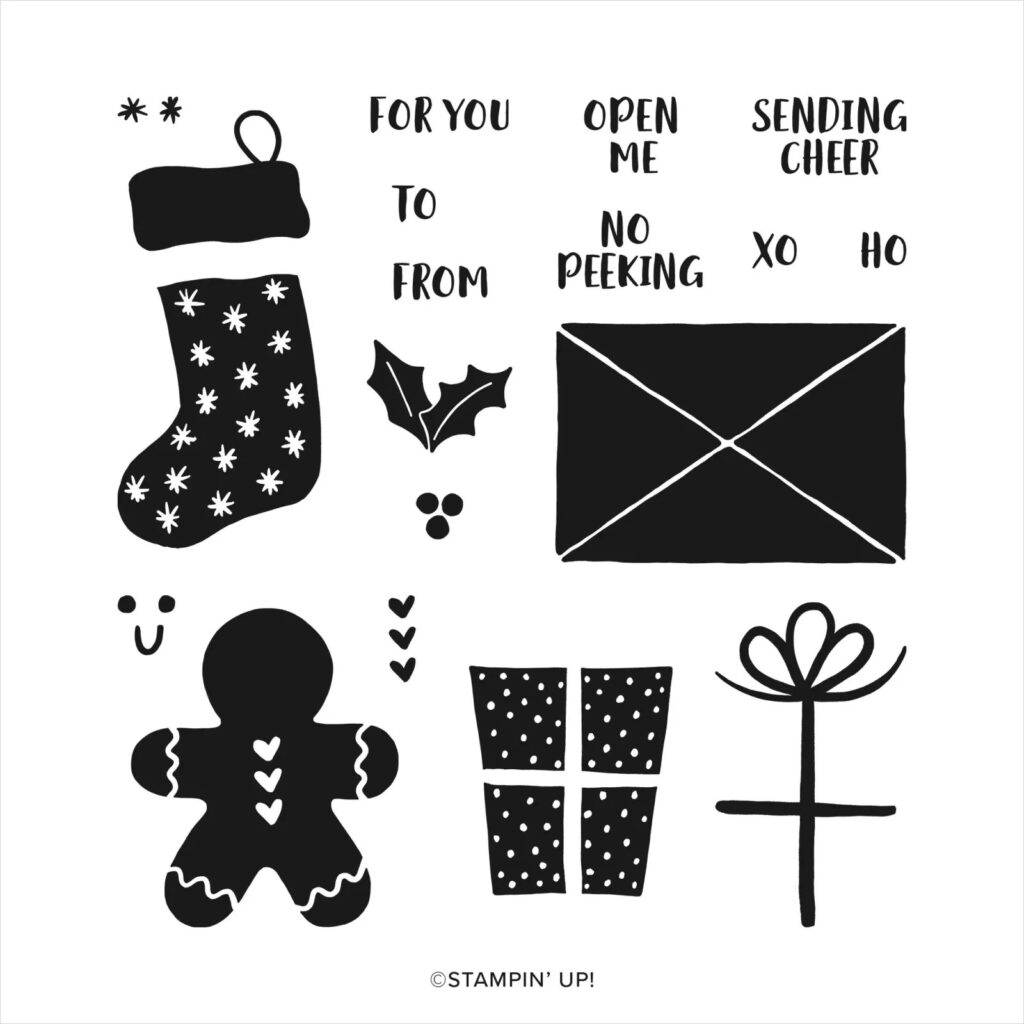
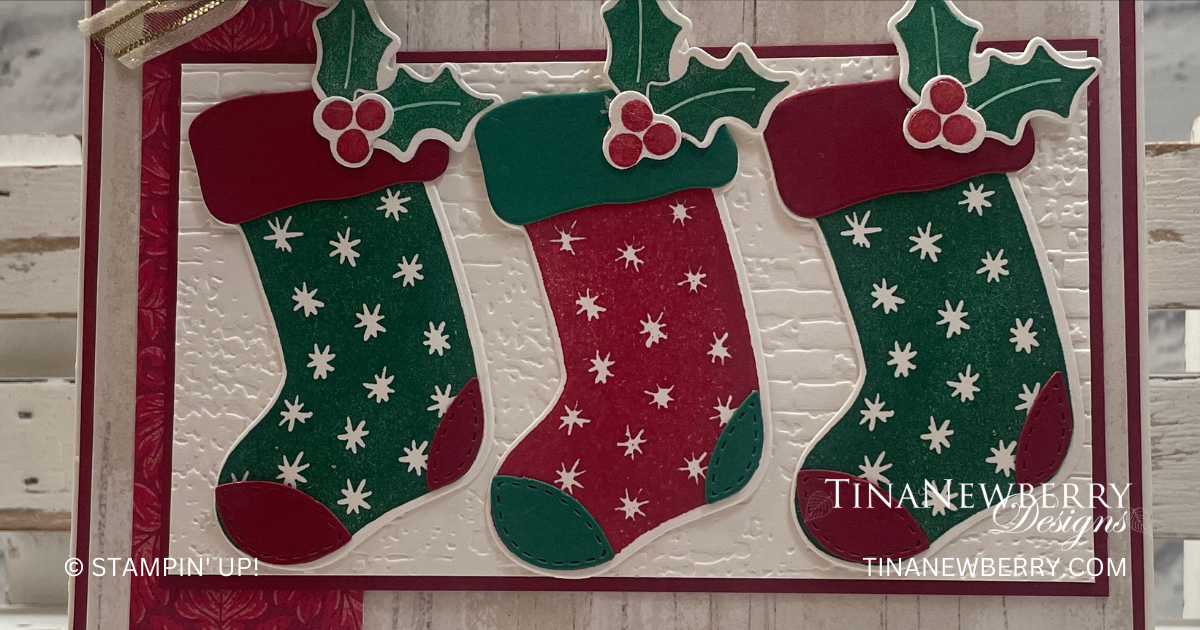
Make custom Christmas stockings with the Sending Cheer Stamp Set! What color will yours be? Mine will be Caribbean blue, of course! Ha! Be sure to get it before it’s gone, because once this bundle retires, it will be gone forever.

Measurements
Full list of supplies needed, listed below. A die cutting machine is needed for this card.
Basic White
- 5 ½” x 8 ½” scored and folded on the long-side at 4 ¼”
- 4 ⅝” x 2 ⅝”
- 5 ½” x 4 ¼” (for stamping and die cutting stockings, holly leaves & berries)
Cherry Cobbler
- 4 ⅛” x 5 ⅜”
- 2” x 3” (for die cutting stocking parts)
One Horse Open Sleigh Designer Series Paper (DSP)
- 5 ¼” x 4” (light wood grain print)
Shaded Spruce
- 2” x 2” (for die cutting stocking parts)
Traditions of St. Nick Designer Series Paper (DSP)
- 4” x 1 ¼” (Cherry Cobbler floral print)
Let’s Create
- Affix all stamps to Acrylic Blocks.
- Fold the Card Base in half using a Bone Folder to sharpen the crease.
- On 5 ½” x 4 ¼” Basic White Cardstock, stamp 2 stockings in Shaded Spruce Ink, and 1 stocking using Cherry Cobler ink. On this same paper, stamp 3 sets of the holly leaves in Shaded Spruce ink and holly berries in Cherry Cobbler ink.
- Die cut the stockings and the leaves and berries.
- Die cut the cuff, heel and toe for the stockings. Two sets in Cherry Cobbler and One set in Shaded Spruce. Adhere these pieces to the stockings – Cherry Cobbler onto the Shaded Spruce stockings and the Shaded Spruce to the Cherry Cobbler stocking. Adhere the holly leaves and berries to each of the stockings.
- Using the Exposed Brick 3D Embossing Folder, emboss the 4 ⅝” x 2 ⅝” piece of Basic White Cardstock.
- Using the Gold & Vanilla satin edged ribbon, tie a bow around the top edge of the 5 ⅝” x 4 ⅛” Cherry Cobbler Designer Series Paper.
- Assembling your card: Adhere the 3 stockings to the embossed Basic White Panel.
- Adhere the strip of Designer Series Paper towards the left side of the wood grain Designer Series Paper, with the bow at the top, leaving about ¼” of the wood grain paper showing on the left.
- Adhere the woodgrain paper to the Cherry Cobbler Cardstock panel.
- And then these layers can be adhered to the folded card base.
- Add a little Wink of Stella to the holly leaves and berries.
- Be sure to decorate the inside of your card and your envelope and it’s ready to send off to wish someone a Merry Christmas.
Shopping List
Recommended Stamper’s Toolkit ❤
Product List


