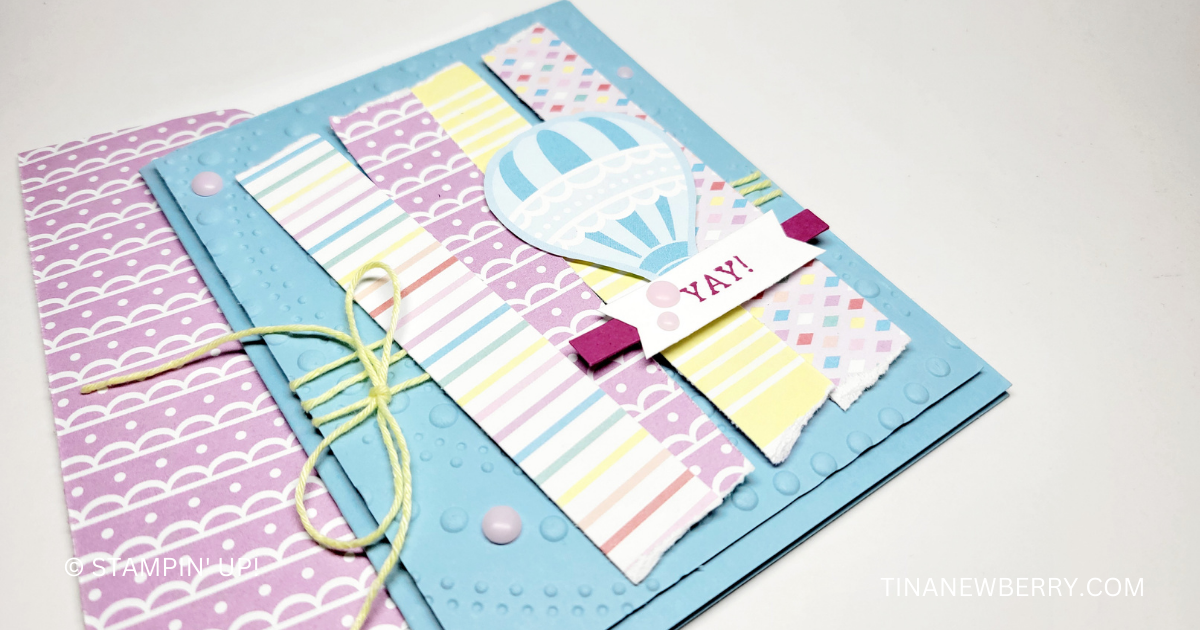
If you’re a paper hoarder like me, not only do you struggle to use your pretty patterned paper, but you also don’t want to waste any of it. With this quick & easy design you only have to part with a little of your stash, and you can use scraps.
Measurements
Full list of supplies needed, listed below. A die cutting machine is needed for this card.
Balmy Blue Cardstock
- 5 1/2″ h x 8 1/2” w scored at 4 1/4”
- 5 1/4″ h x 4″ w
Lighter Than Air Designer Series Paper (DSP):
- Pattern #1: 3/4” w x 5 1/2” h
- Pattern #2: 3/4” w x 5 1/2” h
- Pattern #3: 3/4” w x 5 1/2” h
- Pattern #4: 3/4” w x 5 1/2” h
- Scrap for focal image
Berry Burst Cardstock: scrap for sentiment
Basic White Cardstock:
- scrap for sentiment
- 5 ¼” h x 4” w
Let’s Create
- Affix all stamps to Acrylic Blocks.
- Use a Bone Folder to burnish the Balmy Blue at the scoreline to create the card base.
- Run the 5 1/4″ h x 4″ w Balmy Blue panel through the Stampin’ Cut & Emboss Machine with the Dotted Circles Embossing Folder.
- Wrap Baker’s Twine around panel several times and tie a bow off to the left side. Attach panel to Card Base with Stampin’ Dimensionals.
- Tear the ends of the DSP strips of varying sizes. Note: If you want the torn edge to be have a white edge, hold DSP strip with preferred pattern facing up and tear toward the preferred pattern.. If you want the torn edge to have DSP colored edge, tear away from the preferred pattern.
- Attach DSP strips using Stampin’ Dimensionals.
- Die cut a Balloon from the Lighter Than Air DSP and attach with Stampin’ Dimensionals.
- Stamp Sentiment on scrap Basic White in Berry Burst ink and use Paper Snip Scissors to flag the ends.
- Attach tiny strip of Berry Burst cardstock behind the Sentiment with Multipurpose Glue. Attach sentiment to card with Stampin’ Dimensionals.
- Sprinkle on some Rainbow Adhesive Backed Dots.
- Decorate 5 ¼” h x 4” w Basic White Cardstock and attach to inside with Stampin’ Seal.
- Decorate your envelope.
- Cute! Put it in the mail today!
Recommended Stamper’s Toolkit ❤
Product List


