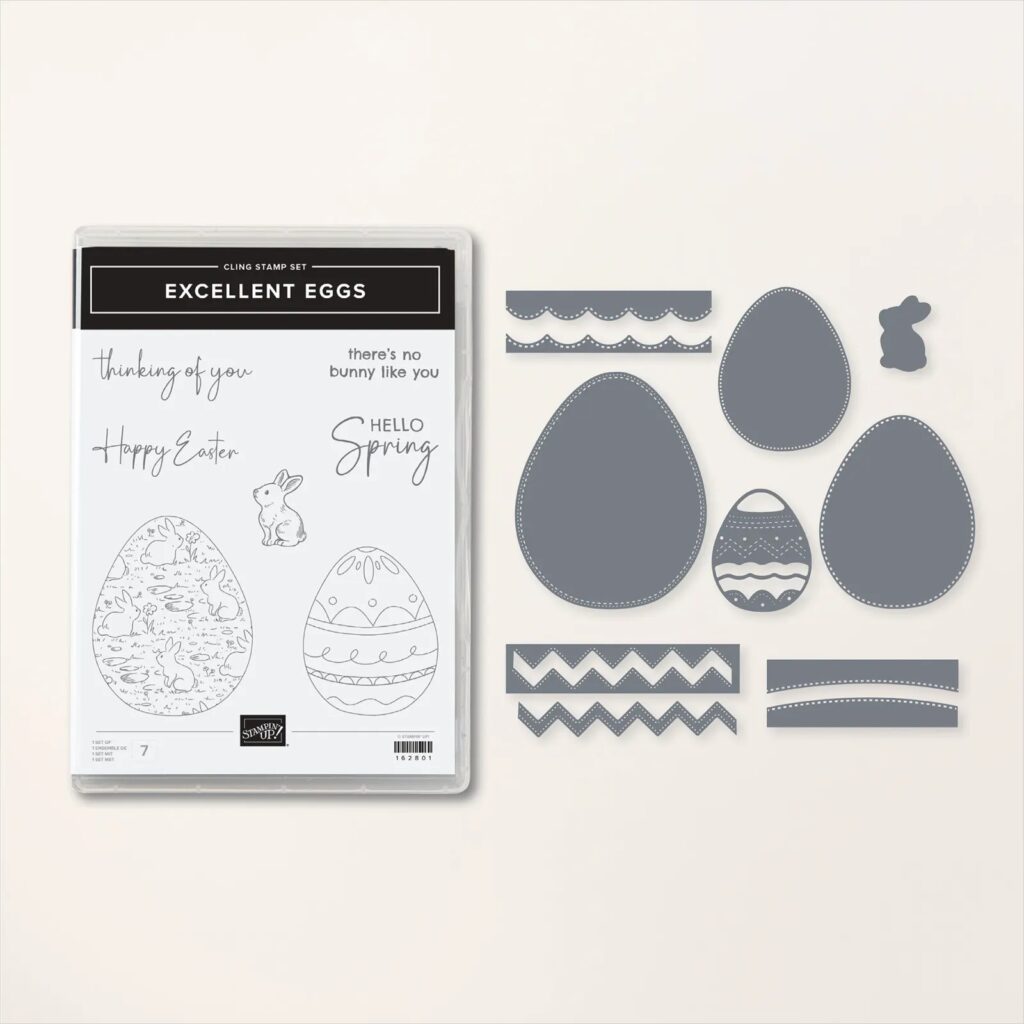
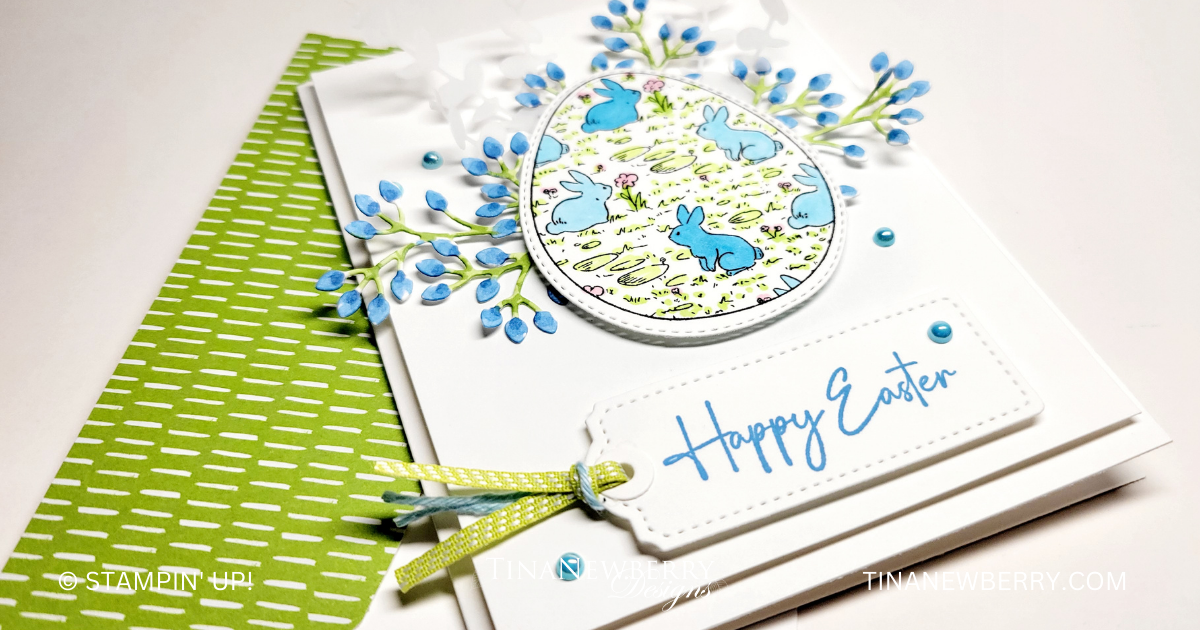
Use Stampin’ Blends alcohol markers to color this card in your favorite color combo.

Measurements
Full list of supplies needed, listed below. A die cutting machine is needed for this card.
Basic White Thick Cardstock:
- 5 ½” h x 8 ½” w scored and folded at 4 ¼” w
- Scrap for egg and springs
Basic White Cardstock:
5 ¼” h x 4” w (2)
Scrap for sentiment
Vellum Cardstock: Scrap for sprigs
Brights Designer Series Paper: Granny Apple Green scrap for envelope
Let’s Create
- Affix all stamps to Acrylic Blocks.
- Fold the Card Base in half using a Bone Folder to sharpen the crease.
- Attach one of the 5 ¼” h x 4” w Basic White panels to the front with Stampin’ Dimensionals.
- On Basic White Thick cardstock scrap, stamp the Egg with Bunnies in Memento Ink. Use the pen tip end of Stampin’ Blends to color in the bunny scene. I used Tahitian Tide Dark and Light, Lemon Lime Twist Dark and Light, and Flirty Flamingo Light.
- Die cut the Egg
- Die cut the Sentiment Tag, Sentiment Tag Ring and two spring from Basic White cardstock and two sprigs from Vellum Cardstock.
- On the Basic White Sprig, use Stampin’ Blends to color the stems and “berry” leaves. I used Granny Apple Green and Azure Afternoon Light and Dark.
- On the Basic White Sentiment Tag, attach the tag ring around the hole, stamp the Sentiment in Azure Afternoon in and thread ribbon through the hole. Attach to Card Based with Stampin’ Dimensionals.
- Arrange the springs and the egg on above the Sentiment Tag. Attach springs with Mini Glue Dots and the Egg with Stampin’ Dimensionals.
- Sprinkle on some 2022–2024 In Color Pearls
- Stamp and decorate the remaining 5 ¼” w x 4” h for inside
- Decorate your envelope with a piece of Granny Apple Green from the Brights DSP pack.
- Adorbs! ! Who will you send it to?
Shopping List
Recommended Stamper’s Toolkit ❤
Product List


