
This sentiment just cracks me up. I miss your face! Ha! My friend Christine from New Hampshire says this when she calls me. She makes me laugh. Maybe I should send this to her. Hmm…
This card was one of a few projects that came out of a rare Friday craft-therapy session at the beginning of the Coronavirus Pandemic. My friend Kim and I had taken the day off to go to a stamping expo, but that got cancelled. We decided to turn lemons into lemonade with some much needed craft-therapy. We had so much fun!
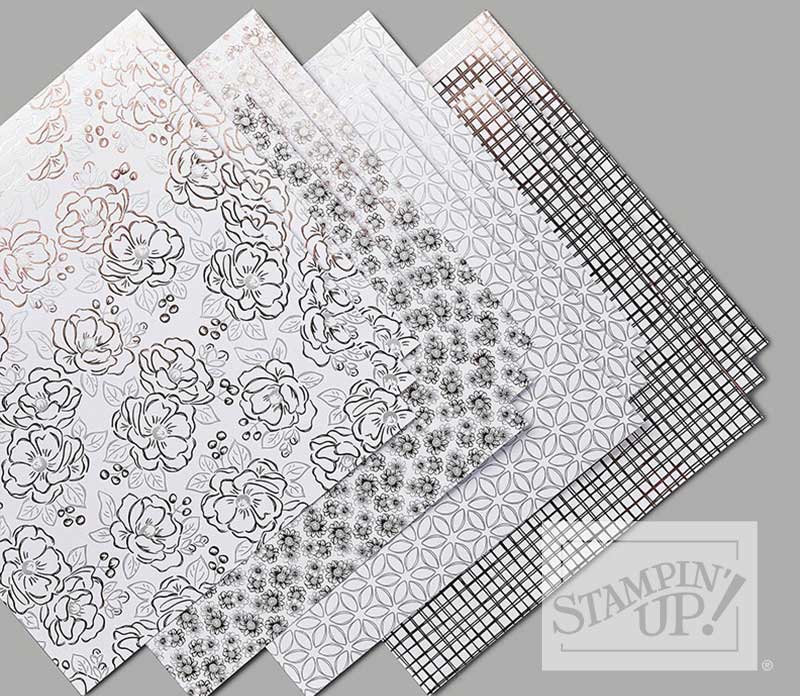
For this beautiful card, Kim first folded an 8.5″h x 5.5″w piece of Whisper White Thick Cardstock to make a 4.25″w x 5.5″h card base. She then used a brayer and the Rich Razzleberry stamp pad to create the ombre effect on a piece of Flowering Foils Designer Series Paper. This paper is a free Sale-a-bration item with purchases made through March 31st, but any foil or heat embossed paper will work create the same effect.
I then used the Label Me Lovely Punch to make a layer out of Blackberry Bliss and the Whisper White Sentiment layer. I used the Blackberry Bliss stamp pad for the ‘I miss your face’ sentiment.
Kim made a pretty layer from Rococco Rose for that gorgeous ombre background and then we started putting it all together. We used the Snail Adhesive for everything, except the sentiment layers, which we popped up with some Stampin’ Dimensionals. Super easy.
We dug into my stash for some retired Silver-edged Berry Burst ribbon to pull it all together, but the Silver Edge Metallic Ribbon would also look fabulous.
What a fun day we had!
How to Make the Ombre Effect
- Choose one ink pad. That’s it. Just one. Open it.
- Position your foil or embossed paper on a piece of scrap paper a few inches larger.
- Using the brayer like a paint roller, roll it on the stamp pad rolling in one direction until the whole brayer is coated with ink.
- Starting at the edge of the foil or embossed paper that you want to be darkest, roll the brayer back and forth the the width of the foil or embossed paper, slowly moving up the paper until the ink gets lighter. Stop an inch or so from the far edge.
- Repeat with the ink and brayer until you reach the desired look.
Cutting Dimensions
- Card base: 8.5″h x 5.5″w piece of Whisper White Thick Cardstock folded to make a 4.25″w x 5.5″h
- Roccoco Rose Layer: 5″h x 3.75″w
- Flowering Foils Layer: 4.75″ h x 3.5″ w
- Ribbon: Roughly six inches of your favorite ribbon
Products Used
Here’s a look at the products I used to make this card. Click the image and you will be taken to my online store.


