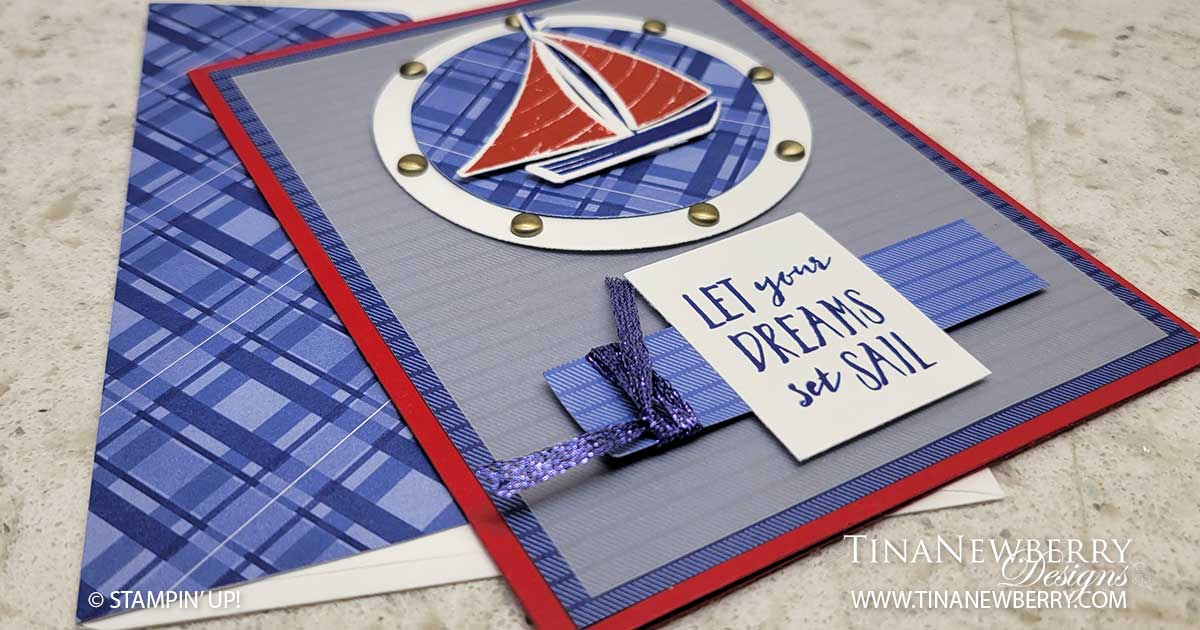
Mimic the look of a porthole. I’ll show you how on this fun nautical red, white and blue encouragement card.
Measurements
Full list of supplies needed, listed below. A die cutting machine is needed for this card.
Real Red Cardstock 5 ½” h x 8 ½” w scored and folded on the long-side at 4 ¼” w
2022-2024 6”x6” Designer Series Paper (DSP):
- 5 ¼” h x 4” w
- 2 ⅜” circle
- ¾” h x 3” w
Lovely Layers Vellum: one sheet 5” h x 3 ¾” w
Basic White Cardstock:
- 3” circle
- 1 ½” h x 1 ¼” w for sentiment
- 5 ½” h x 4” w for inside
- Scrap for sailboat
Let’s Create
- Affix all stamps to Acrylic Blocks.
- Fold the Card Base in half using a Bone Folder to sharpen the crease.
- Attach the 5 ¼” h x 4” w DSP to the Card Base using Stampin’ Seal.
- Add Stampin’ Seal to the Vellum piece only in the center near top and bottom, where the sailboat and sentiment will be attached.
- If you haven’t already, die cut the 3” circle from Basic White Cardstock and the 2 ⅜” circle from the DSP. Use Stampin Seal to attach the two circles together.
- Use Stampin Dimensionals to attach the circles to the Vellum.
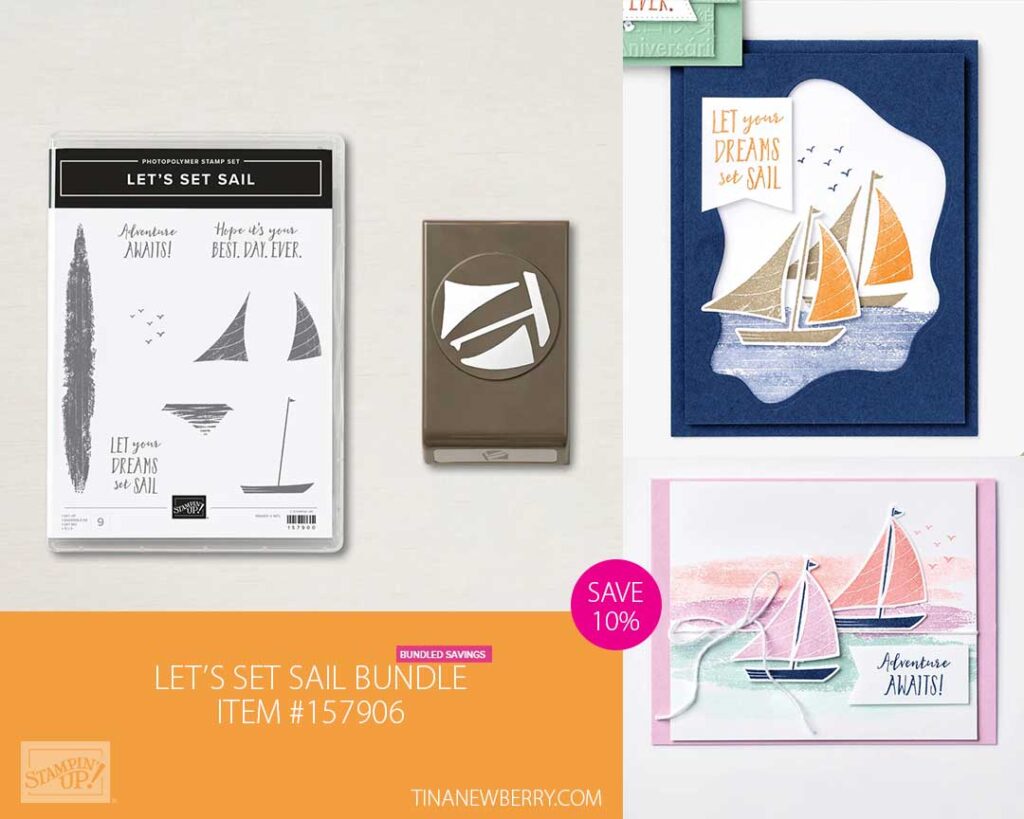
- On Basic White cardstock scrap stamp the sailboat and mast with Starry Sky in and the sails with Real Red ink. Punch pieces out with the sailboat builder punch.
- On a silicone matte, assemble the sailboat and use Mini Glue Dots on the back to hold sailboat together.
- Use Stampin’ Dimensionals to attach the sailboat to the DSP Circle.
- Stamp the sentiment in Starry Sky Ink on the 1 ½” h x 1 ¼” w sentiment layer.
- Use Stampin’ Seal to attach the sentiment to the ¾” h x 3” w DSP .
- Wrap some Starry Sky metallic ribbon around the ¾” h x 3” w DSP and tie a knot. Then attach ¾” h x 3” w DSP to the Vellum with Stampin’ Dimensionals.
- Add some Brushed Metallic Adhesive dots to the Basic White Circle to resemble a port hole.
- Stamp and decorate the 5 ¼” h x 4” w Basic White for the inside and attach with Stampin’ Seal.
- Decorate your envelope.
- Love it!! ! Now who need some encouragement? Put it in the mail.
")


 Designer Series Paper")
 Vellum")

 Metallic Woven Ribbon")

$35.00
Recommended Stamper’s Toolkit ❤
Product List
$12.00

$7.00

$4.25

$5.75

$5.50

$11.00

$26.00

$7.00

$6.50

$11.00

$20.00

$11.00

$80.75

$128.00


$16.00

$13.00


