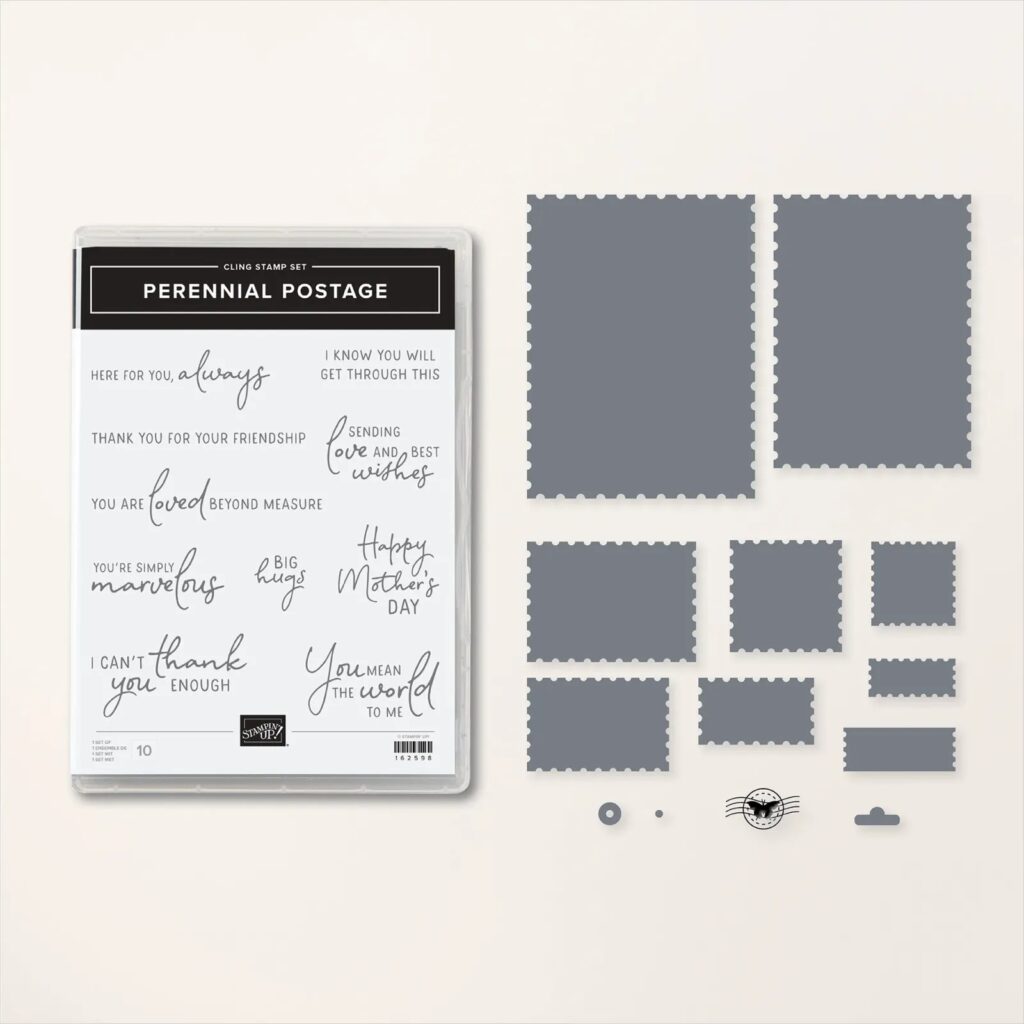
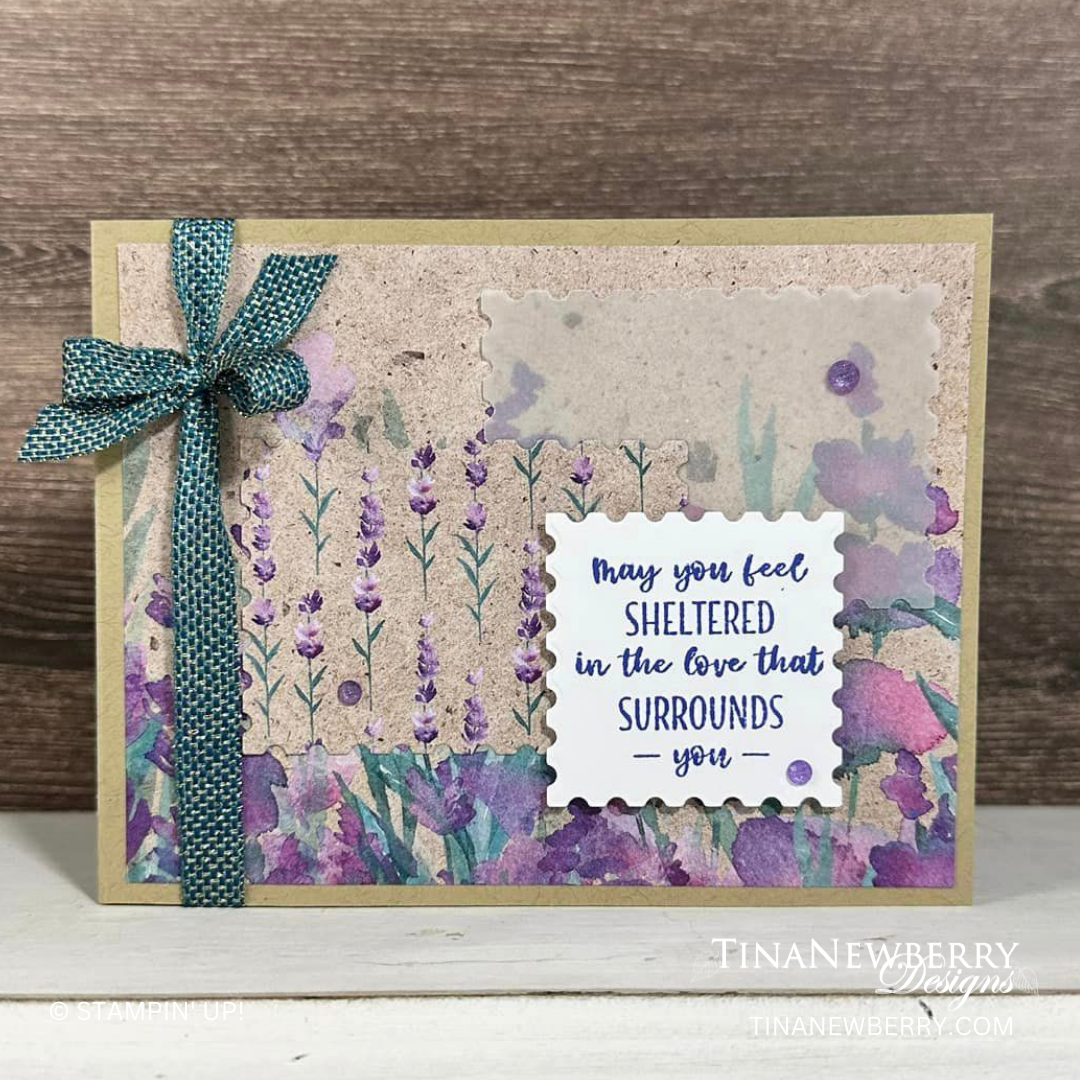
Remember that Postage Stamp punch we had awhile ago? So fun right? Well… did you see all of the “postage stamp” dies in the Perennial Postage Bundle?! Loads more fun. I have a feeling these dies will be around for awhile.

Measurements
Full list of supplies needed, listed below. A die cutting machine is needed for this card.
Crumb Cake Card Base: 4 ¼” x 11”, score at 5 1/2”
Perennial Lavender Designer Series Paper (DSP):
- 4” x 5 ¼”
- scrap for 2 ¾” x 2” die cut
Vellum Cardstock: scrap for 2 ¾” x 2” die cut
Basic White scrap for 2 ¾” x 2” die cut
Let’s Create
- Affix all stamps to Acrylic Blocks.
- Fold the Card Base in half using a Bone Folder to sharpen the crease.
- Die-Cut
- 2 ¾” x 2” size Perennial Postage Dies in Vellum
- 2 ¾” x 2” size Perennial Postage Dies in Designer Series Paper
- 1 ¾” square size Perennial Postage Dies in Basic White
- Adhere Designer Series Paper to front of card with Stampin’ Seal.
- Stamp sentiment in Orchid Oasis on Basic White die cut.
- Arrange layers in a pleasing manner and adhere. NOTE: Only put adhesive on the back of the vellum in places that are not visible (ie covered by other layers).
- Wrap ribbon around the card front, near the fold and tie a bow in the upper left corner.
- Sprinkle on the Purple Shimmer gems.
- Stamp and decorate the inside and attach with Stampin’ Seal.
- Decorate your envelope.
- Pretty! Now send it to someone special.
Shopping List
Recommended Stamper’s Toolkit ❤
Product List


