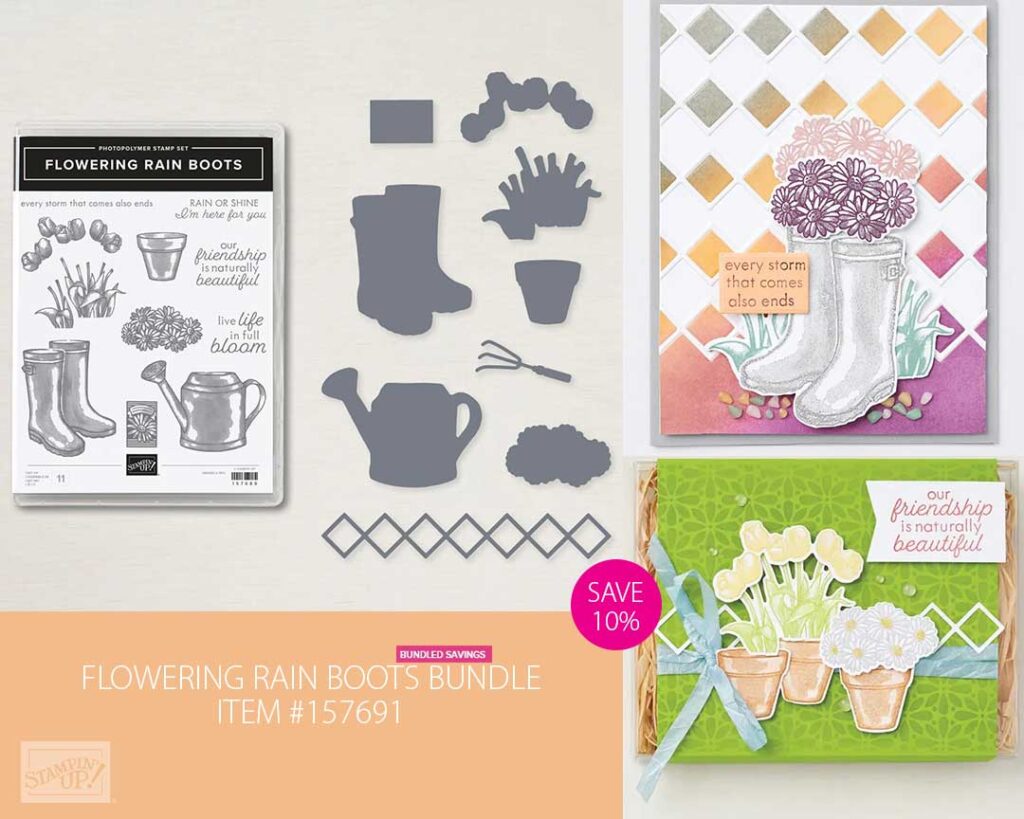
Create unique handmade greeting cards to brighten anyone’s day using the Flowering Rain Boots Bundle, which includes the Flowering Rain Boots Stamp Set and the Rain Boots Dies. It’s perfect to create a garden scene or to include garden tools in your papercrafing projects. You’ll love the endless possibilities!

Measurements
Full list of supplies needed, listed below. A die cutting machine is needed for this card.
Pear Pizzazz Cardstock: 5 ½” h x 8 ½” w scored and folded on the long-side at 4 ¼ for Card Base
Flowering Fields Designer Series Paper (DSP): 5 1/4” h x 4″ w
Pear Pizzazz Cardstock: 2 ½” x 4”
Basic White Cardstock:
- 2 3/8” x 3 7/8”
- scraps for stamping and die cutting
- 5 1/4″ h x 4″ w
Let’s Create
- Affix all stamps to Acrylic Blocks.
- Fold the Card Base in half using a Bone Folder to sharpen the crease.
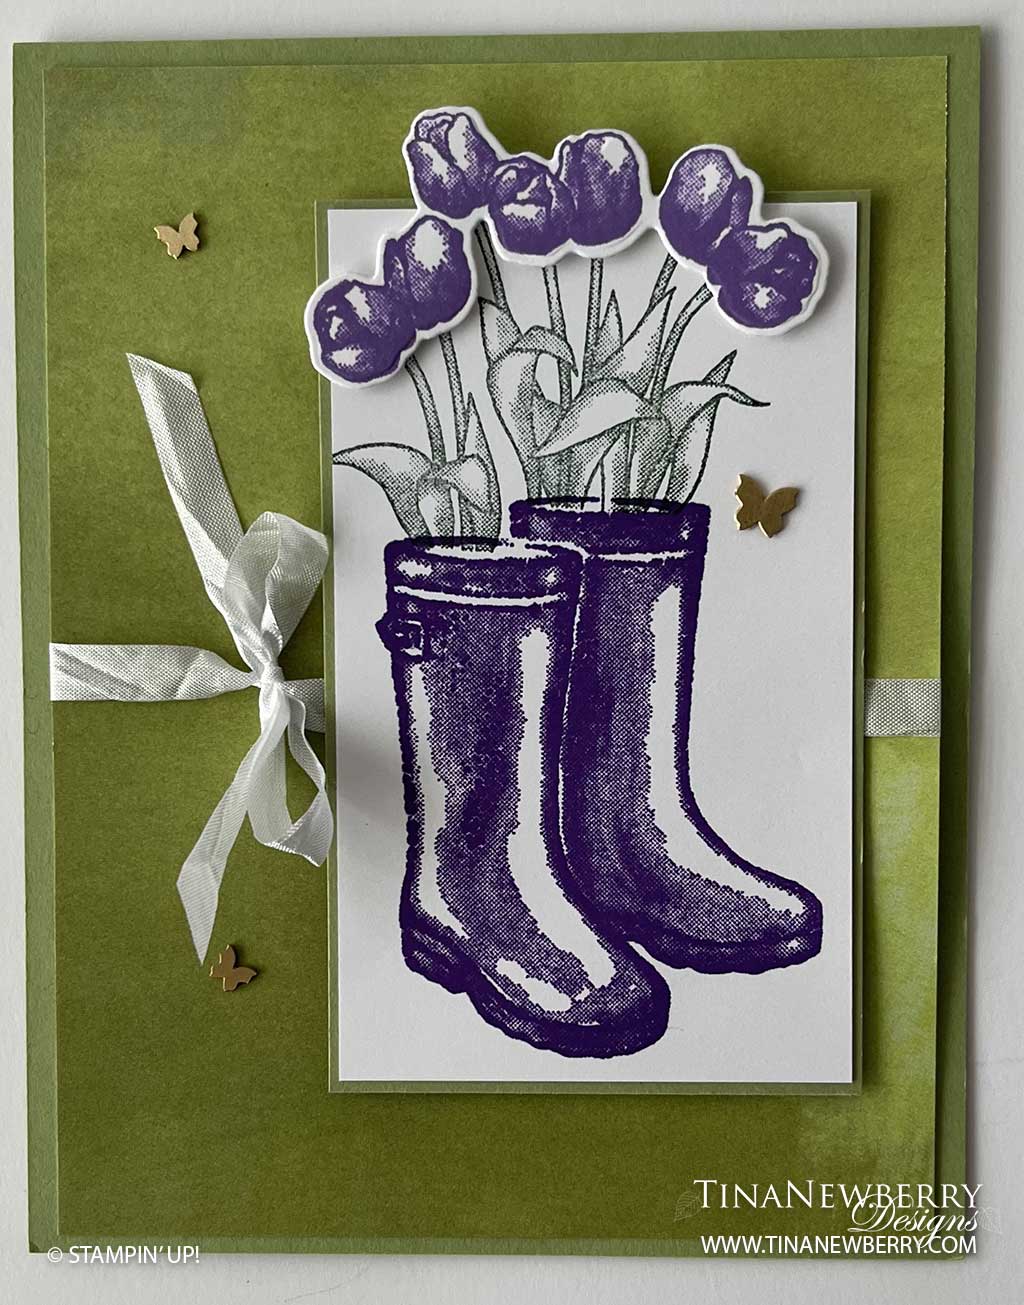
- Tie the White Crinkled Seam Binding around the 5 1/4″ h x 4″ w Flowering Fields DSP layer with the bow on the left about ¾” from edge
- Attach Flowering Fields DSP with Stampin’ Dimensionals.
- Stamp the rain boots in Gorgeous Grape ink near the bottom of the the 2 3/8” x 3 7/8” Basic White layer.
- Stamp the stems in Pear Pizazz ink in the top of the rain boots
- Attach the 2 3/8” x 3 7/8” stamped Basic White to the right side of the card with Stampin’ Dimensionals – adjust as needed so the bow still shows.
- Stamp the tulip blossoms in Highland Heather ink and use the Stampin’ Cut & Emboss machine to die cut.
- Add tulip blossoms to stems using Stampin’Dimensionals.
- Sprinkle on some Brushed Brass Butterflies.
- Stamp and decorate the inside and attach with Stampin’ Seal.
- Decorate your envelope.
- So cheery! Now send it to someone special.
Shopping List
Recommended Stamper’s Toolkit ❤
Product List


