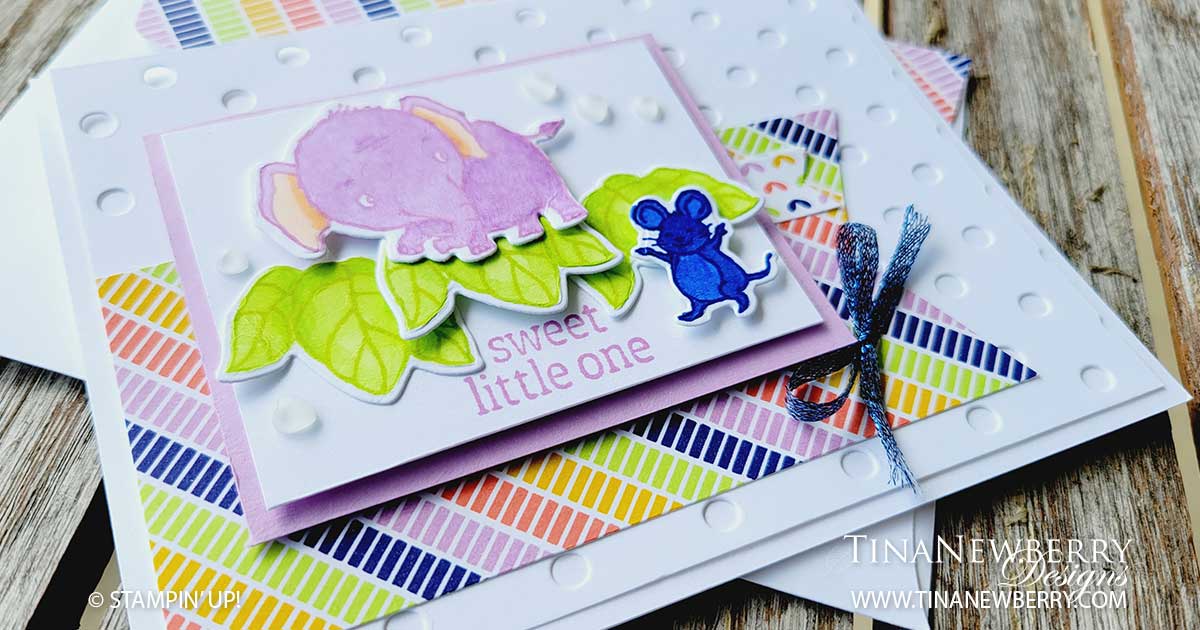
This striped paper from the Butterfly Kisses Designer series paper sets a fun color palette for a sweet baby card. It would be fun to switch up the colors and make a Starry Sky elephant for a boy card.
Measurements
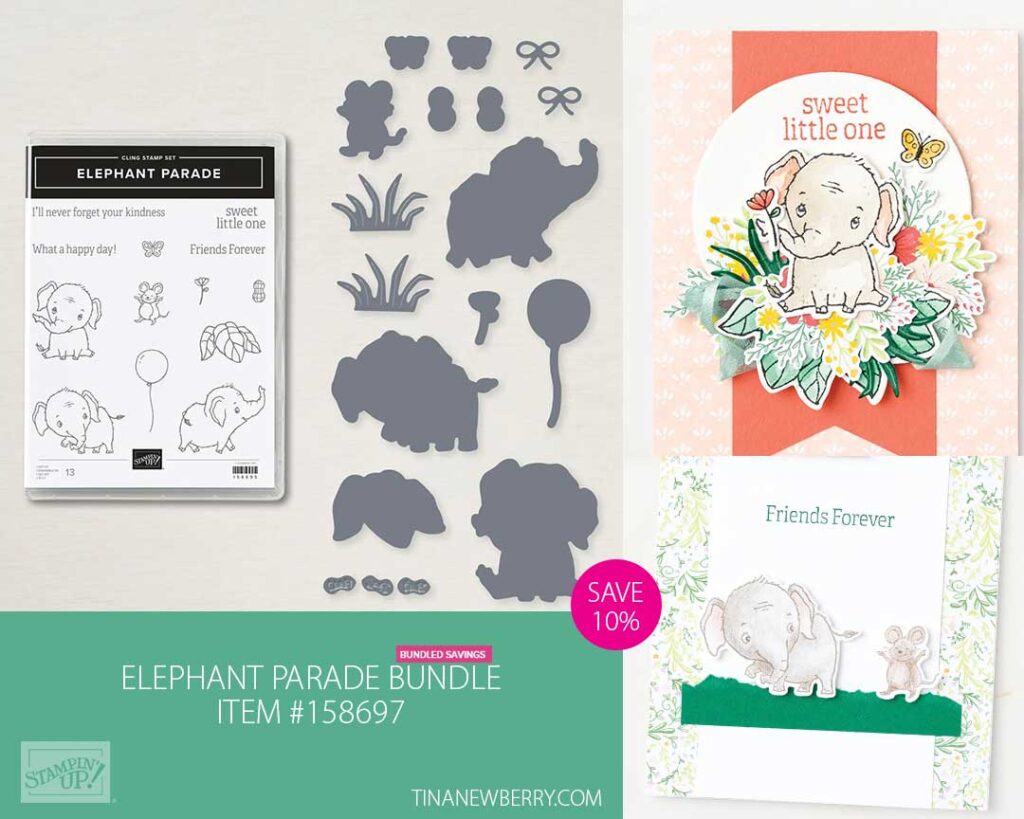
Full list of supplies needed, listed below. A die cutting machine is needed for this card.
Basic White Thick Cardstock:
- 8 ½” h x 5 ½” w scored and folded on the long side at 4 ¼” h
- Scrap for elephant, leaves and mouse
Basic White Cardstock:
- 4 ¼” h x 5 ½” w (2)
- 2 ¼” h x 3” w
Fresh Freesia Cardstock: 2 ½” h x 3 ¼” w
Butterfly Kisses 6” x 6” Designer Series Paper (DSP):
- 2 ¼” h x 4 ⅝” w
- ½” h x 1” w
Let’s Create
- Affix all stamps to Acrylic Blocks.
- Fold the Card Base at score line using a Bone Folder to sharpen the crease.
- Run one of the 4 ¼” h x 5 ½” w Basic White panels through the Stampin’ Cut & Emboss machine with the Dots & Spots Die, then attach to the Card Base with Multipurpose Glue.
- To make the banner: Halfway up the right side of the 2 ¼” h x 4 ⅝” w, use Paper Snips to snip about ¾” into the panel. Then use the snips to cut from the lower right corner into the end of the snip you made. Then cut from the top right corner down to the snip. Remove the two small triangles to leave a banner edge. Use Stampin’ Seal to attach this piece to the bottom of your card front.
- On the 2 ¼” h x 3” w Basic White cardstock, stamp sentiment in the lower center in Fresh Freesia ink, then attach to the Fresh Freesia Cardstock.
- Attach the Fresh Freesia with Stampin’ Dimensionals.
- One Basic White Thick Cardstock scrap stamp the elephant in Fresh Freesia ink, the leaves in Parakeet Party ink and the mouse in Starry Sky ink, then use the coordinating Stampin’ Blends to color them in. I color in light first then, shade with dark and then blend with light, but for the mouse I used the Light Starry Sky for his body and the light Orchid Oasis for his ears and tummy.
- Die cut these pieces. Attach the two outer leaves with Stampin’ Seal and then the elephant, center leaves and mouse with Stampin’ Dimensionals.
- Sprinkle on some Heart Pearls
- Tie a bow with the Starry Sky Metallic ribbon and attach with a Mini Glue Dot.
- Decorate the remaining 4 ¼” h x 5 ½” w Basic White panel and attach to the inside with Stampin’ Seal.
- Decorate your envelope.
- So cute!! Who has a baby you can send this to?
Shopping List
")


 Designer Series Paper")

$8.00
 Metallic Woven Ribbon")
Recommended Stamper’s Toolkit ❤
Product List
$12.00

$7.00

$4.25

$5.75

$5.50

$11.00

$26.00

$7.00

$6.50

$11.00

$20.00

$11.00

$80.75

$128.00


$16.00

$13.00


