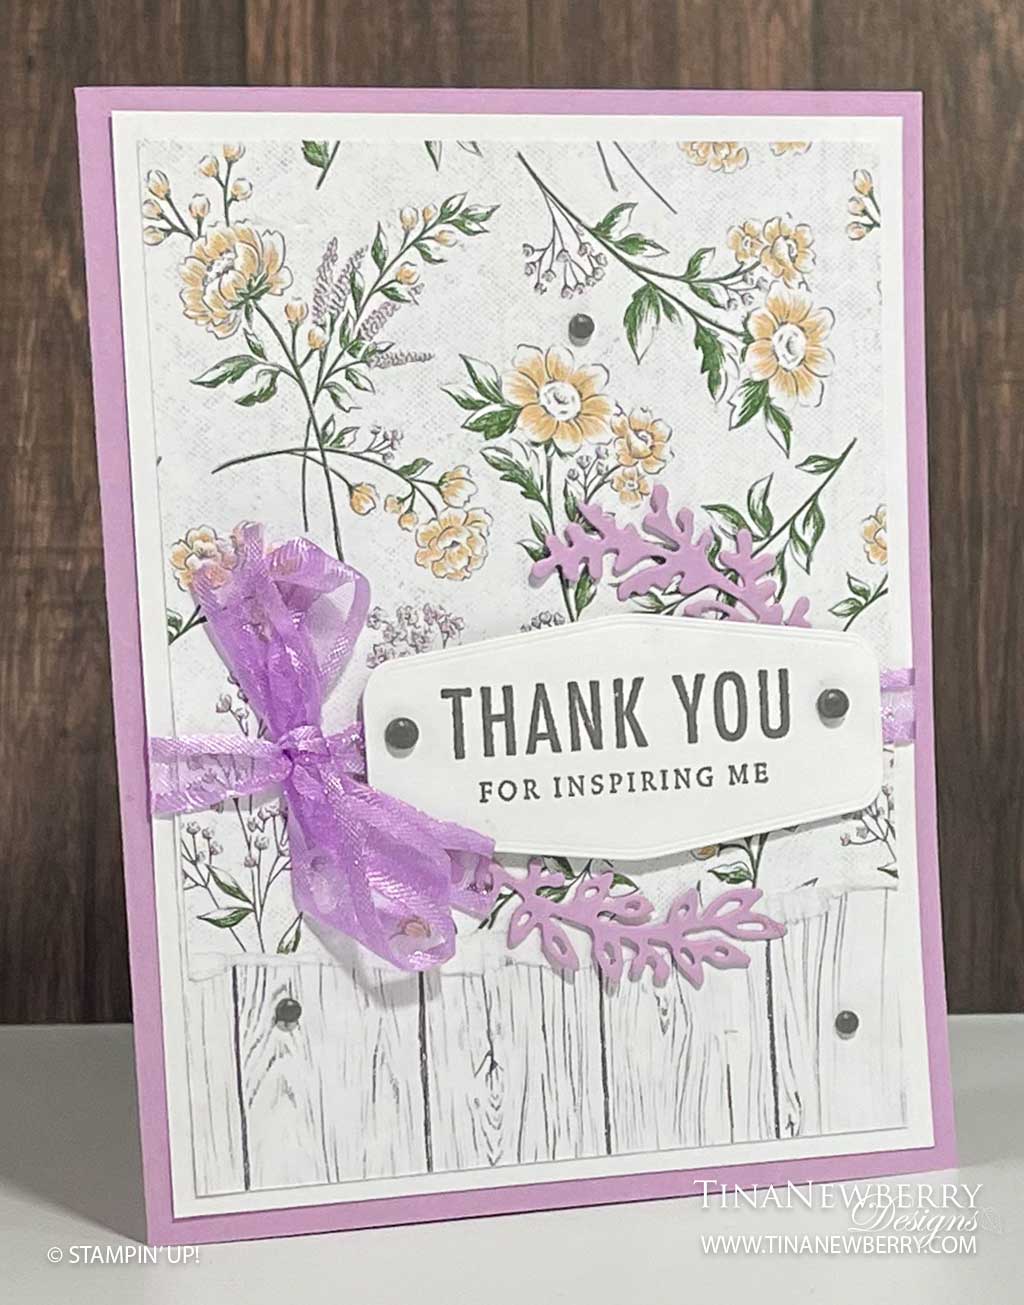
Recognize this layout? It’s the same card as yesterday, with a whole new look! You can easily swap up the paper and colors for a whole new card.


Measurements
Full list of supplies needed, listed below. A die cutting machine is needed for this card.
Fresh Freesia Cardstock:
- 8 ½” x 5 ½”, scored at 4 ¼”
- scrap for die cuts
Basic White:
- 5 ¼” x 4” (2)
- scrap for die cuts and label
Heart and Home Designer Sereis Paper:
- 3 ¾” x 6”, tear at the ~4 “ mark (flowers)
- 3 ¾” x 2 ½” (woodgrain)
Let’s Create
- Affix all stamps to Acrylic Blocks.
- Fold the Card Base in half using a Bone Folder to sharpen the crease.
- Adhere the woodgrain DSP to the bottom of one of the Basic White panels. Tear the flower DSP around the 4” mark and attach to the top of the Basic White Outside Layer.
- Wrap ribbon around this DSP panel, leaving enough length to tie a bow. Adhere panel to the card front using Stampin Dimensionals.
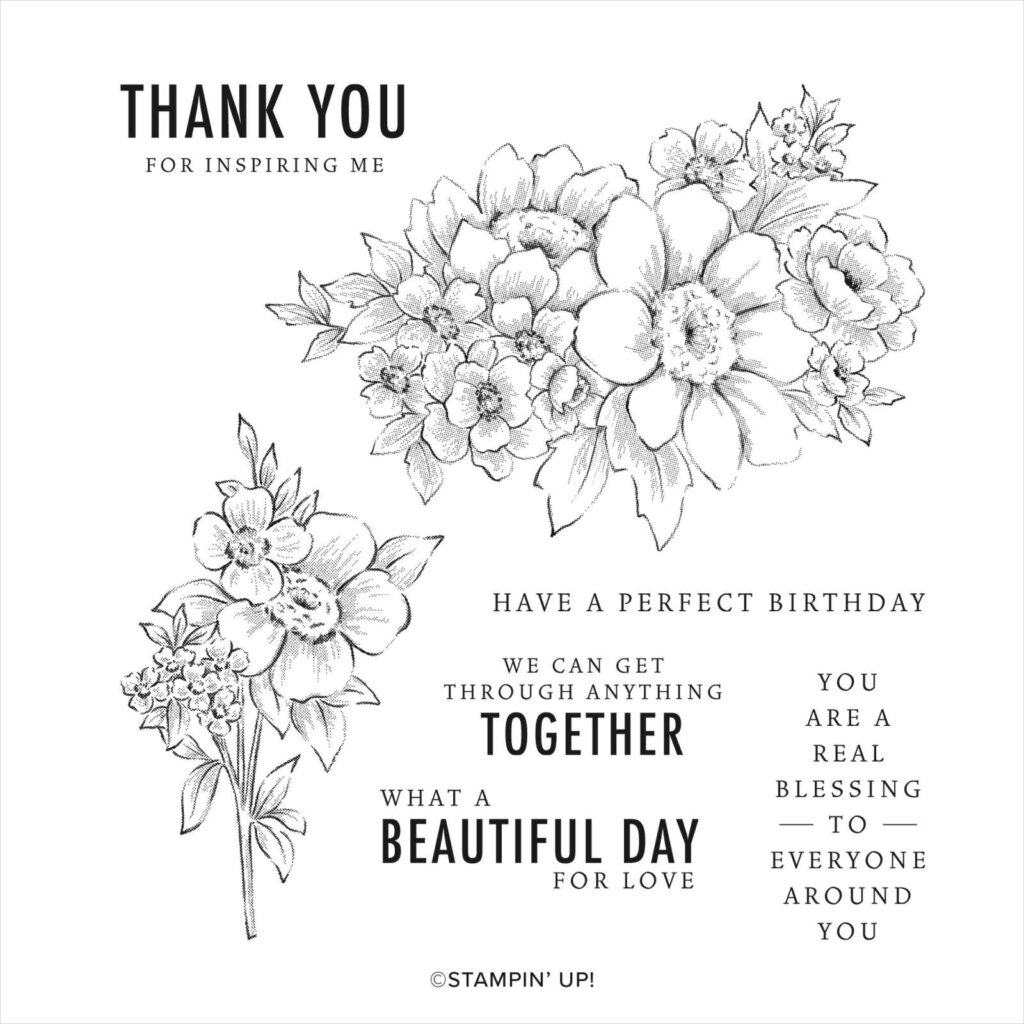
- Die cut Tasteful Label die on Basic White scrap. Stamp sentiment on Tasteful Label die in Basic Gray. Adhere two Matte Dots.
- Attach sentiment panel to card front with Stampin’ Dimensionals. Keep the Dimensionals near the center of the sentiment, so you can tuck in your die-cuts later.
- Tie a nice bow to the left of the sentiment.
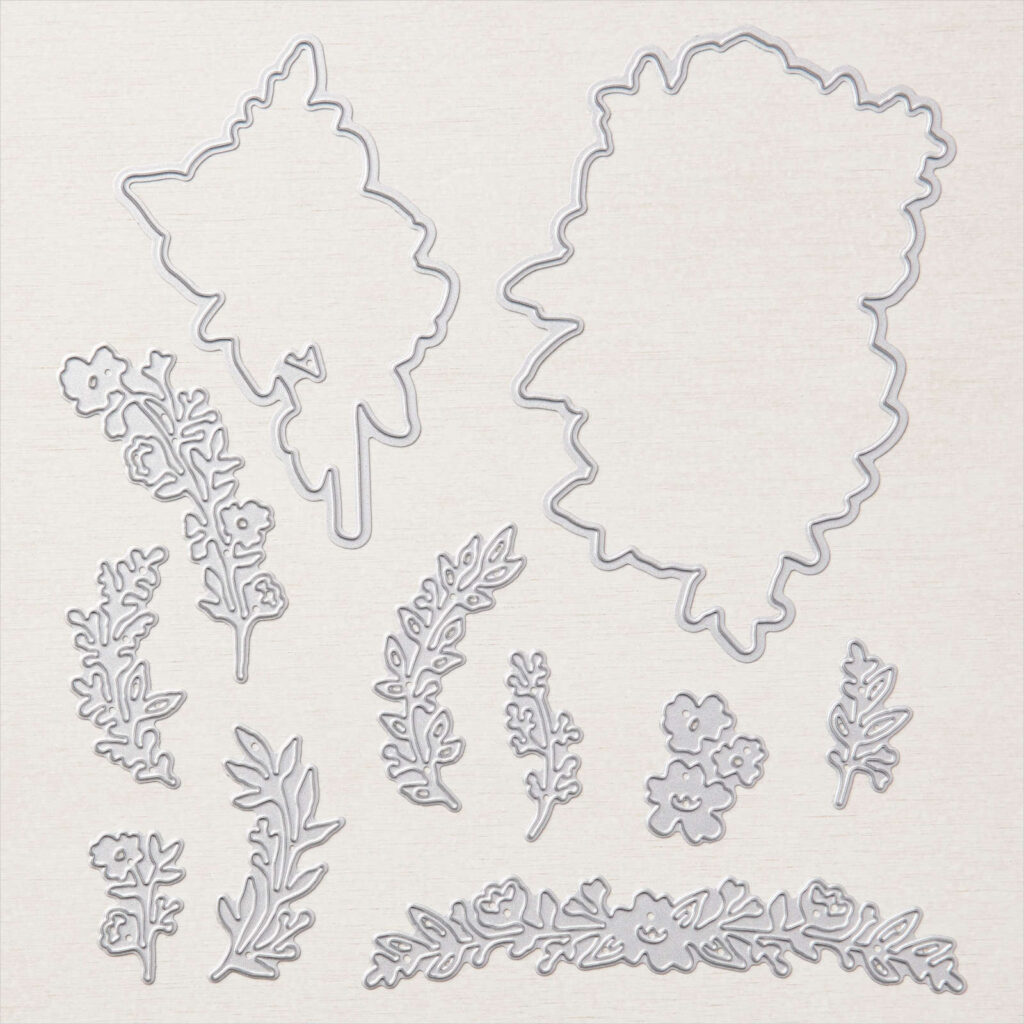
- Die cut some sprigs and leaves from Basic White and Fresh Freesie, the tuck them in and adhere around the Sentiment
- Stamp and decorate the inside and attach with Stampin’ Seal.
- Decorate your envelope.
- Beautiful! Now send it to someone special.
Shopping List
Recommended Stamper’s Toolkit ❤
Product List


