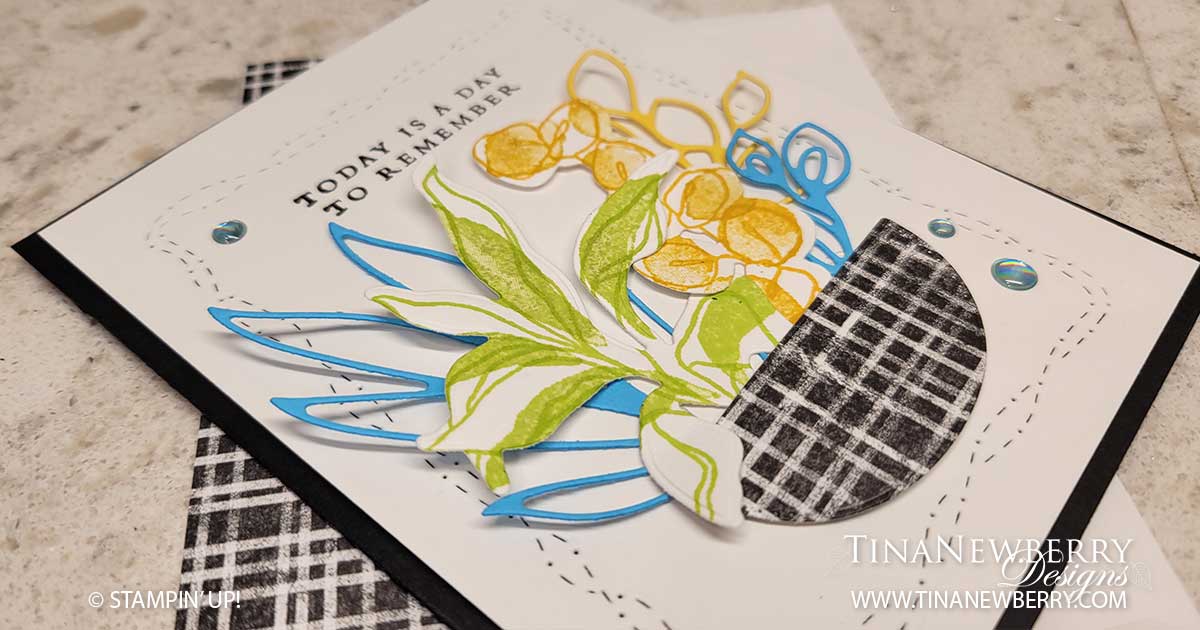
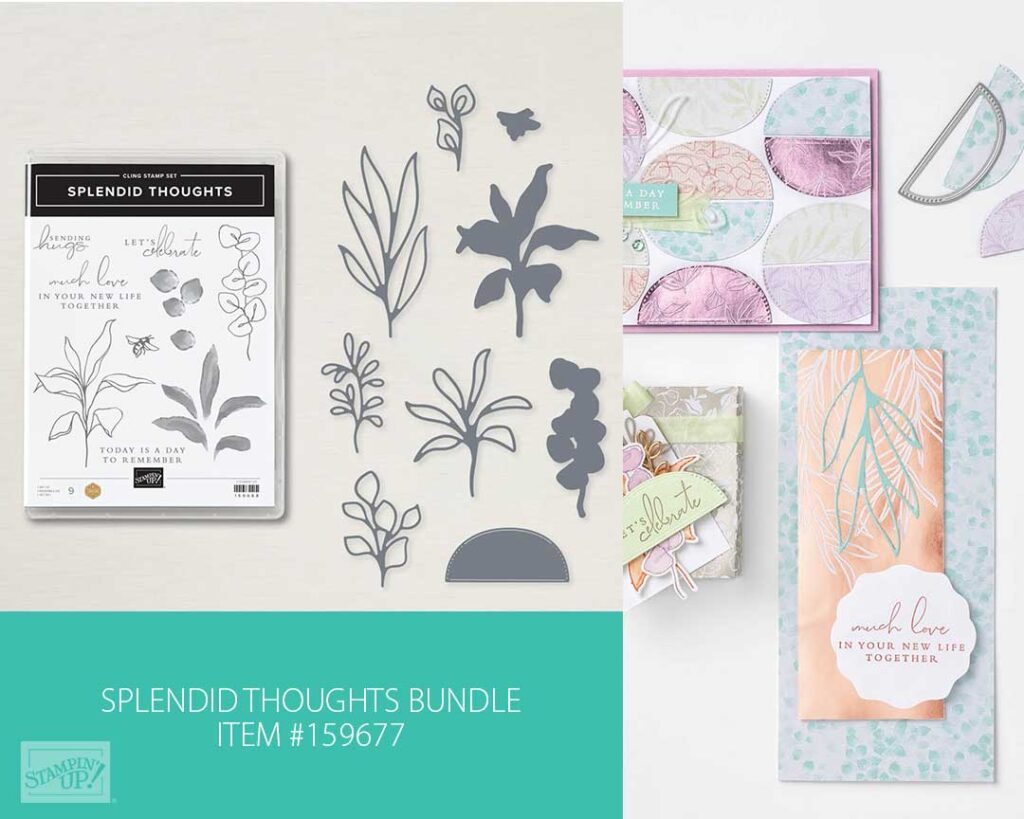
Create your own dish garden in any colors you like using the various plants in the Spendid Thoughts Bundle. So fun and easy to pull together.
Measurements
Full list of supplies needed, listed below. A die cutting machine is needed for this card.
Basic Black Cardstock: 5 1/2″ h x 8 1/2″ w folded to 5 1/2″ h x 4 1/4″ w
Basic White Cardstock:
- 5 1/4″ h x 4″ w (2)
- scrap for die cutting
Tahitian Tide Cardstock: scrap for die cutting
Daffodil Delight Cardstock: scrap for die cutting
Perfectly Penciled Designer Series Paper (DSP): scrap for die cutting
Let’s Create
- Affix all stamps to Acrylic Blocks.
- Fold the Card Base in half using a Bone Folder to sharpen the crease.
- Run one of the 5 1/2″ h x 4 1/4″ w Basic White Cardstock pieces through the Stampin’ Cut & Emboss machine using the Stitched with Whimsy die.
- Stamp sentiment inside the Stitched with Whimsy pattern using Tuxedo Black Memento Ink.
- Attach stamped panel to card base with Stampin’ Seal.
- On scrap Basic White Cardstock, stamp one plant in Parakeet Party and the other in Crushed Curry ink. Stamp both the outline and fill stamps. The fill stamp is not meant to line up with the outline stamp. Run both images through the Stampin’ Cut & Emboss machine with the coordinating dies.
- Die cut three additional plants with Tahitian Tide and Daffodil Delight scrap cardstock.
- Die cut the plant pot with a scrap piece of DSP.
- Arrange the plants on the stamped panel and use Mini Glue Dots to attach.
- Use Stampin’ Dimensionals to adhere the plant pot.
- Add some Glossy Dots to finish the front.
- Stamp and decorate the remaining 5 1/2″ h x 4 1/4″ w Basic White Cardstock piece for the inside and attach with Stampin’ Seal.
- Decorate your envelope.
- Love it! Who will you send it to?
Shopping List
")


$8.00

$29.00
Recommended Stamper’s Toolkit ❤
Product List
$12.00

$7.00

$4.25

$5.75

$5.50

$11.00

$26.00

$7.00

$6.50

$11.00

$20.00

$11.00

$80.75

$128.00

$16.00

$13.00


