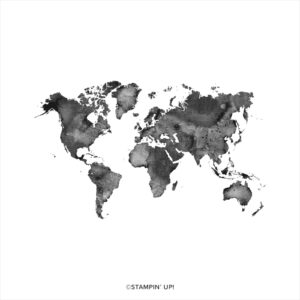
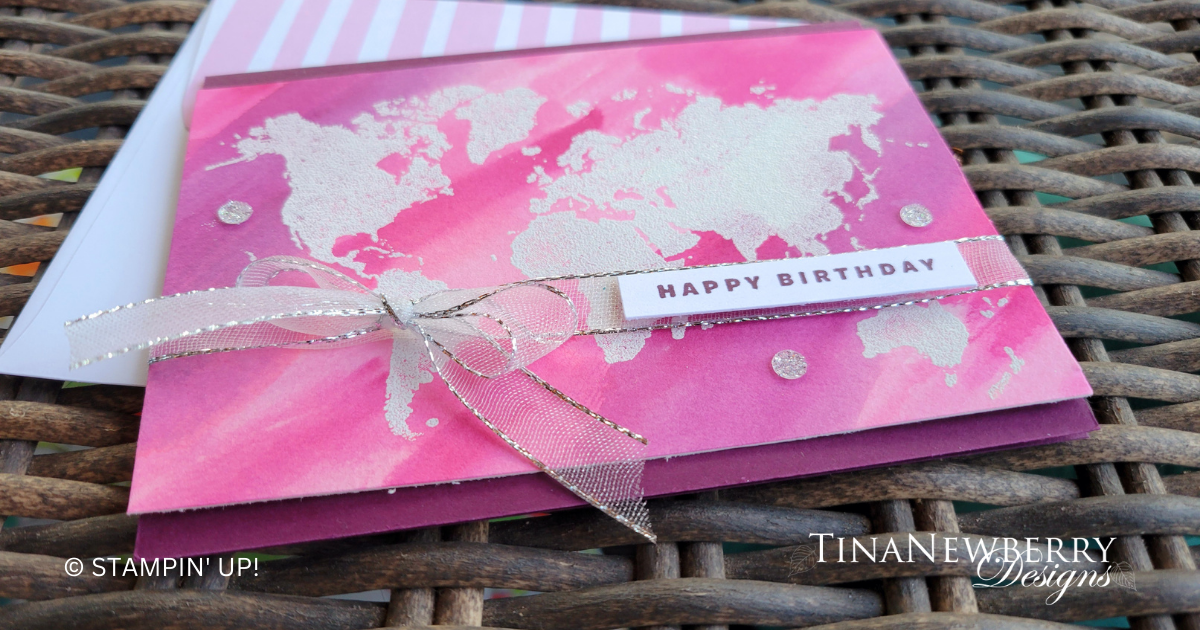
It’s fun to watercolor with the Watercolor World stamp. Heat emboss the stamp and then watercolor the background. Read on! I’ll show you how.

Measurements
Full list of supplies needed, listed below. A die cutting machine is needed for this card.
Blackberry Bliss Cardstock: 5 1/2″ w x 8 1/2″ h folded to 5 1/2″ w x 4 1/4″ h
Fluid 100 Watercolor Paper: 5 1/2″ w x 3 3/4″ h
Basic White Cardstock:
- scrap for sentiment
- 4″ h x 5 1/4″ w
Let’s Create
- Affix all stamps to Acrylic Blocks.
- Fold the Card Base in half using a Bone Folder to sharpen the crease.
- Stamp the Watercolor World stamp on the the Fluid 100 watercolor paper in Versamark ink. Sprink with white embossing powder and heat set with a heat tool.
- Press a spare block onto Bubble Bath ink. Use a Water Painter to add a few drops of water to the ink on the block, dip the Water Painter into the diluted ink and spread color onto the background of the Fluid 100 paper. It’s OK to paint right over the embossed image, just use a tissue or paper towel to lift any ink off the embossed image. Let it dry a bit and then repeat with Berry Burst and Blackberry Bliss ink until you have the desired look. Allow to dry between colors.
- Wrap ribbon around the watercolored panel and tie a bow. Secure with a Mini Glue dot, if needed.
- Stamp the sentiment in Blackberry Bliss ink, trim to size and attach with a Stampin’ Dimensional.
- Sprinkle on the gems.
- Stamp and decorate the 4″ h x 5 1/4″ w for inside and attach with Stampin’ Seal.
- Decorate your envelope.
- So pretty! Now send it to someone special.
Shopping List
Recommended Stamper’s Toolkit ❤
Product List


