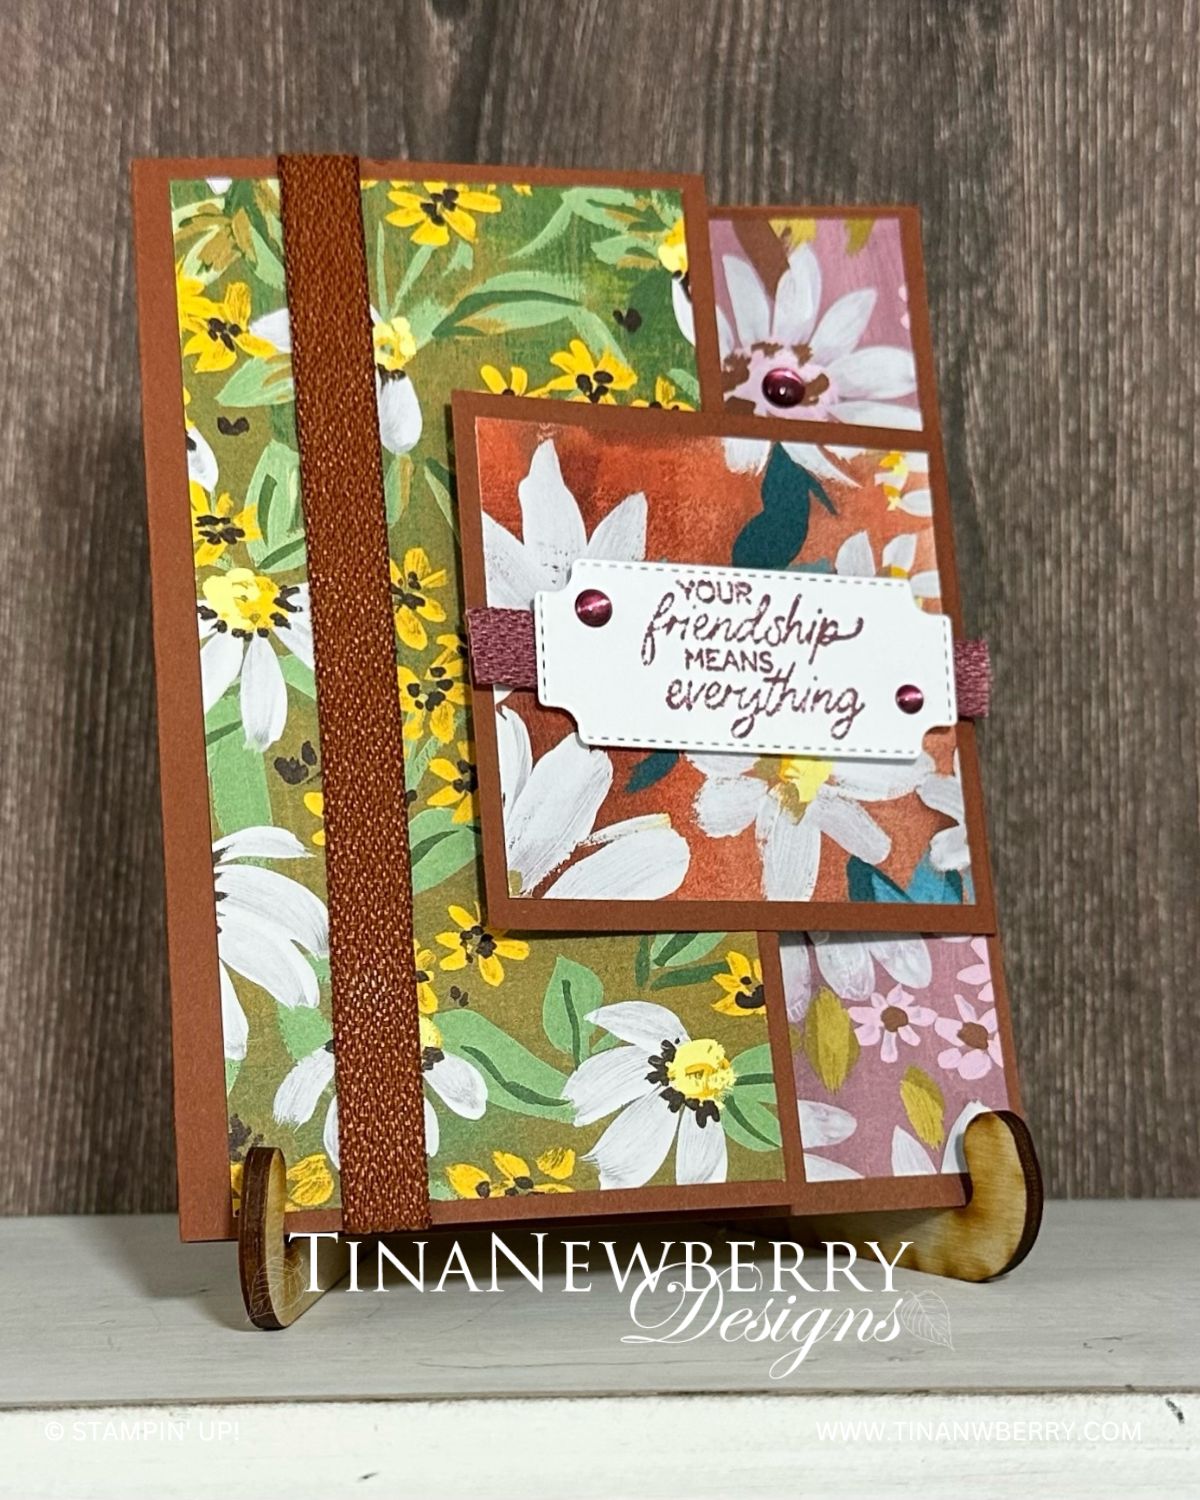
Make a simple fun-fold that showcases your patterned paper while sending cheer to a friend.

Measurements
Full list of supplies needed, listed below. A die cutting machine is needed for this card.
Card Base Copper Clay 5 ½” x 7 ¼” and score at 4 ¼”
DSP 2 ¾” x 5 ¼” (front)
DSP 1 ¾” x 5 ¼” (inside right)
Basic White 2 ¼” x 5 ¼” (inside)
Copper Square: 2 ¾” x 3 ¾” scored at 1”
DSP 2 ½” x 2 ½” (decorative layer for the square)
Die-Cut sentiment tag from Daisies Dies
Die-Cut Daisies
Let’s Create
- Affix all stamps to Acrylic Blocks.
- Fold the Card Base at score line using a Bone Folder to sharpen the crease. Fold 2 ¾” x 3 ¾” Copper Clay Square at 1” score line using a Bone Folder to sharpen the crease.
- Adhere DSP to Card Base with Stampin’ Seal.
- Use Stampin’ Seal to adhere 2 ¾” x 3 ¾” Copper Clay Square flap by placing fold on inside right edge so that the fold meets the edge of the card base.
- Use Stampin’ Seal to adhere DSP over the flap front.
- Stamp the sentiment with Copper Clay.
- Use a Tear N’ Tape or Mini Glue Dots to adhere a strip of Mauve Ribbon behind the sentiment.
- Adhere sentiment to square with Stampin’ Dimensionals.
- Wrap full length of ribbon around left of card until it overlaps on the inside of the card. Cut a nice clean edge and adhere ribbon securely with Tear N’ Tape.
- Adhere die-cut daisies with Mini Glue Dots..
- Sprinkle on the gems.
- Attach the DSP 1 ¾” x 5 ¼” (inside right) to the 2 ¼” x 5 ¼” (inside) Basic White. Stamp the Basic White and attach with Stampin’ Seal.
- Decorate your envelope.
- So pretty! Now send it to someone special.
Shopping List
Recommended Stamper’s Toolkit ❤
Product List


