A Little Note

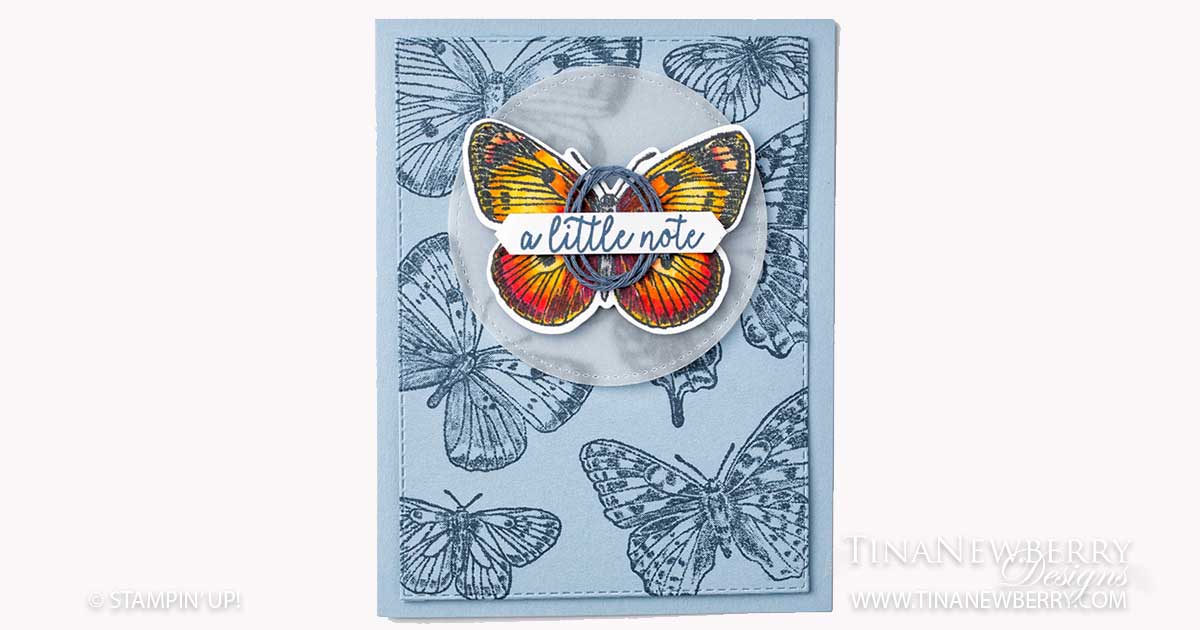
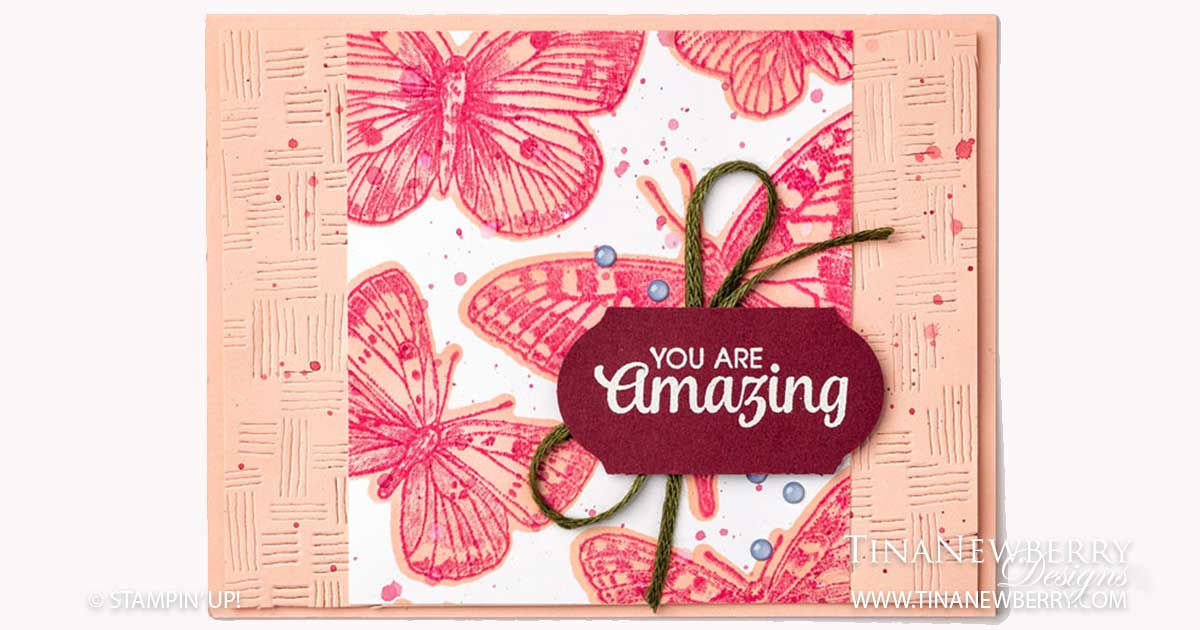
Creating your own background is easy peasy with the Butterfly Brilliance stamp. The stamp is one large stamp of several butterflies. Ink and stamp once and voila you’ve created your own background paper. Use the stamparatus to create a stack of the same card – multiplying your efforts in in no time at all.

Full list of supplies needed, listed below. A die cutting machine is needed for this card.
Card Base: Seaside Spray Cardstock 8 1/2 h” x 5 1/2″ w folded to 5 1/2″ h x 4 1/4″ w .
Background: Seaside Spray Cardstock 5 1/4″ h x 4″ w
Vellum Layer: Vellum Cardstock Scrap
Butterfly & Sentiment Layer: Basic White Scrap
Inside Layer: Basic White Cardstock 5 1/4″ h x 4″ w

  1. Affix all stamps to Acrylic Blocks.
  2. Fold the Card Base in half using a Bone Folder to sharpen the crease.
  3. Drag a piece of Snail Mail Twine across the Seaside Spray Stamp Pad to color it. Use a Sponge Dauber if needed. Set aside to dry.
  4. Ink the Butterfly Brilliance stamp with Night of Navy ink and stamp the Background layer then attach with Stampin’ Dimensionals.
  5. Punch the Vellum Cardstock with 2 1/4″ Circle Punch and attach to Background.
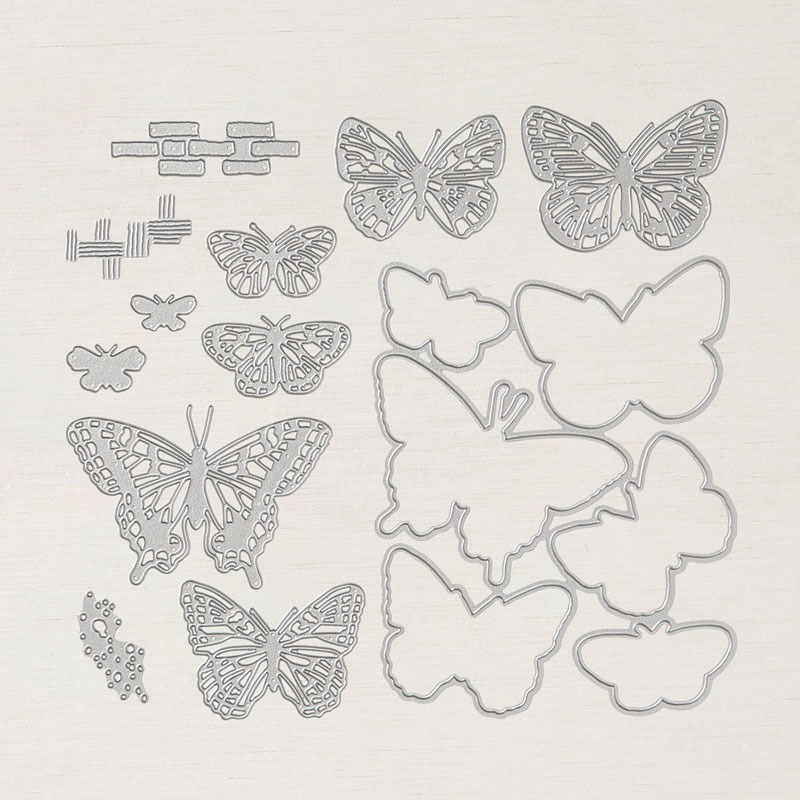
  6. Ink the Butterfly Brilliance stamp with Night of Navy ink and stamp on Basic White Scrap, then die cut using the Brilliant Wings Dies.
  7. Color one large Butterfly with Daffodil Delight, Pumpkin Pie and Cherry Cobbler Stampin’ Blends Alcohol Markers. Attach with Stampin’ Dimensionals.
  8. Ink the sentiment with Night of Navy Ink on Basic White scrap cardstock and punch out with the Classic Label punch.
  9. Once the Snail Mail Twine is dry, coil it and attach to back of the Sentiment with Mini Glue Dots, then attach the Sentiment with Stampin’ Dimensionals.
  10. Add Opal Rounds (optional)
  11. Decorate the Inside Layer and attach.
  12. Decorate the envelope.
  13. Easy Peasy! Now send it to someone special.

Shopping List

Stamper’s Toolkit

You will also need adhesive, acrylic blocks, scissors and other basic PaperCrafting items from the Stamper’s Toolkit

You Are Amazing

Create your own unique pattern background using the Brilliant Wings Dies to make a stencil and then and detail with the Butterfly Brilliance Stamp and create ink spots with the flick technique for this pretty card. The Stamp and large Die are each one piece and both coordinate allowing you to stamp and die cut a kaleidoscope of butterflies with minimal effort while saving time.

Measurements

Full list of supplies needed, listed below. A die cutting machine is needed for this card.
Card Base: Blushing Bride Cardstock 8 1/2 h” x 5 1/2″ w folded to 4 1/4″ h x 5 1/2″ w.
Background: Blushing Bride Cardstock 4″ h x 5 1/4″ w.
Pattern Layer: Basic White Cardstock 4″ h x 3 3/4″ w
Sentiment Layer: Merry Merlot scrap
Inside Layer: Basic White Cardstock 4″ h x 5 1/4″ w.

Let’s Create

  1. Affix all stamps to Acrylic Blocks.
  2. Fold the Card Base in half using a Bone Folder to sharpen the crease.
  3. Run the Background through the Die Cut & Emboss Machine several times with the crosshatch die to create a pattern on the two ends.
  4. Run the Brilliant Wings Die through the Die Cut & Emboss machine with a piece of scrap cardstock.
  5. Remove the die cut butterflies and then lay the die cut piece on top of the Pattern Layer and secure in place. Use a Blender Brush and Blushing Bride ink to color butterflies on the Pattern Layer.
  6. Stamp the detailed butterfly stamp in Melon Mambo ink over the Blushing Bride butterflies.
  7. Attach the Pattern Layer to Background.
  8. Flick the paint brush tip of the Melon Mambo Stampin’ Write Marker against the pen cap to ink spots all over the front of the card.
  9. Stamp the Sentiment in Versamark Ink on the Merry Merlot scrap cardstock. Use a Heat tool to heat emboss with White Embossing Powder.
  10. Punch the Sentiment with the Label Me Fancy Punch.
  11. Create a bow with the Mossy Meadow Braided Linen Trim and attach to the back of the Sentiment Label before attaching to the card with Stampin’ Dimensionals.
  12. Affix some 20-22 In Color Enamel Dots to the front.
  13. Decorate the Inside Layer and attach.
  14. Decorate the envelope.
  15. So Pretty! Now send it to someone special.

Shopping List

Stamper’s Toolkit

You will also need adhesive, acrylic blocks, scissors and other basic PaperCrafting items from the Stamper’s Toolkit