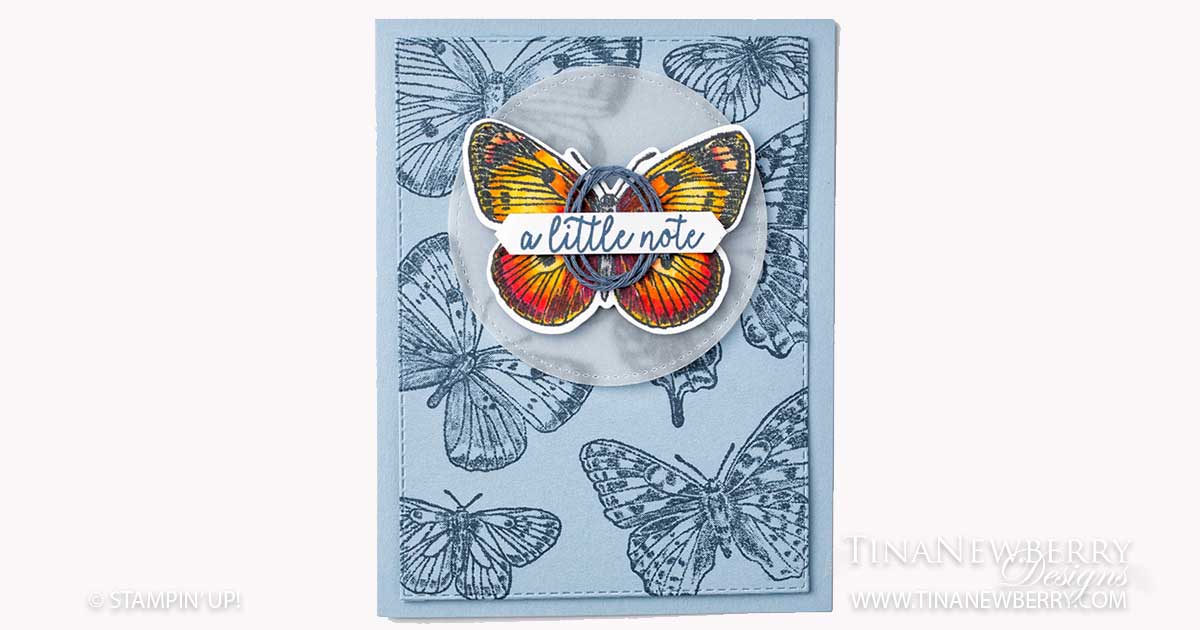
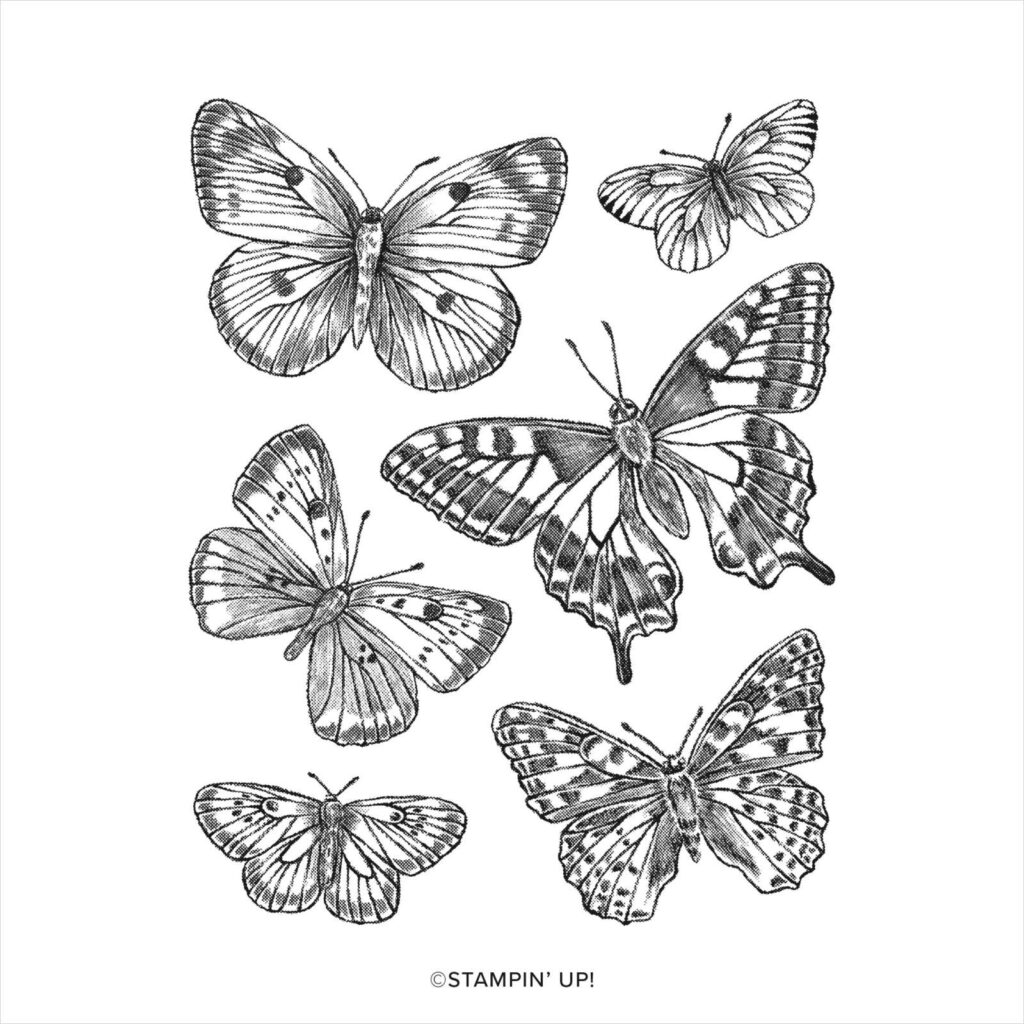
Creating your own background is easy peasy with the Butterfly Brilliance stamp. The stamp is one large stamp of several butterflies. Ink and stamp once and voila you’ve created your own background paper. Use the stamparatus to create a stack of the same card – multiplying your efforts in in no time at all.
Full list of supplies needed, listed below. A die cutting machine is needed for this card.
Card Base: Seaside Spray Cardstock 8 1/2 h” x 5 1/2″ w folded to 5 1/2″ h x 4 1/4″ w .
Background: Seaside Spray Cardstock 5 1/4″ h x 4″ w
Vellum Layer: Vellum Cardstock Scrap
Butterfly & Sentiment Layer: Basic White Scrap
Inside Layer: Basic White Cardstock 5 1/4″ h x 4″ w
- Affix all stamps to Acrylic Blocks.
- Fold the Card Base in half using a Bone Folder to sharpen the crease.
- Drag a piece of Snail Mail Twine across the Seaside Spray Stamp Pad to color it. Use a Sponge Dauber if needed. Set aside to dry.
- Ink the Butterfly Brilliance stamp with Night of Navy ink and stamp the Background layer then attach with Stampin’ Dimensionals.
- Punch the Vellum Cardstock with 2 1/4″ Circle Punch and attach to Background.
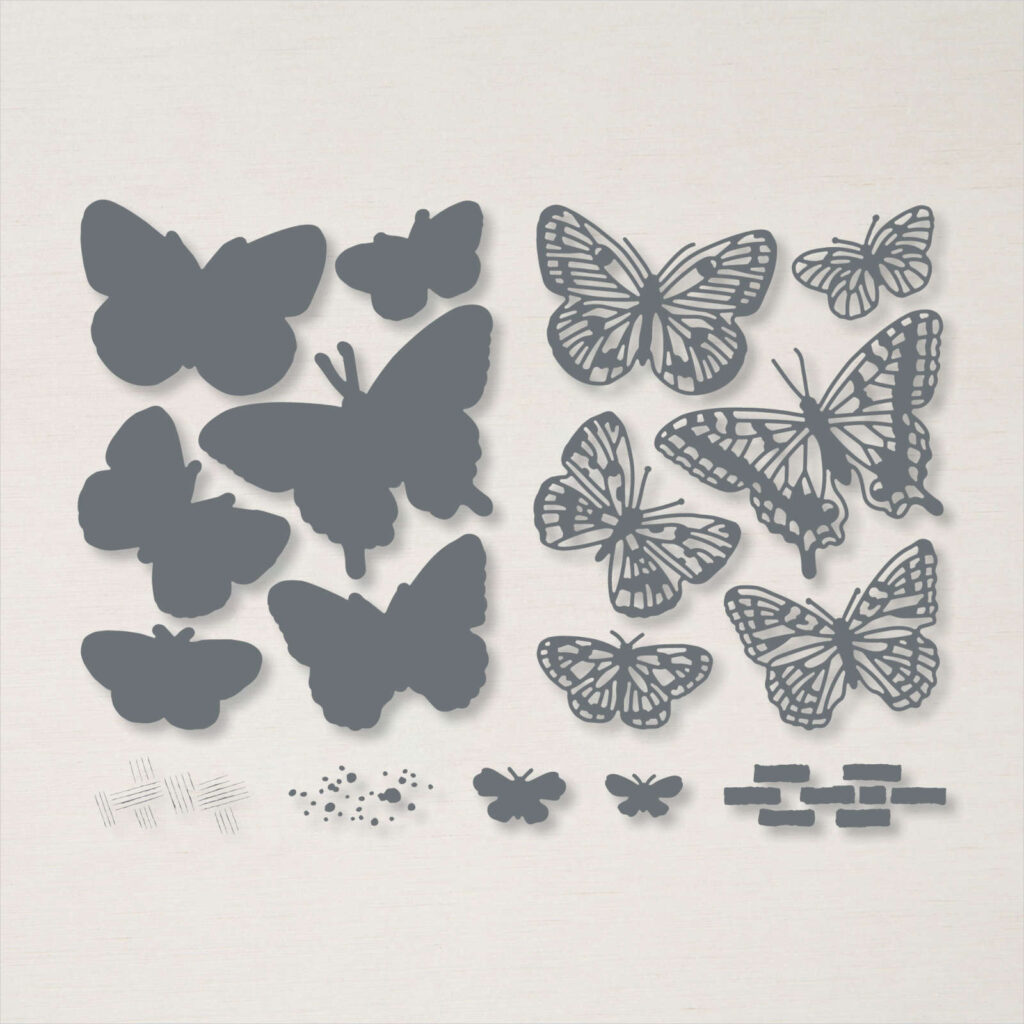
- Ink the Butterfly Brilliance stamp with Night of Navy ink and stamp on Basic White Scrap, then die cut using the Brilliant Wings Dies.
- Color one large Butterfly with Daffodil Delight, Pumpkin Pie and Cherry Cobbler Stampin’ Blends Alcohol Markers. Attach with Stampin’ Dimensionals.
- Ink the sentiment with Night of Navy Ink on Basic White scrap cardstock and punch out with the Classic Label punch.
- Once the Snail Mail Twine is dry, coil it and attach to back of the Sentiment with Mini Glue Dots, then attach the Sentiment with Stampin’ Dimensionals.
- Add Opal Rounds (optional)
- Decorate the Inside Layer and attach.
- Decorate the envelope.
- Easy Peasy! Now send it to someone special.
Shopping List
Stamper’s Toolkit
You will also need adhesive, acrylic blocks, scissors and other basic PaperCrafting items from the Stamper’s Toolkit


