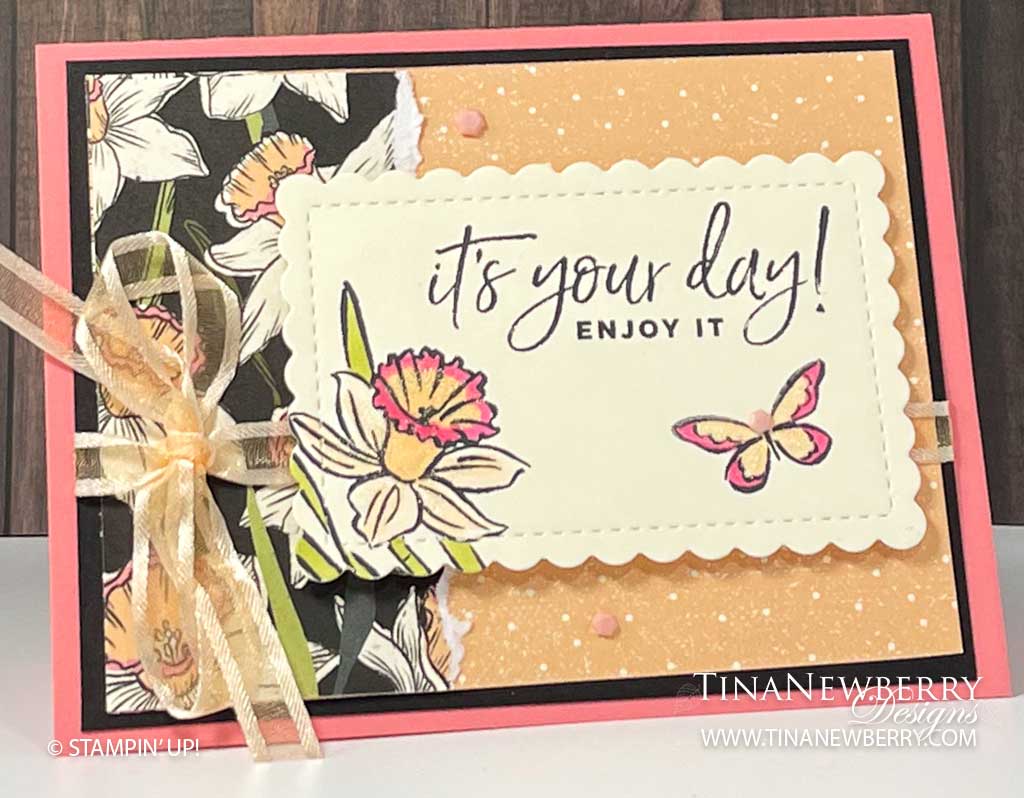
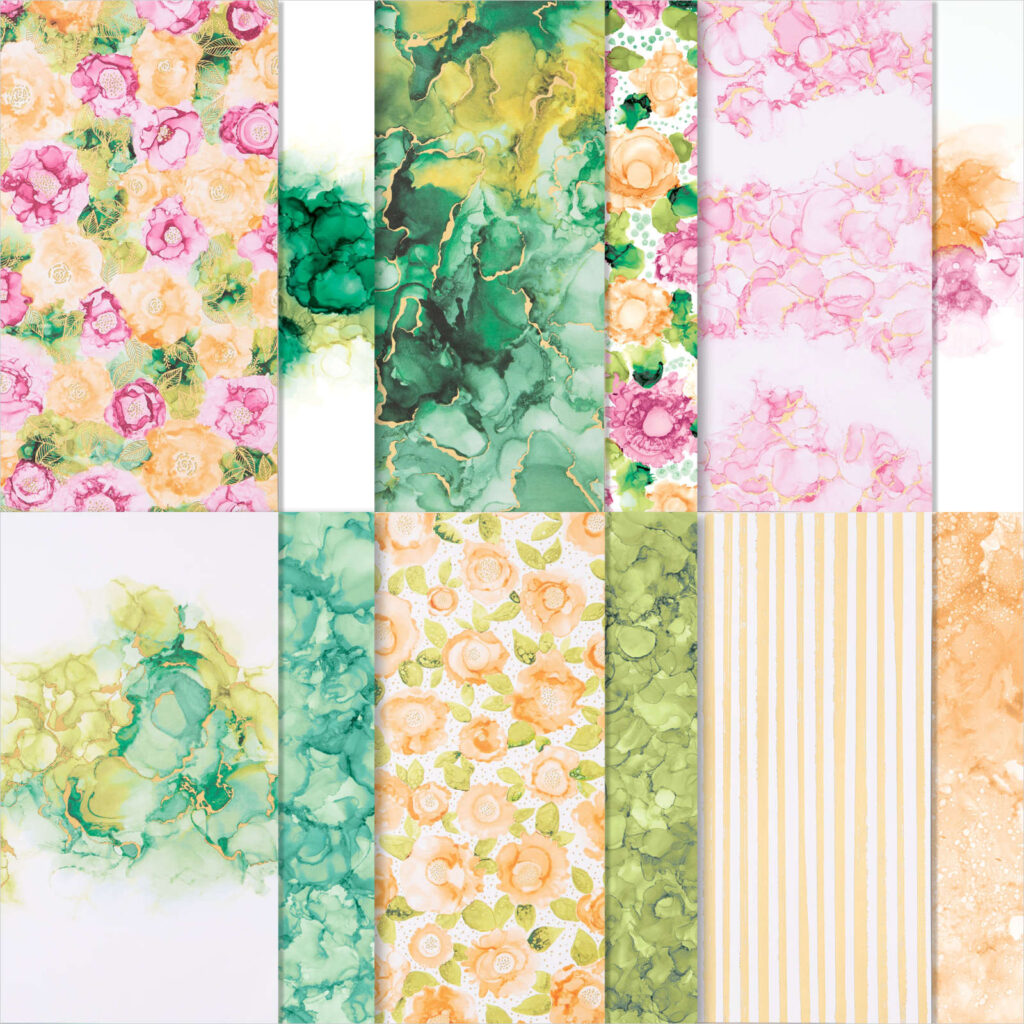
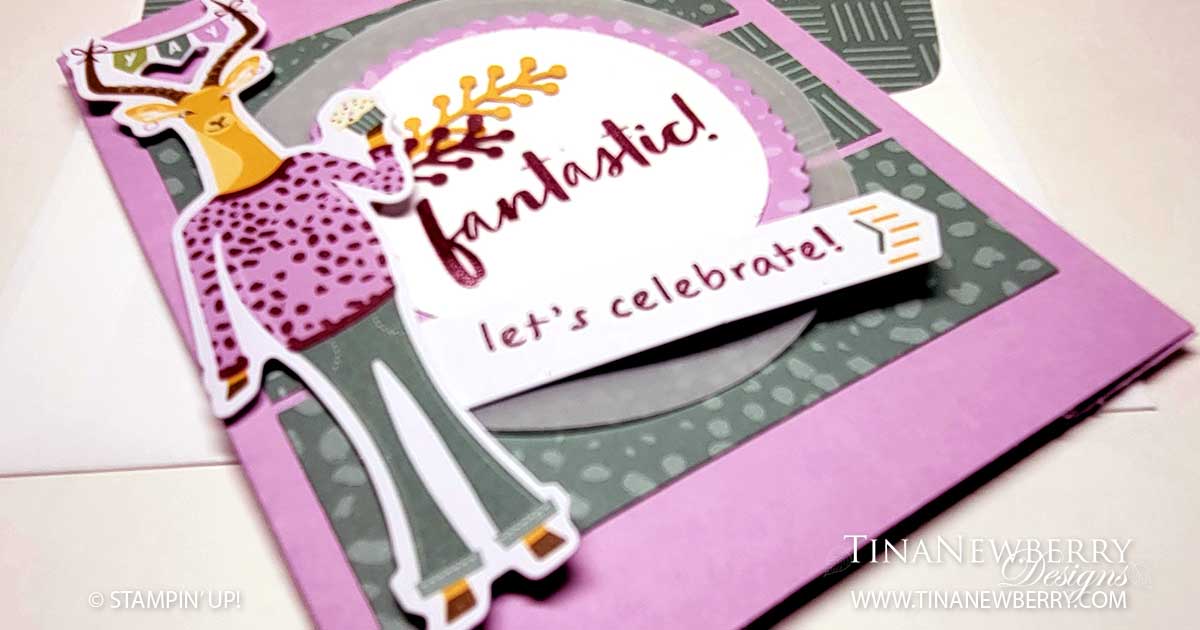
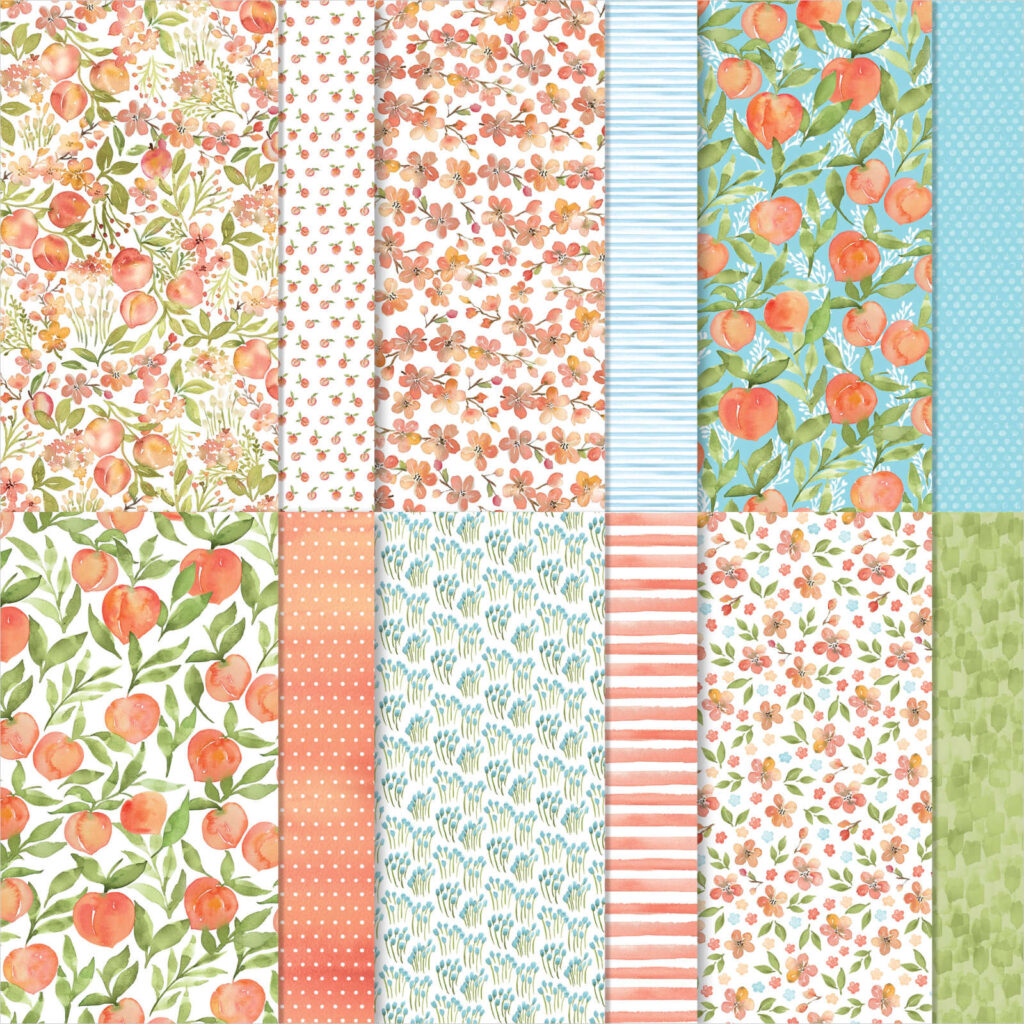
Oohh the Expressions in Ink Paper is spectacular! It does all the work on this Quick & Easy Birthday Card. Make this in minutes, like a papercraft coffee break!

Measurements
Full list of supplies needed, listed below. A die cutting machine is needed for this card.
Shaded Spruce Cardstock
- 5 ½” h x 8 ½” w folded to 5 ½” h x 4 ¼” w for Card Base
Expressions in Ink Designer Series Paper:
- 5 1/4″ h x 1” w
- 5 1/4″ h x 3” w
Basic White Cardstock
- scrap to die cut for Sentiment
- 5 1/4″ h x 4″ w for inside
Let’s Create
- Affix all stamps to Acrylic Blocks.
- Fold the Card Base in half using a Bone Folder to sharpen the crease.
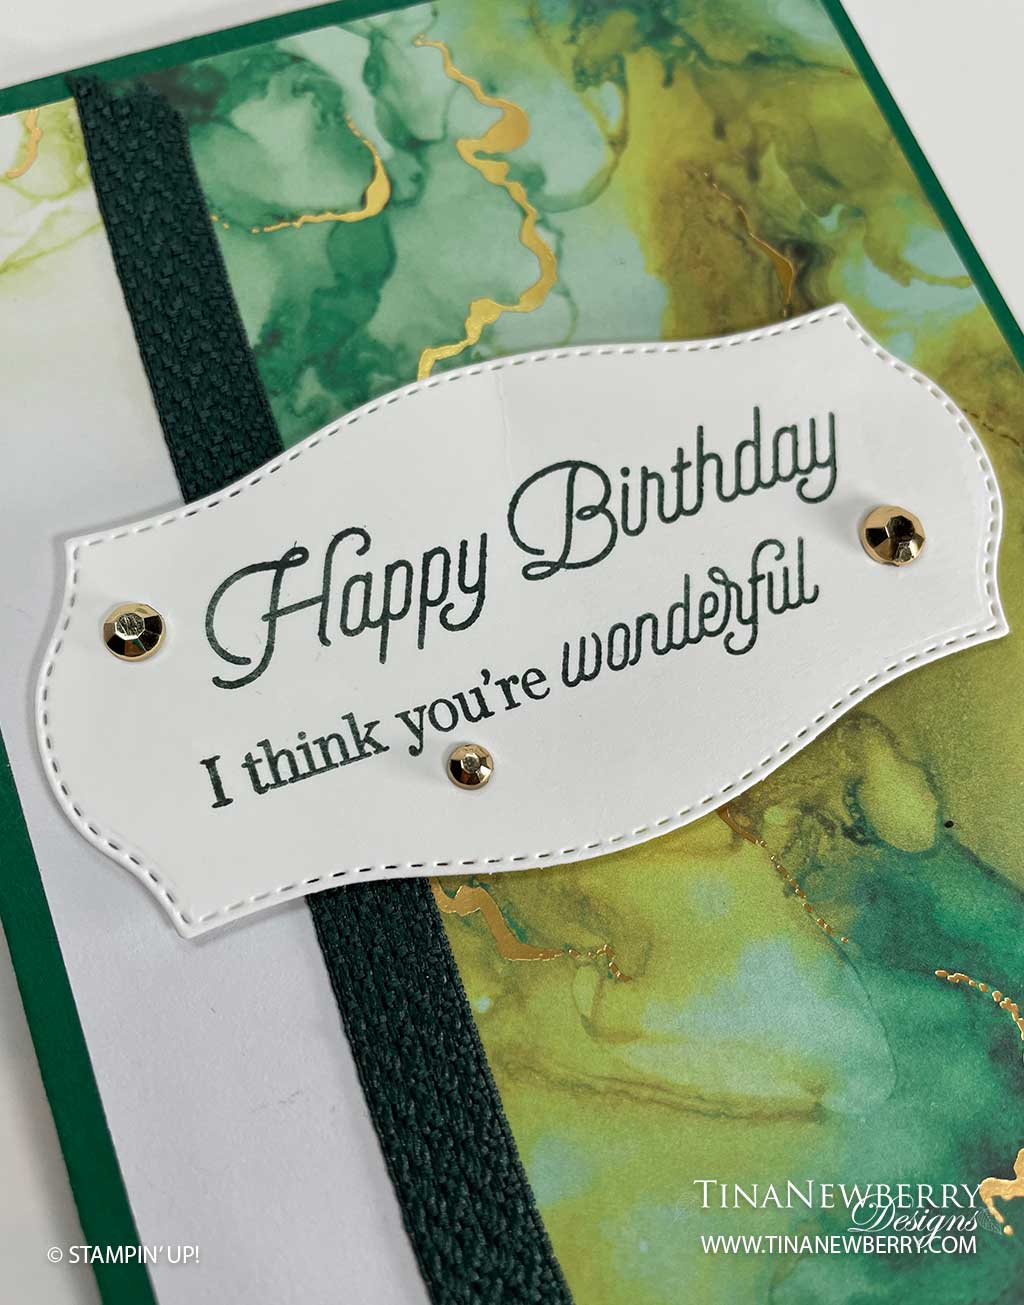
- Use Stampin’ Seal to adhere the Expressions in Ink DSP layers onto the card front, the 1”w layer is on the left edge.
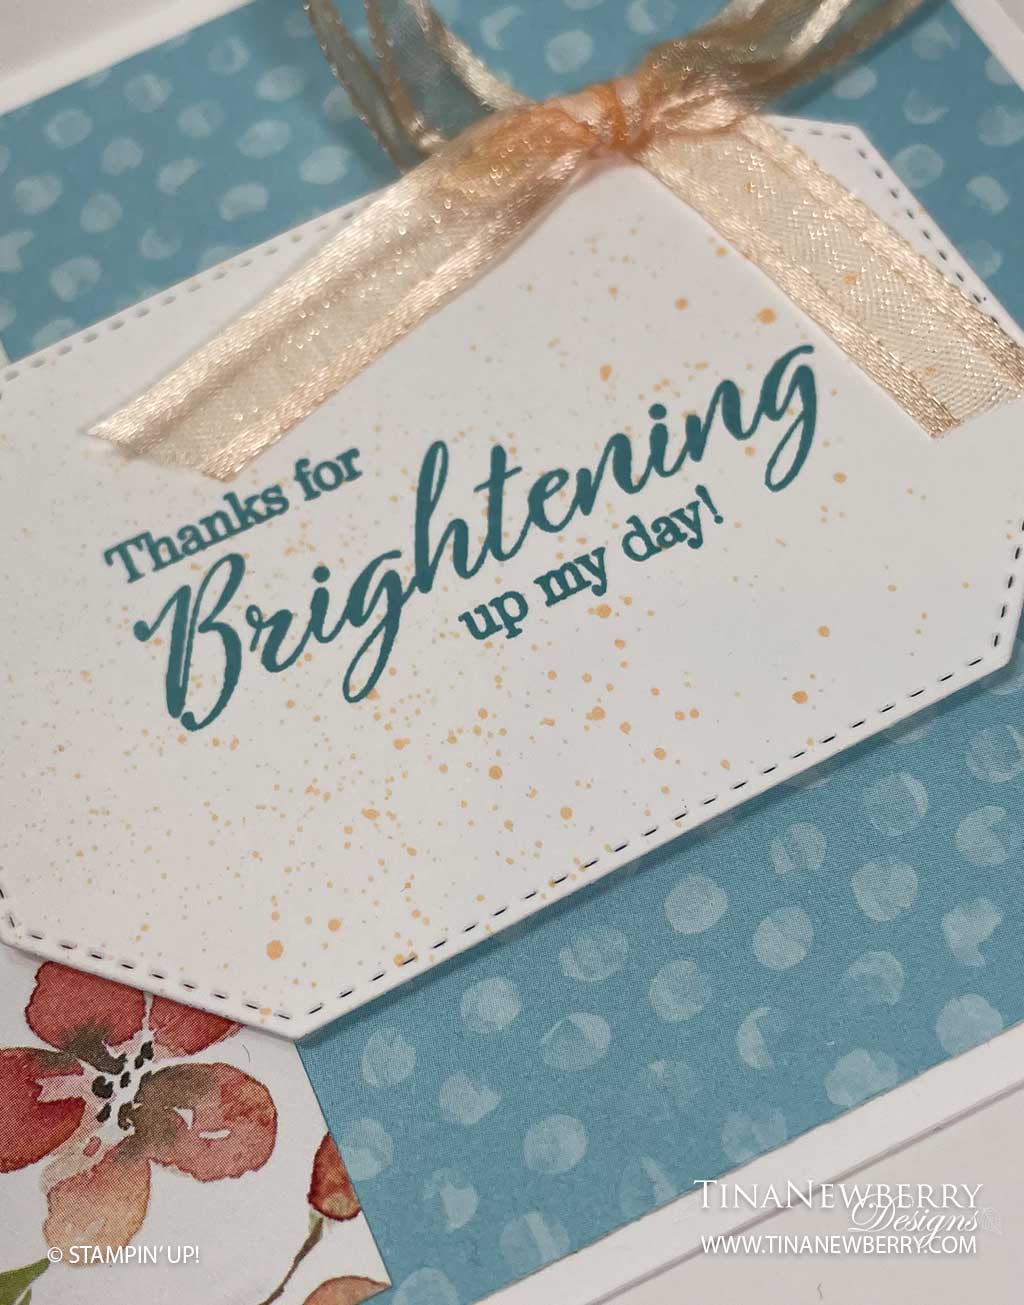
- Use Tear & Tape or Stampin’ Seal+ to adhere a 5 1/2″ length of Evening Evergreen Chevron Ribbon over the edge that the two layers of Expressions in Ink DSP meet. Trim the ends so it is slightly shorter than height of card.
- Stamp the sentiments with Evening Evergreen Stampin’ Pad onto Basic White cardstock. I place the two stamps onto my grid paper to line them up. Then I pressed my clear block onto the stamps to pick them up from the grid paper.
- Die cut the sentiment with the Tasteful Labels Dies and the Stampin’ Cut & Emboss Machine.
- Adhere the sentiment label onto the card front with Stampin’ Dimensionals.
- Embellish the sentiment label with Gilded Gems.
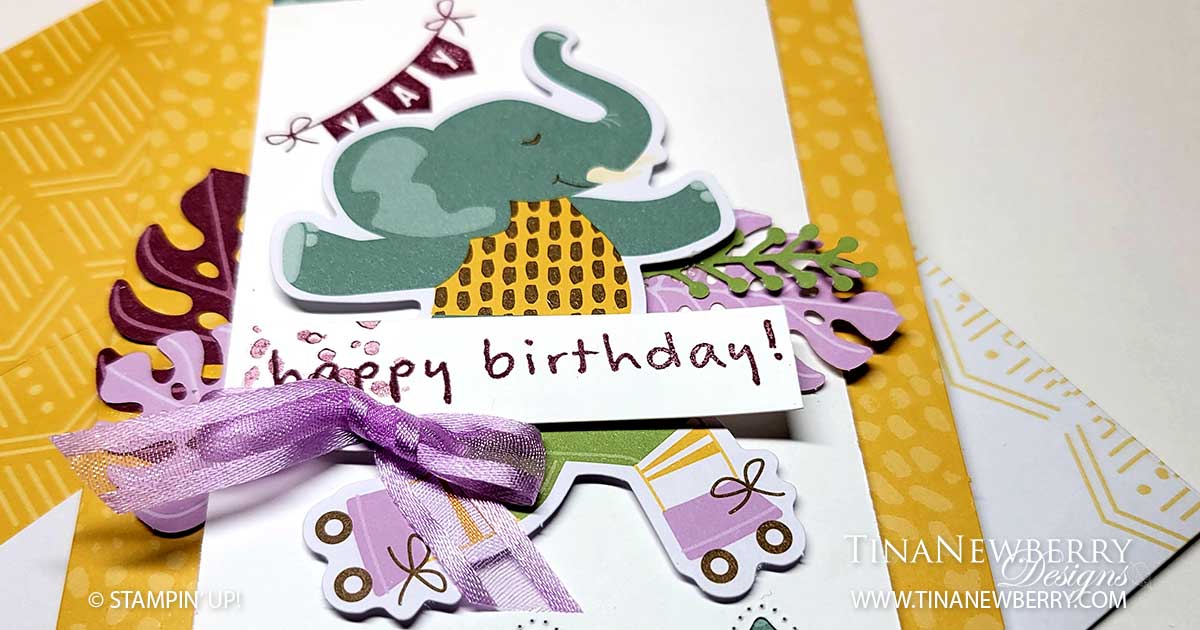
- Stamp and decorate the inside and attach with Stampin’ Seal.
- Decorate your envelope.
- So cute! Now send it to someone special.
Shopping List
")


 Specialty Designer Series Paper")

 Chevron Weave Ribbon")

$7.00

$31.00
Stamper’s Toolkit
You will also need adhesive, acrylic blocks, scissors and other basic PaperCrafting items from the Stamper’s Toolkit

$8.00

$12.00

$4.00


$5.25

$7.00

$4.00

$7.00

$10.00

$8.00

$8.00

$10.00

$25.00

$7.00

$6.00

$10.00

$8.00

$5.00

$5.00

$6.00

$71.50

$8.00

$11.75
")
$30.00

$9.50


$120.00


 Designer Series Paper")
 Open Weave Ribbon")