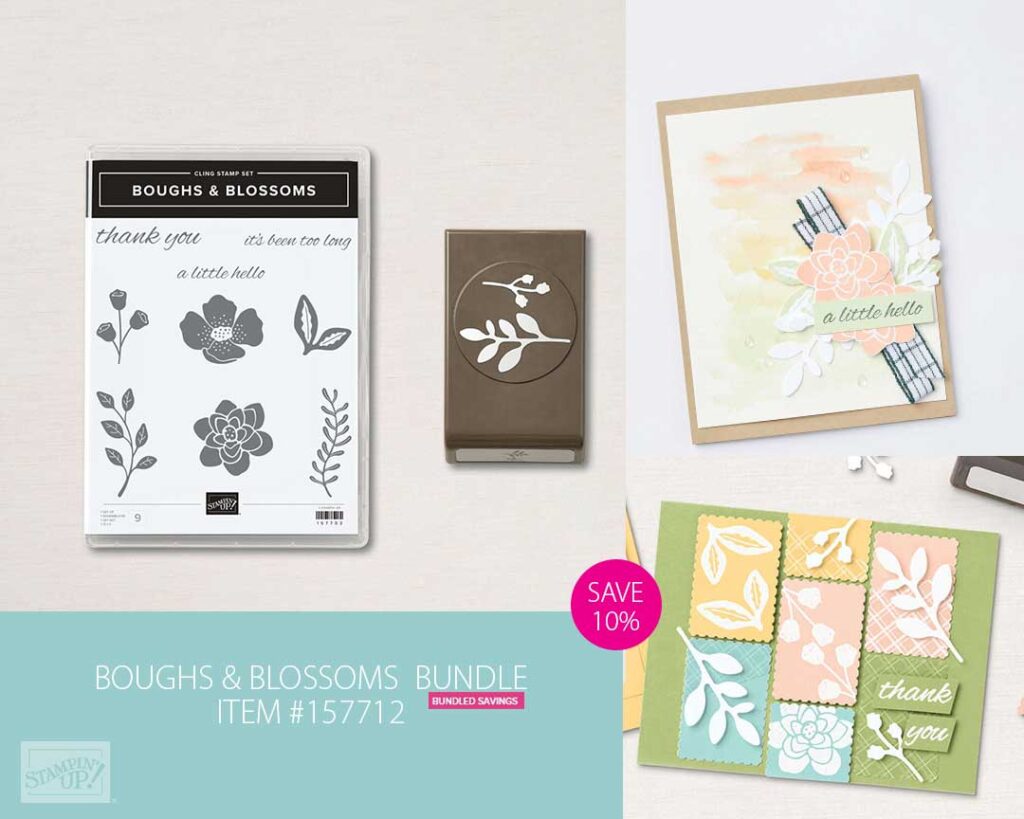
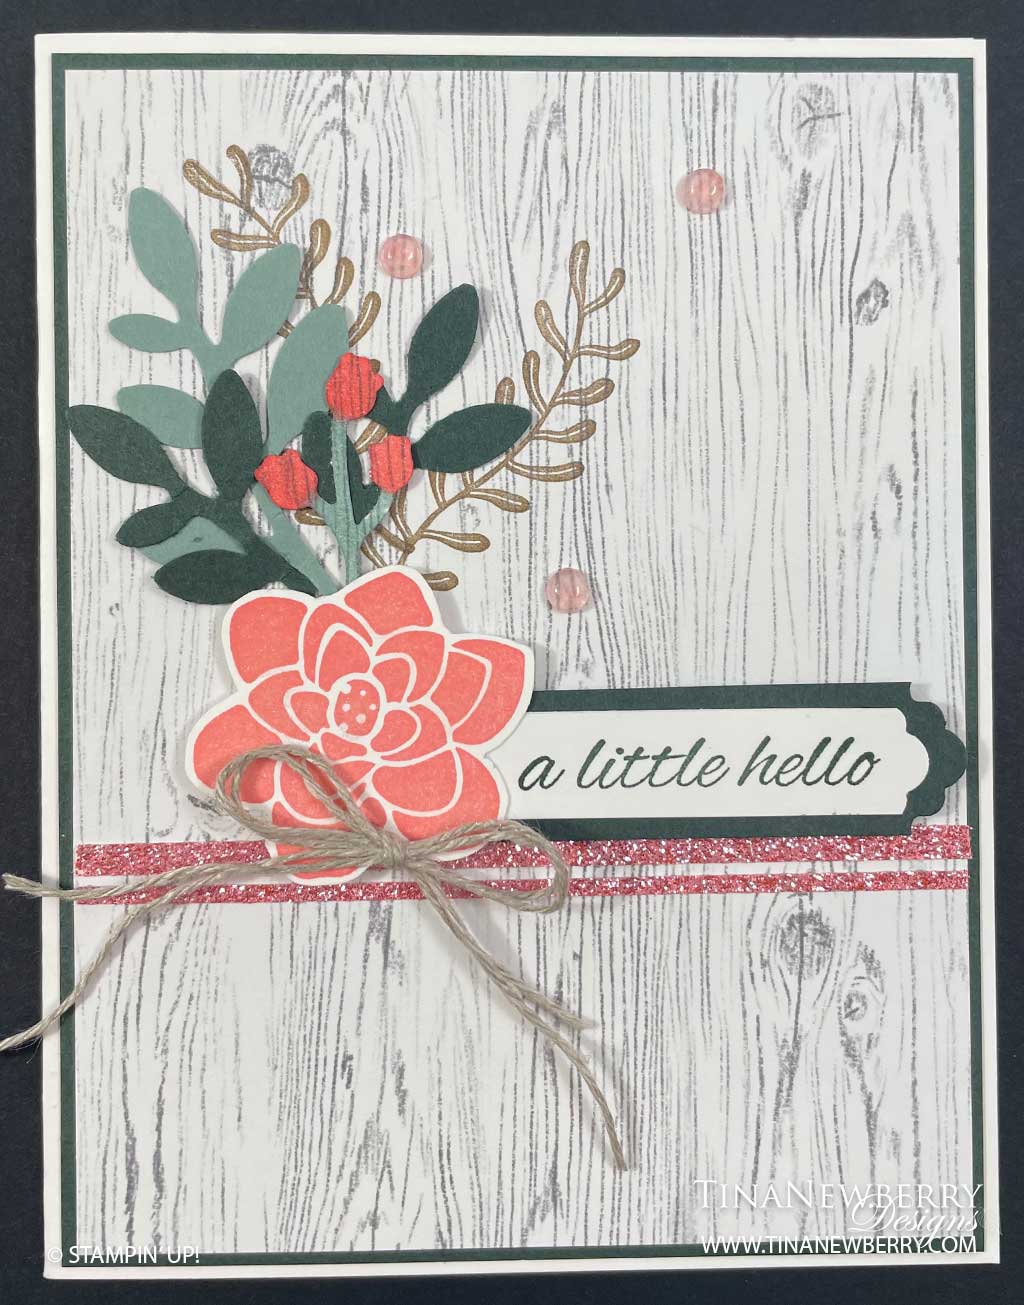
You can quickly and easily make a pretty focal image on the front of your card with the Boughs & Blossoms Punch Bundle. Read on for details.

Measurements
Full list of supplies needed, listed below.
Basic White Thick: 8 ½” x 5 ½” (score at 4 ¼”) for Card Base
Basic White
- 2 ¾” x ½
- scrap 2” x 2” for stamping and cutting flower
- 5 ¼” x 4” for the inside
Evening Evergreen
- 5 ⅜” x 4 ⅛”
- 2 ¾” x ¾”
- 1 ¼” strip for punching leaves
Heart & Home Designer Series Paper:
- 5 ¼” x 4”
- Scrap of the woodgrain DSP for punch bud.
Soft Succulent: 1 ¼” strip for punching leaves
Supple Shimmer Paper (Pink): Two 4” slivers on about ⅛” and the other slightly skinnier.
Let’s Create
- Affix all stamps to Acrylic Blocks.
- Fold the Card Base in half using a Bone Folder to sharpen the crease.
- Using Evening Evergreen ink, stamp the sentiment on the 2 ¾” x ½” Basic White. Using the Lovely Labels Pick A Punch, punch the right end of both the Basic White and the Evening Evergreen matte for this piece. Use Stampin’ Seal to tape these layers together.
- Using the Bough Punch, punch a bud stem out of the woodgrain DSP. Color this using Dark Flirty Flaming Stampin’ Blend for the buds and Light Soft Succulent Stampin’ Blend for the stems.
- Using Flirty Flamingo Ink, stamp the flower onto the 2” square Basic White. Use Paper Snips to fussy cut the flower.
- Brush a little Wink Of Stella onto both the fussy cut flower and the punched buds.
- Using the Bough Punch, punch two sets of leaves out of Evening Evergreen Cardstock and one set out of Soft Succulent Cardstock.
- Using Crumb Cake Ink, stamp the sprig two times onto the 5 ¼” x 4” Heart & Home Designer Series Paper towards the upper left corner.
- Now you’re ready to assemble your card…. Use Stampin’ Seal to adhere the 5 ¼” x 4” Heart & Home Designer Series Paper to the 5 ⅜” x 4 ⅛” Evening Evergreen matte layer. And then adhere these layers to your folded Basic White Thick card base.
- Using Stampin’ Dimensionals, adhere the hand cut flower toward the left side of the card just covering the end of the crumb cake stamped sprig.
- Use Stampin Seal to adhere the punched leaves to the card arranging them in such a way the stems disappear under the raised flower. Adhere the punched and colored buds on top of the punched leaves.
- Using Stampin’ Dimensionals, adhere the sentiment to the right of the flower. Arranging it so the left edge is behind the flower. You may need to trim a bit off from the left edge if it’s too long.
- Adhere the narrow Pink Shimmer strips just below the flower and the sentiment leaving a narrow space in between the two strips.
- Tie a double bow from Linen Thread and using a Mini Glue Dot, adhere this to the card just below the flower.
- Scatter 3 polished dots on the card to complete.
- Stamp and decorate the 5 ¼” x 4” Basic White for the inside and attach with Stampin’ Seal.
- Decorate your envelope.
- Lovely! Now it’s ready to send off to brighten someone’s day!.
Shopping List
Recommended Stamper’s Toolkit ❤
Product List


