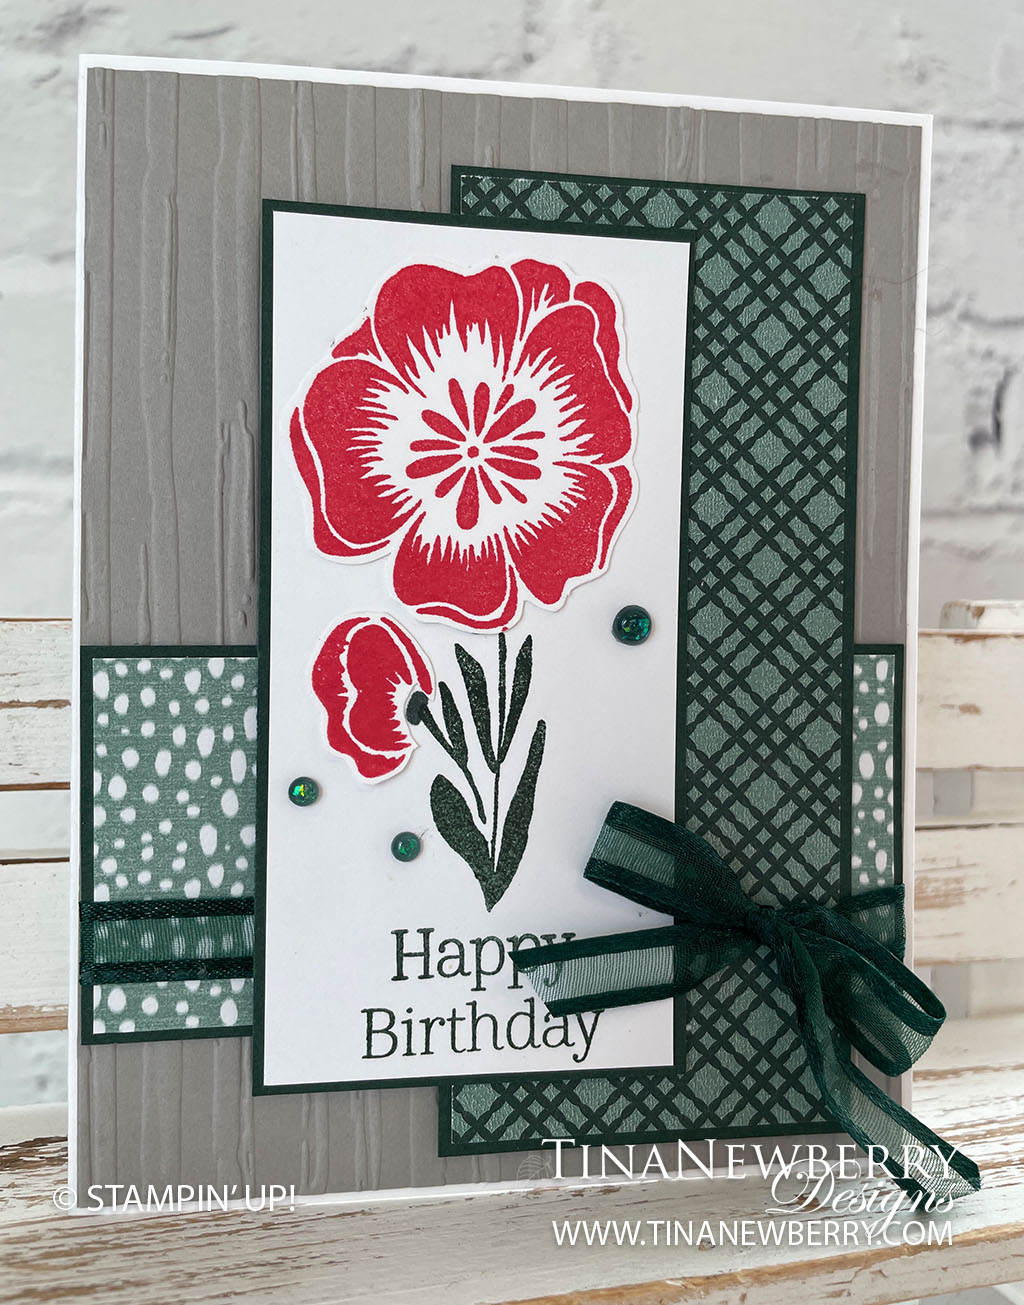
Create solid consistent outlines to your patterned and stamped layers with one color cardstock for a stunning birthday card on an embossed background.
Measurements
Full list of supplies needed, listed below. A die cutting machine is needed for this card.
Basic White
- 5 ½” x 8 ½” scored and folded on the long-side at 4 ¼”
- 4 ⅛” x 2”
- 3 ¼” x 3 ¼” (for stamping and fussy cutting the flowers)
Sahara Sand
- 4 ⅛” x 5 ⅜”
Evening Evergreen
- 4 ⅞” x 2 ⅛”
- 4 ¼” x 2 ⅛”
- 4 ⅛” x 1 ⅞”
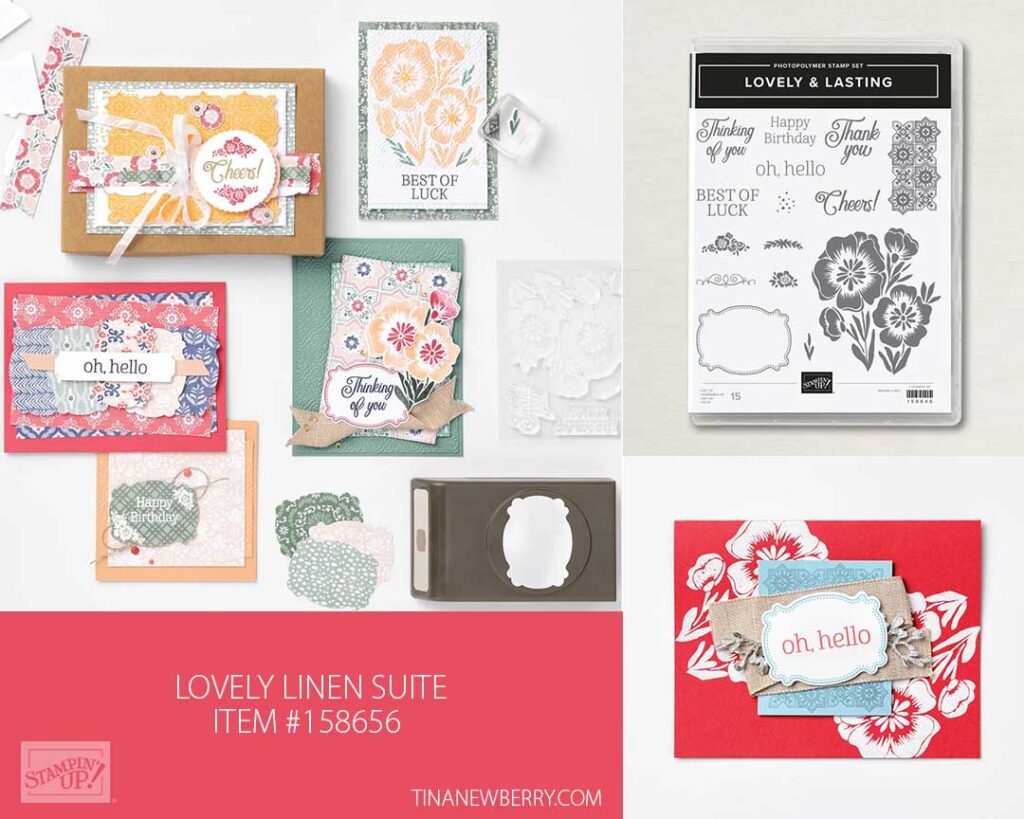
Lovely in Linen Designer Series Paper:
- 4 ¾” x 2” Evening Evergreen plaid
- 4” x 1 ¾” Soft Succulent/white polka dots
Let’s Create
- Affix all stamps to Acrylic Blocks.
- Fold the Card Base in half using a Bone Folder to sharpen the crease.
- Emboss the 4 ⅛” x 5 ⅜” Sahara Sand Cardstock using the Stripes 3D embossing folder from the Stripes & Splatters 3D Bundle. You’ll need to run it through twice, once on each side of the cardstock, since this is one of the narrow folders.
- Using Evening Evergreen ink – ink up just the large flower part of the photopolymer stamp. Because the stamp is clear, it makes it easier to just ink up a part of the stamp. Be sure to clean and dry the ink off of any part of the other flowers/stems. Stamp the stem onto the 4 ⅛” x 2” Basic White piece of cardstock. (refer to the picture above)
- Using Sweet Sorbet ink, stamp the large flower and the smaller flower onto the 3 ¼” x 3 ¼” Basic White. Fussy cut these to flowers and adhere them flat to the green stems covering the green flowers.
- Adhere this stamped panel to the 4 ¼” x 2 ⅛” Evening Evergreen cardstock.
- Adhere the Evening Evergreen plaid Designer Series Paper to the 4 ⅞” x 2 ⅛” Evening Evergreen Cardstock.
- Adhere the Soft Succulent Polka Dot Designer Series Paper to the 4 ⅛” x 1 ⅞” Evening Evergreen cardstock.
- Adhere the Soft Succulent Designer Series Paper layers to the Embossed Sahara Sand panel about ¾” from the bottom edge.
- Adhere the Evening Evergreen plaid layers onto of these layers about ¼” from the right edge.
- Tie the ribbon around these layers towards the lower part of the soft succulent with the bow landing towards the right side of the card.
- Adhere the stamped panel to the center of the card front. Hint: Put adhesive on the right edge of the stamped panel and dimensionals on the left edge. This will help the panel to sit even on the card.
- Adhere the completed card front to the folded Basic White Card Base.
- Sprinkle a few Evening Evergreen Opal Rounds from the package of In Color Opal Rounds.
- Stamp and decorate the inside of your card and the envelope.
- So cute! Now send it to someone special.
Shopping List
")


 Designer Series Paper")


 Open Weave Ribbon")

Recommended Stamper’s Toolkit ❤
Product List
$12.00

$7.00

$4.25

$5.75

$5.50

$11.00

$26.00

$7.00

$6.50

$11.00

$20.00

$11.00

$80.75

$128.00


$16.00

$13.00


