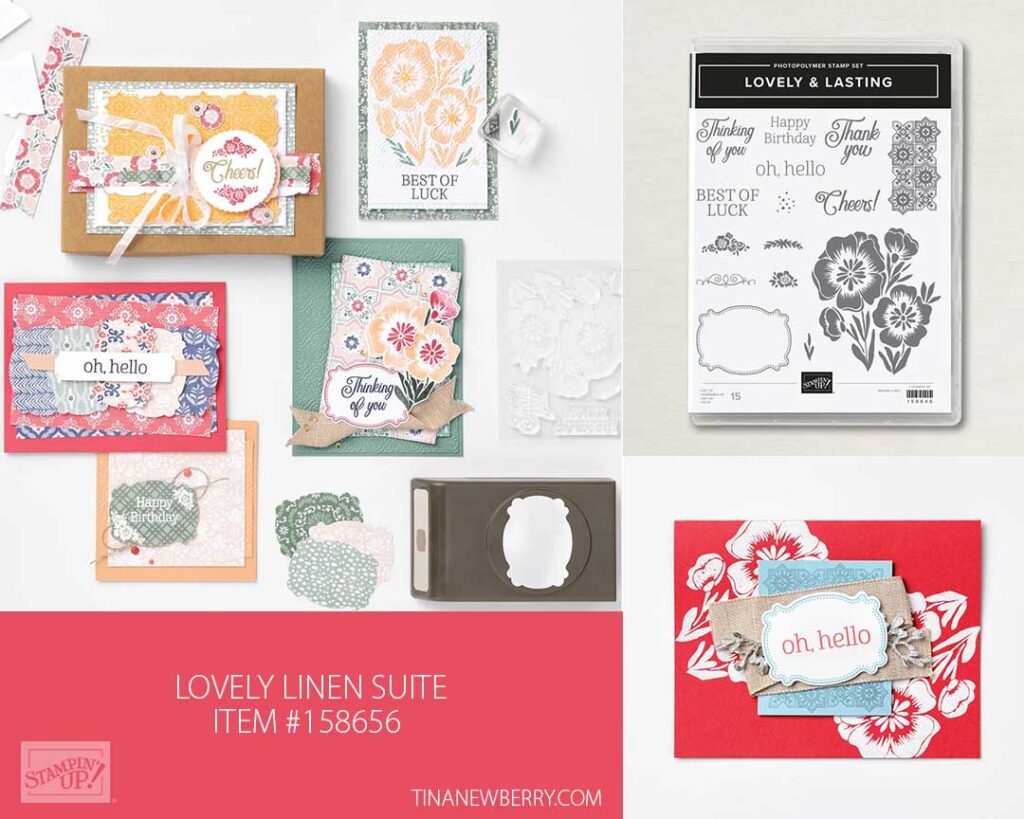
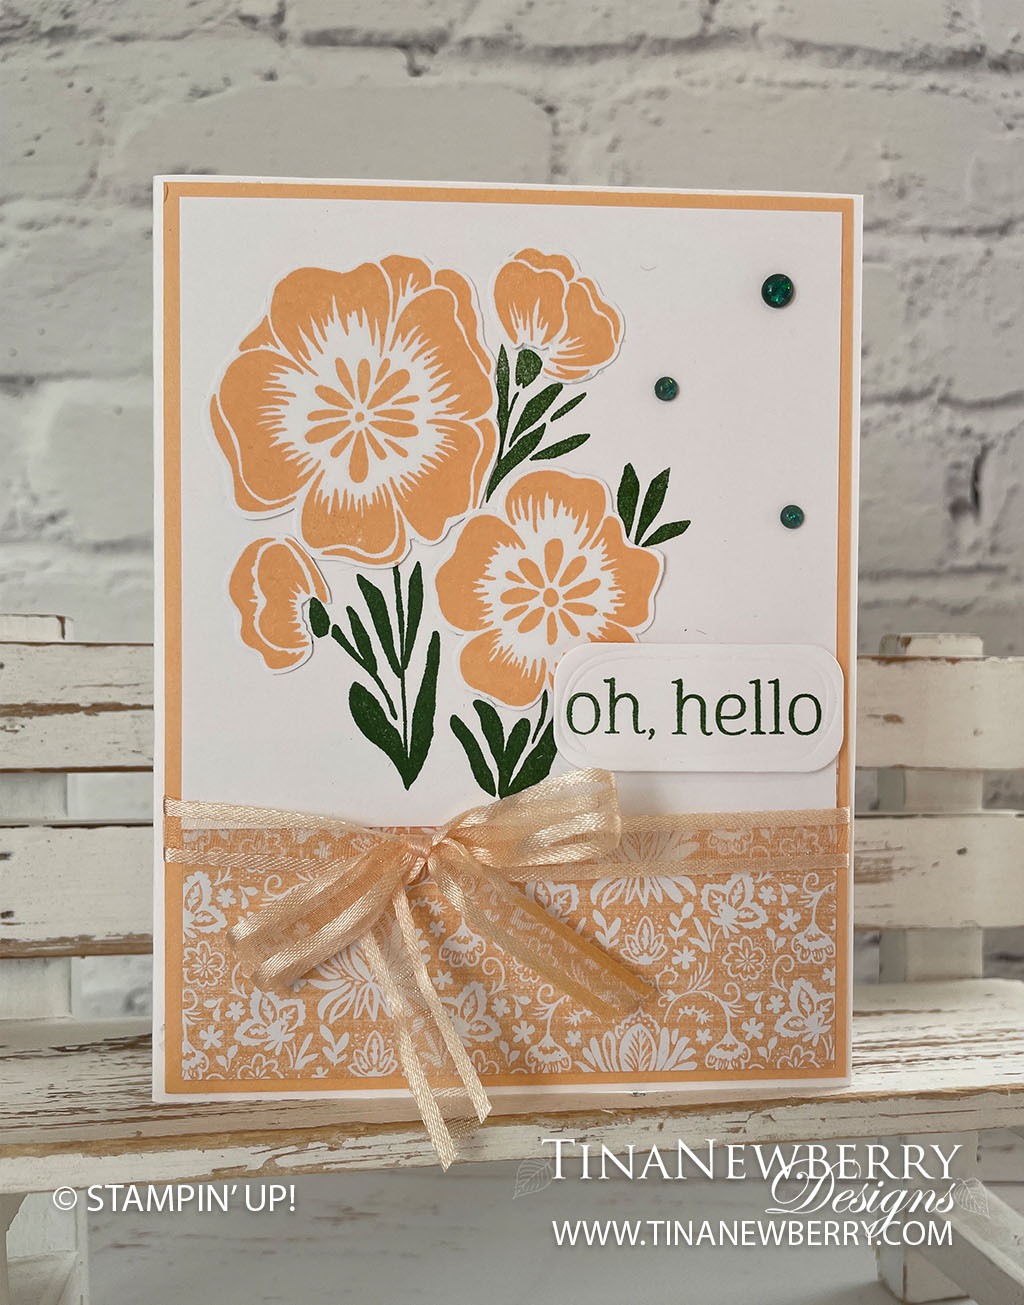
One of the challenges of stamping is creating multi-color images with one stamp. In this case, the stamp is a flower with stems. Who wants a green flower or peach stems? Here’s a quick and easy technique to get your flowers and stems in their natural color families.

Measurements
Full list of supplies needed, listed below. A die cutting machine is needed for this card.
Basic White:
- 5 ½” x 8 ½” scored and folded on the long-side at 4 ¼”
- 4” x 3 ¾”
- 4 x 3 ½” (for stamping flowers and fussy cutting)
- 2 ½” x 1” (for stamping and die cutting sentiment)
Pale Papaya:
- 5 ⅜” x 4 ⅛”
Lovely Linen Designer Series Paper:
- 4” x 2 ½” (Pale Papaya Print)
Let’s Create
- Affix all stamps to Acrylic Blocks.
- Fold the Card Base in half using a Bone Folder to sharpen the crease.
- Stamp the Flower Image towards the left onto the 4” x 3 ¾” Basic White cardstock using Garden Green ink.
- Stamp the Flower image onto the 4” x 3 ½” Basic White cardstock using Pale Papaya ink. Fussy cut the 4 flower images and adhere them to the Garden green stamped image covering the garden green flowers.
- Use Stampin’ Seal to adhere the Pale Papaya Designer Series Paper to the lower edge of the Pale Papaya cardstock.
- Use Stampin’ Seal to adhere the stamped Basic White layer to the upper part of the Pale Papay cardstock.
- Tie ribbon around these layers into a bow, covering the seam of the papers.
- Use Stampin’ Dimensionals to adhere these layers to the Basic White folded card base.
- Stamp the “oh, hello” sentiment onto the 2 ½” x 1” Basic White cardstock using Garden Green ink pad and die cut with the smallest rectangular die from the Beautiful Shapes Dies.
- Attach this to the card using Stampin’ Dimensionals.
- Sprinkle 3 In Color Opal Rounds onto your card.
- Stamp and decorate the inside of your card and the envelope and send off a fun “Hello” to someone special.
Shopping List
Recommended Stamper’s Toolkit ❤
Product List


