
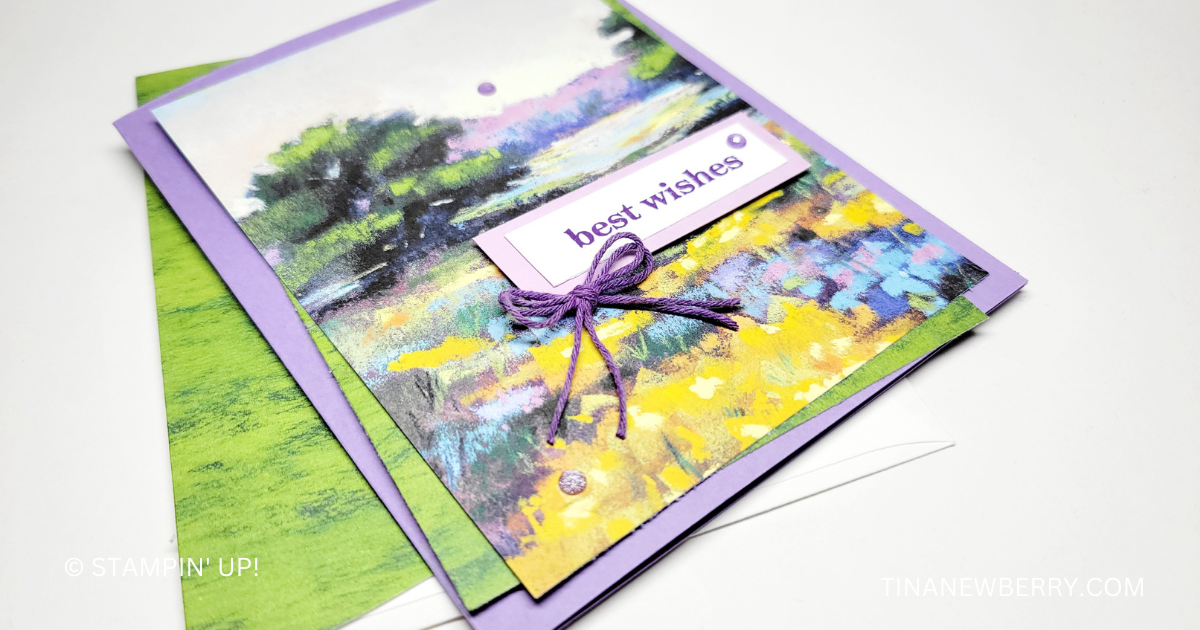
The Thoughtful Journey Designer Series Paper is truly a work of art. Did you know Stampin’ Up! Designer Series Paper starts as an actual painting? Yup! The concept artist created this first as a painting, which was then digitized and printed. Now we can all enjoye their beautiful creation and this card layout really shows it off.

Measurements
Full list of supplies needed, listed below. A die cutting machine is needed for this card.
Misty Moonlight Card Base 8 ½” x 5 ½”, scored at 4 ¼”
Basic White (inside) 4” x 5 ¼”
Mossy Meadow Card Stock 4” x 5 ¼”
Thoughtful Journey Designer Series Paper 3 ¾” x 5”
Die-Cut Basic White Label from Unbounded Love dies


Let’s Create
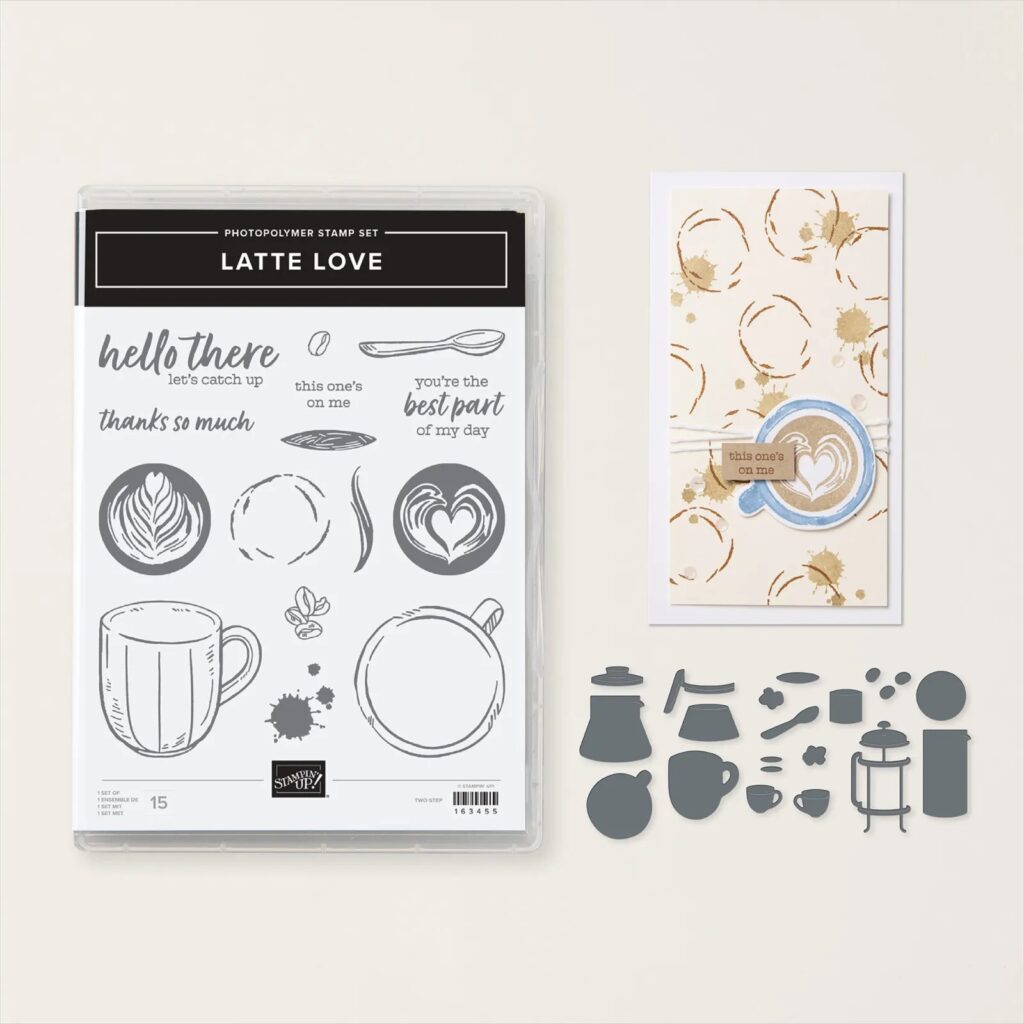
- Affix all stamps to Acrylic Blocks.
- Fold the Card Base in half using a Bone Folder to sharpen the crease.
- Adhere DSP to Mossy Meadow. Wrap twine around this layer and tie a bow. Adhere layer to card front with Stampin’ Seal.
- Die-Cut label from Unbounded Love dies in Basic White.
- Stamp sentiment in Mossy Meadow ink and adhere with Stampin’ Dimensionals.
- Sprinkle purple gems on the purple flowers.
- To achieve the water-color effect on the inside, color directly on the stamp using Stampin’ Write markers. Use spritzer to spray a light mist of water. Stamp image. Dry off your stamp, and repeat. Let dry, then use Wink of Stella to add bling to the flowers.
- Stamp sentiment in Petunia Pop ink and add a gem.
Shopping List
")
")
 Designer Series Paper")


Recommended Stamper’s Toolkit ❤

$12.00

$7.00

$4.25

$5.75

$5.50

$11.00

$26.00

$7.00

$6.50

$11.00

$20.00

$11.00

$80.75

$128.00


$16.00

$13.00


")


 Designer Series Paper")


")


 Designer Series Paper")
 Polka Dot Trim")


")


 Specialty Designer Series Paper")

 Trim Combo Pack")
