
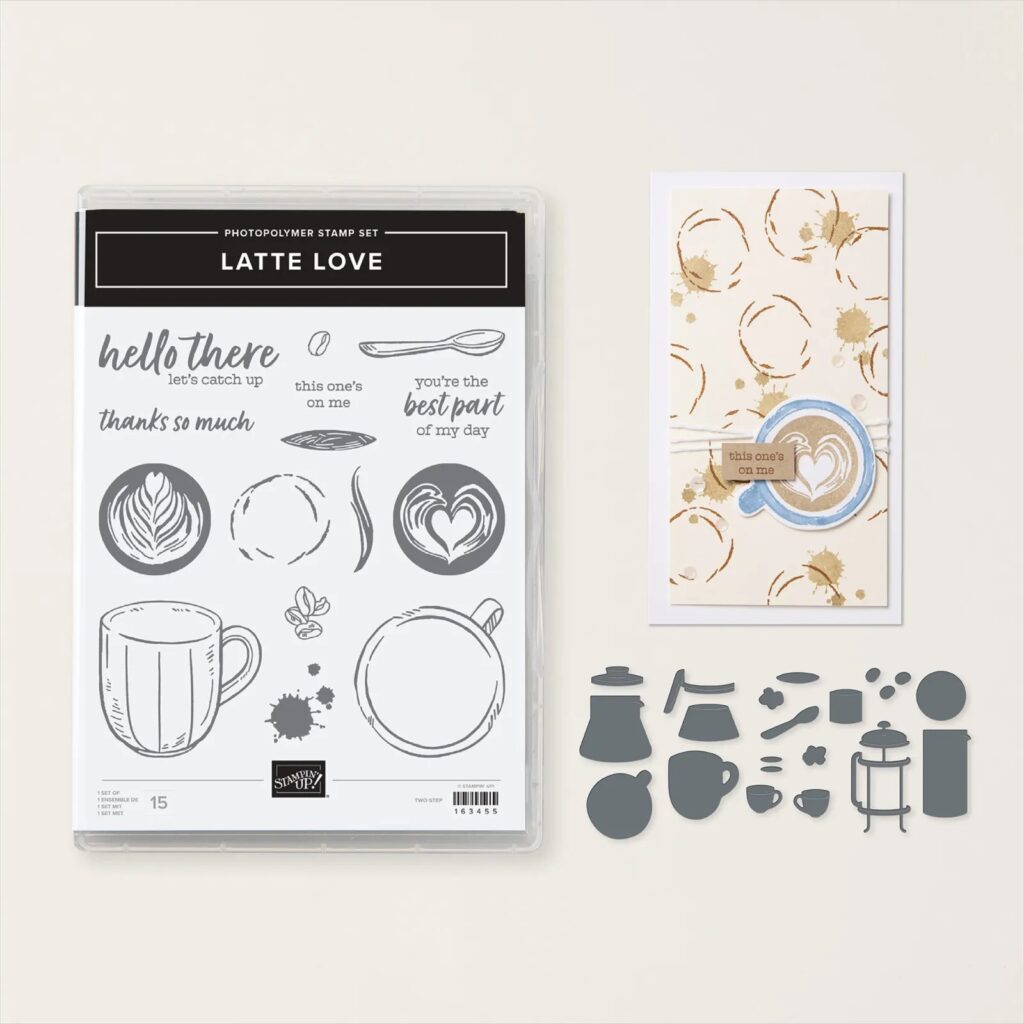
More fun with the A Little Latte Suite Collection. So many ideas, so little time!
Measurements
Full list of supplies needed, listed below. A die cutting machine is needed for this card.
Calypso Coral Cardstock
- 5 1/2″ h x 8 1/2” w scored at 4 1/4”
- 5 1/4″ h x 4″ w
A Little Latte Designer Series Paper (DSP):
- Pattern #1: 3/4” w x 5 1/2” h
- Pattern #2: 3/4” w x 5 1/2” h
- Pattern #3: 3/4” w x 5 1/2” h
- Pattern #4: 3/4” w x 5 1/2” h
- Scrap for focal image
Basic White Thick Cardstock: scrap for coffee cup and espresso beans
Basic White Cardstock:
- scrap for sentiment
- 5 ¼” h x 4” w

Let’s Create
- Use a Bone Folder to burnish the Calypso Coral at the scoreline to create the card base.
- Run the 5 1/4″ h x 4″ w Calypso Coral panel through the Stampin’ Cut & Emboss Machine with the Cane Weave Embossing Folder.
- Wrap Polka Dot Trim around the panel and tie a knot off to the left side. Attach panel to Card Base with Stampin’ Dimensionals.
- Tear the ends of the DSP strips of varying sizes. Note: If you want the torn edge to have a white edge, hold the DSP strip with the preferred pattern facing up and tear toward the preferred pattern.. If you want the torn edge to have a DSP colored edge, tear away from the preferred pattern.
- Attach DSP strips using Stampin’ Dimensionals.
- On Basic White Thick scrap, stamp coffee cup in Pretty Peacock Ink. Color with Lost Lagoon Stampin’ Blends. Die cut out.
- Die cut espresso beans from DSP.
- Attach coffee cup and espresso beans with Stampin’ Dimensionals.
- Stamp Sentiment on Basic White scrap in Pretty Peacock ink.
- Attach sentiment to card with Stampin’ Dimensionals. Use a dab of Multipurpose Glue, if needed, where sentiment overlaps the coffee cup.
- Sprinkle on some Adhesive Backed Swirl Dots.
- Decorate 5 ¼” h x 4” w Basic White Cardstock and attach to inside with Stampin’ Seal.
- Decorate your envelope.
- Lovely! Who do you need to thank today?
")
$46.75


 Designer Series Paper")
 Polka Dot Trim")

Recommended Stamper’s Toolkit ❤
Product List
$12.00

$7.00

$4.25

$5.75

$5.50

$11.00

$26.00

$7.00

$6.50

$11.00

$20.00

$11.00

$80.75

$128.00


$16.00

$13.00


