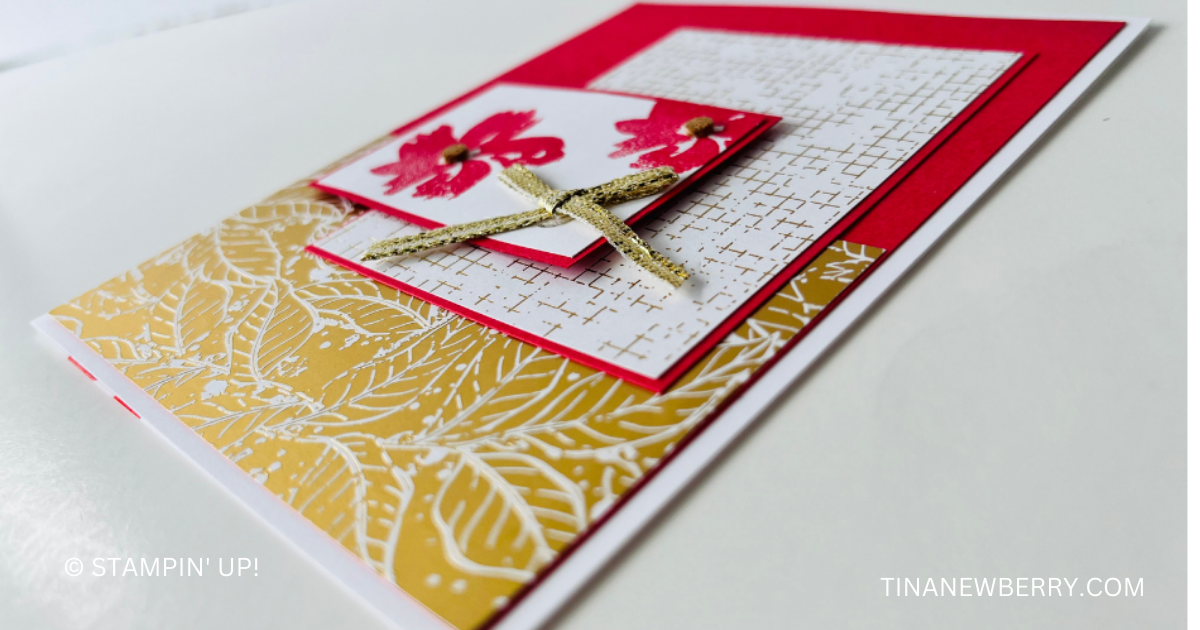
A quick & easy design to add pop with color and interest with subtle patterns.
Measurements
Full list of supplies needed, listed below. A die cutting machine is needed for this card.
Card base – White
5 ½” x 8 ½” scored at 4 ¼”
1 5/8” x 2 3/8”
Poppy Parade – 4” x 5 ¼”
2 ¾” x 2 ½”
1 ¾” x 2 ½”
Nature’s Sweetness dsp – Gold leaf pattern
2 ½” x 4”
Gold grid pattern
Let’s Create
- Affix all stamps to acrylic blocks.
- Fold and burnish card base at the score line using bone folder.
- Attach large Poppy Parade panel to the card front.
- Glue the gold leaf dsp to the bottom of the Poppy Parade panel.
- Add the gold grid panel to the Poppy Parade panel. Glue it to the card front about 3/8” from the right hand side of the card and 3/4” from the top.
- Stamp the flower on the small panel of white using the Poppy Parade ink. See photo above.
- Attach the image panel to the Poppy Parade small panel.
- Add the image panel to the card front about ½” from the left side and centered on the top line of the gold leaf panel. See photo above.
- Use a glue dot to add a gold trim ribbon to the lower right hand corner of the image panel.
- Place a small gem or embellishment in the center of each flower on the image panel.
Shopping List
Recommended Stamper’s Toolkit ❤
Product List


