Quick & Easy Embossed Card

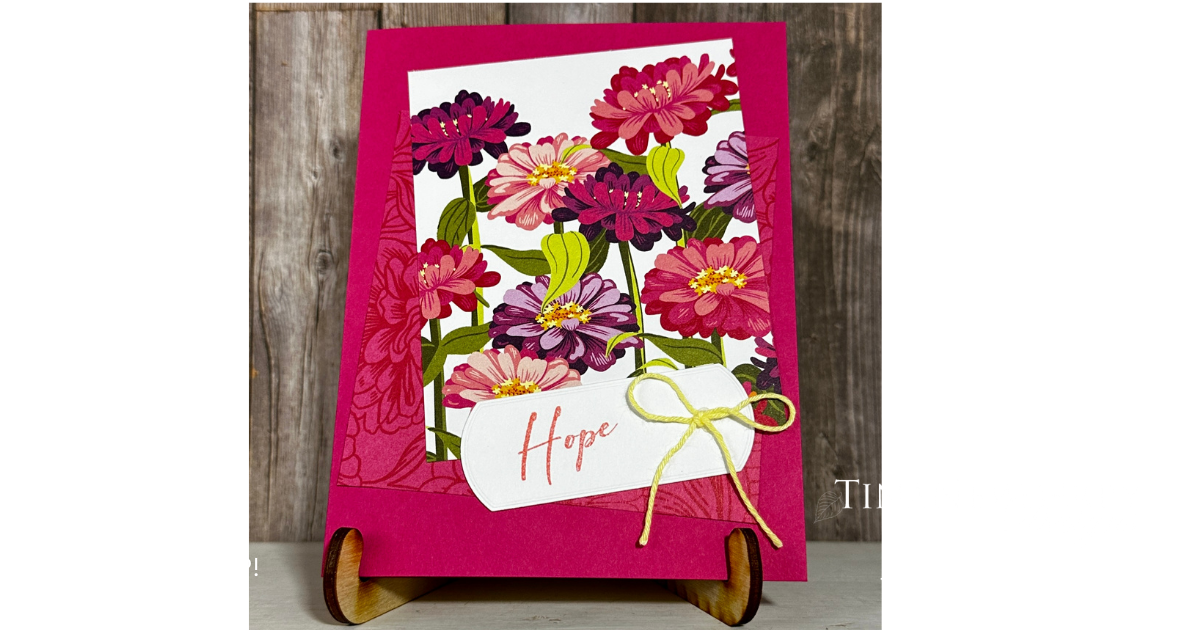
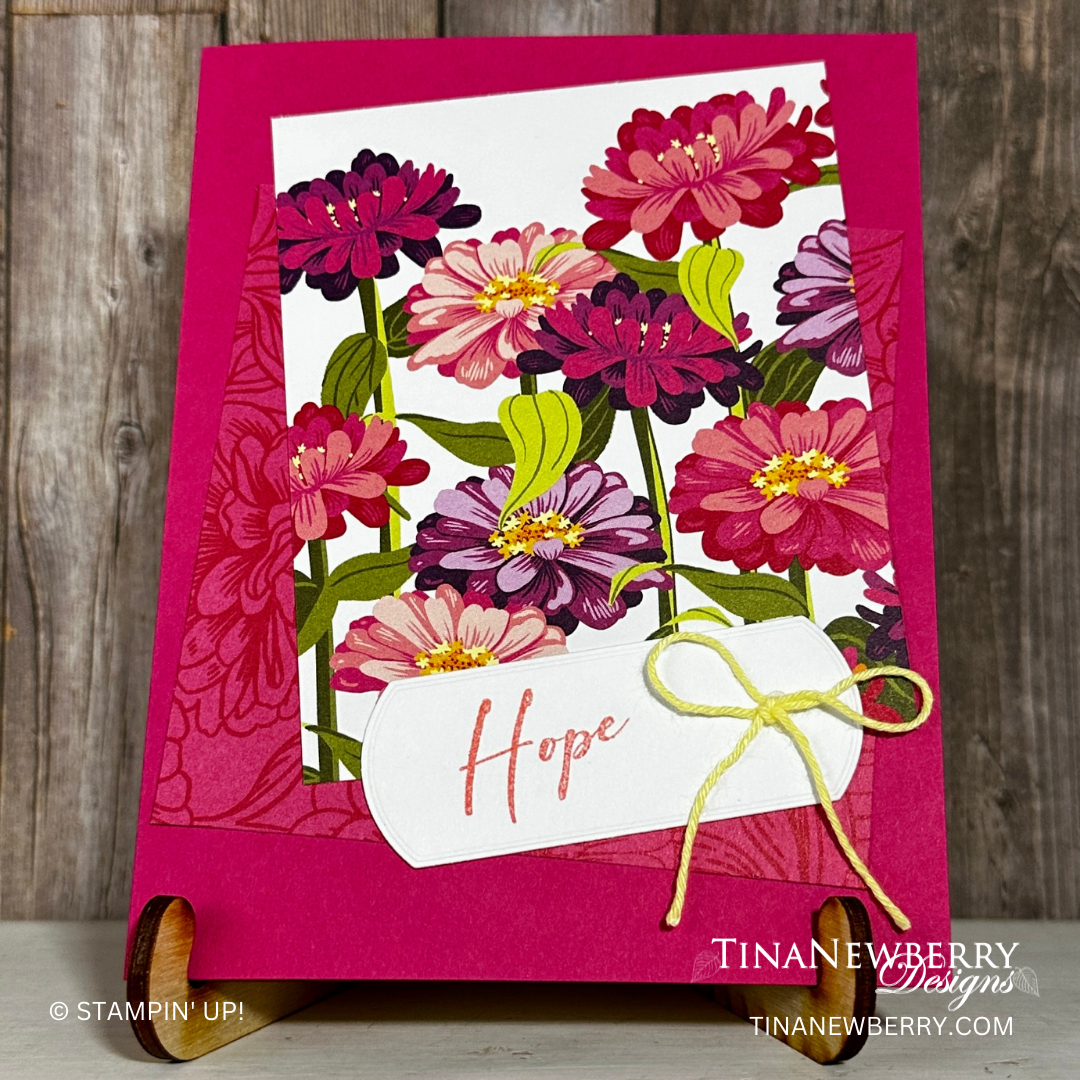
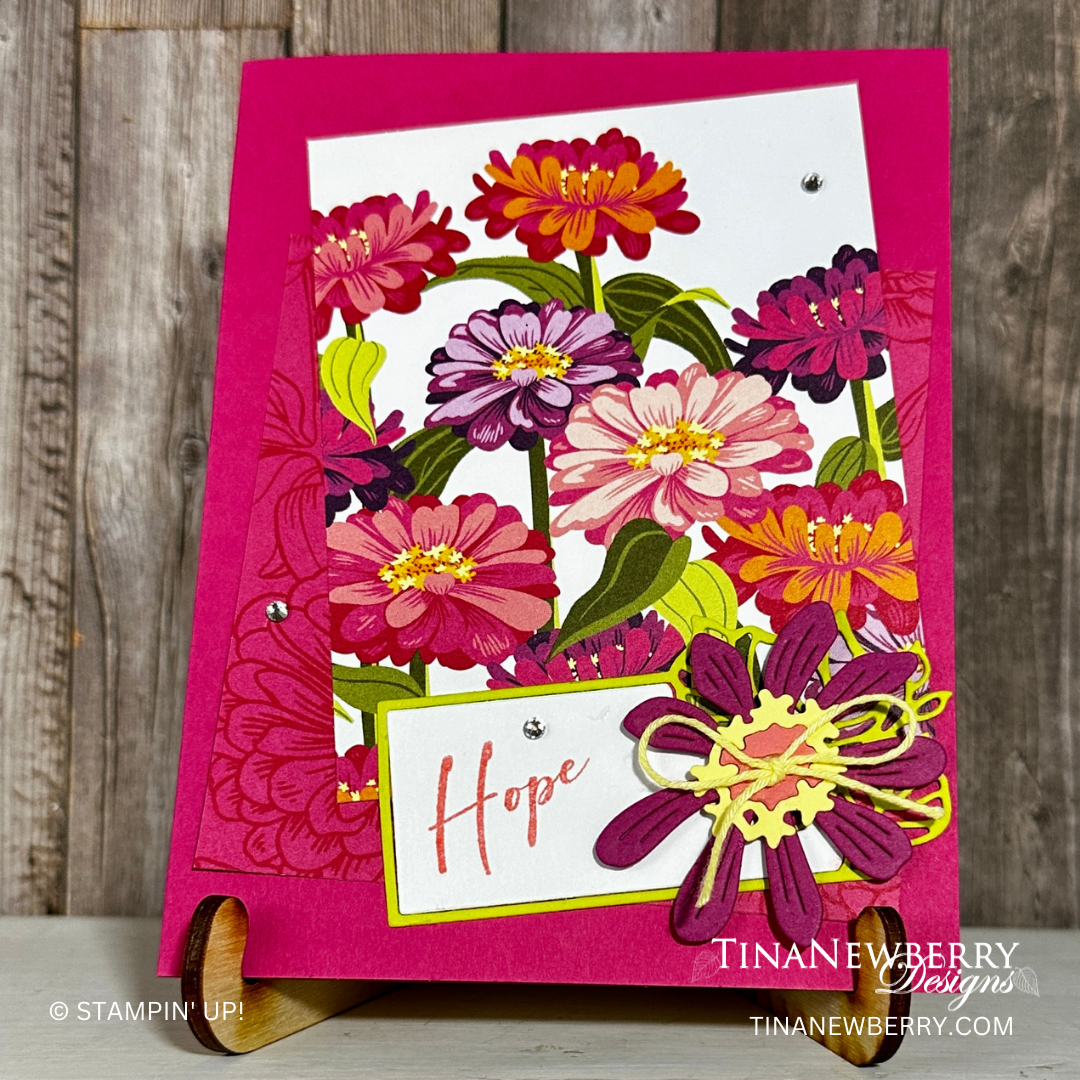
Mix and match your cardstock and designer series paper for a quick & easy card. Pro tip: add you sentiment when you’re ready to send it for greater versatility.

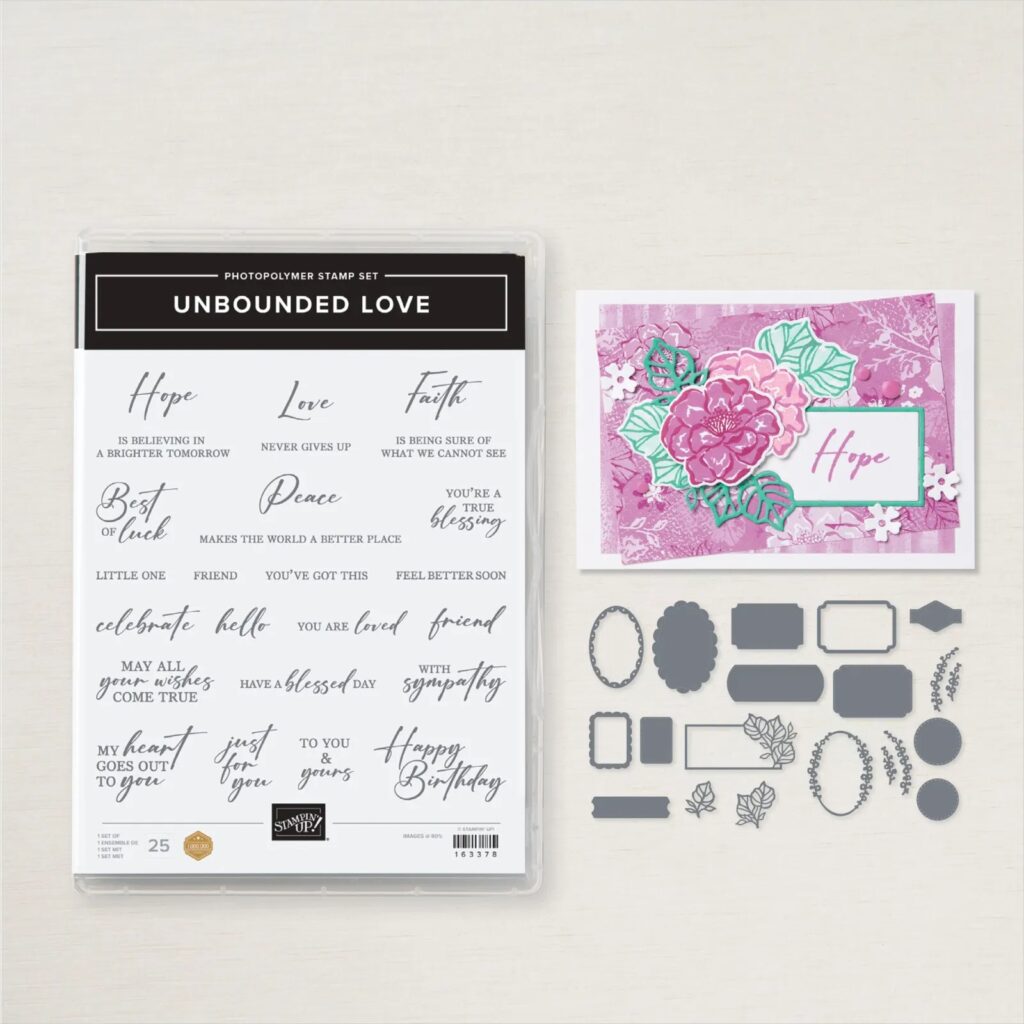
The bold floral images in the Textured Floral Stamp Set are sure to bring a smile because of their beauty and versatility. The beauty you can see for yourself. As for the versatility— the flowers are perfect for spring and summer but can be used on cards, tags, and other projects for any occasion. Mix and match the stamps in this set to build bouquets and clusters. Make standalone embellishments or layer and group the images. It’s all up to you!

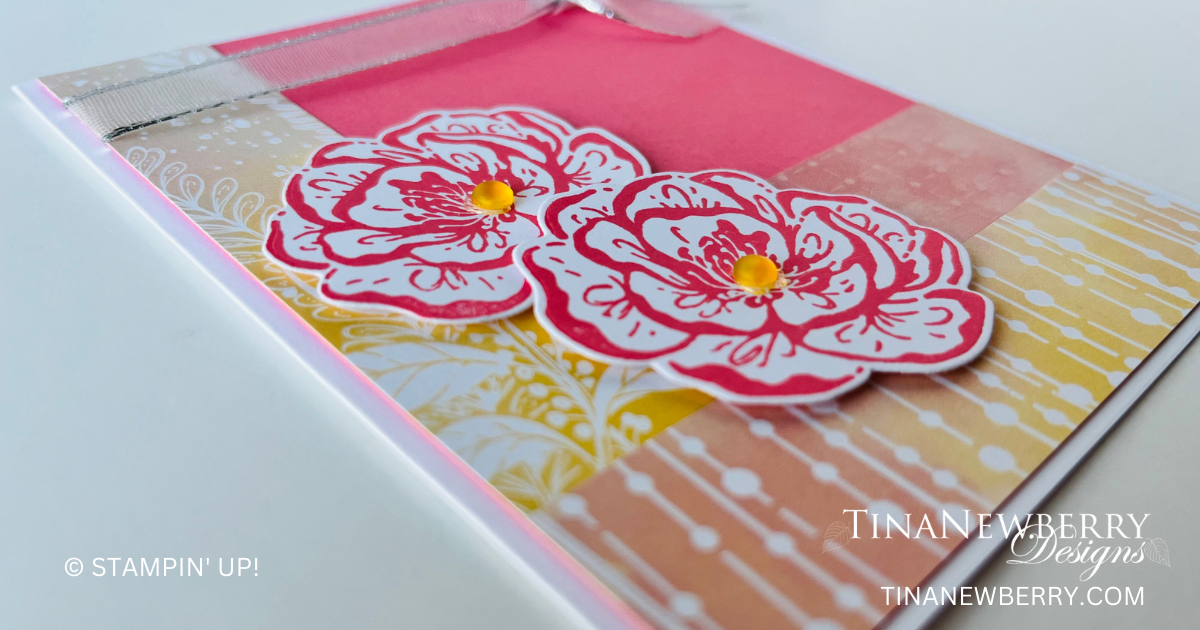
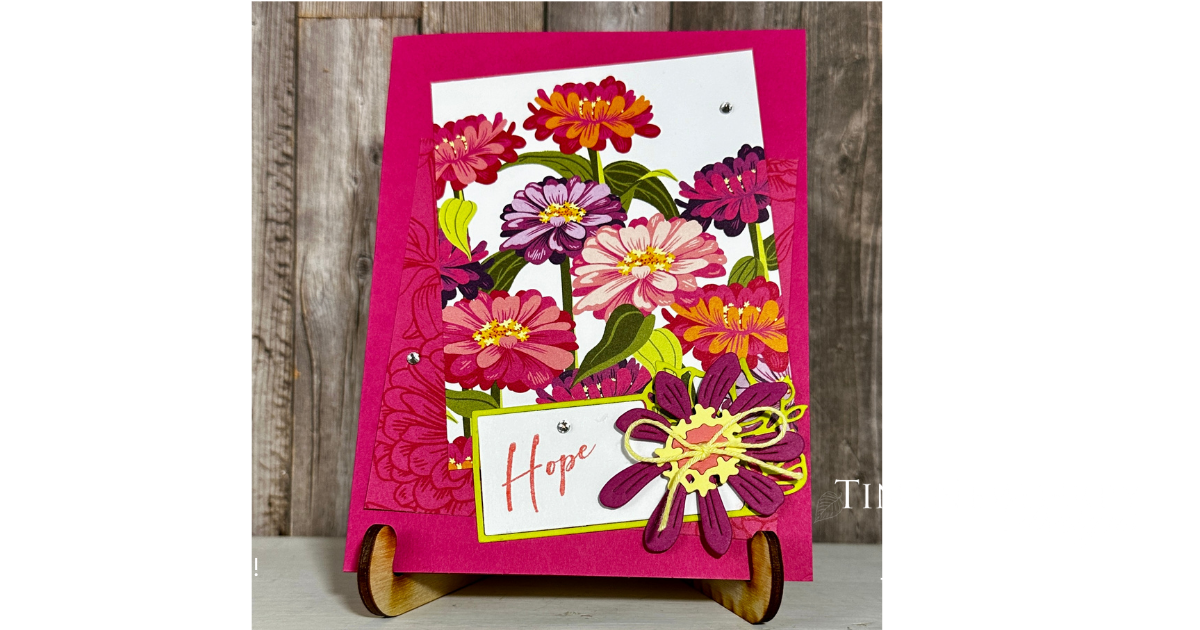
Create fresh, graceful designs with the Translucent Florals Dies. From burgeoning blossoms to petite pistils, fill your handmade cards and crafts with precisely cut pieces that can stand alone or be layered together. Use specialty paper to add texture and curiosity to your designs. Or cut out vellum with these dies for a true see-through experience! 

Measurements

Full list of supplies needed, listed below. A die cutting machine is needed for this card.

Card base – Lost Lagoon

                      5 ½” x 8 ½” scored at 4 ¼”

                      4” x 5 ¼”

White  – Scraps for stamping and die cutting

Nature’s Sweetness dsp – vanilla plant with Pecan Pie leaves 

                                               1 ¼” x 5 ¼”

                                               gold with white mini flowers

                                                ¼” x 5 ¼”


Let’s Create

  1. Affix all stamps to acrylic blocks.
  2. Fold and burnish card base at the score line using bone folder.
  3. Use the embossing folder to emboss the Lost Lagoon panel.  Add to the card front using Tear & Tape making sure to center on all sides.
  4. Add Tear & Tape to the back of both pieces of dsp.  Remove backing of Tear & Tape from the skinny piece and add it to the left hand side of the card front about ½” from the left hand side of the card front.
  5. Remove the backing of the Tear & Tape from the wide strip of dsp and add it to the left hand side of the card front about 1/8” from the skinny strip.  See photo above.
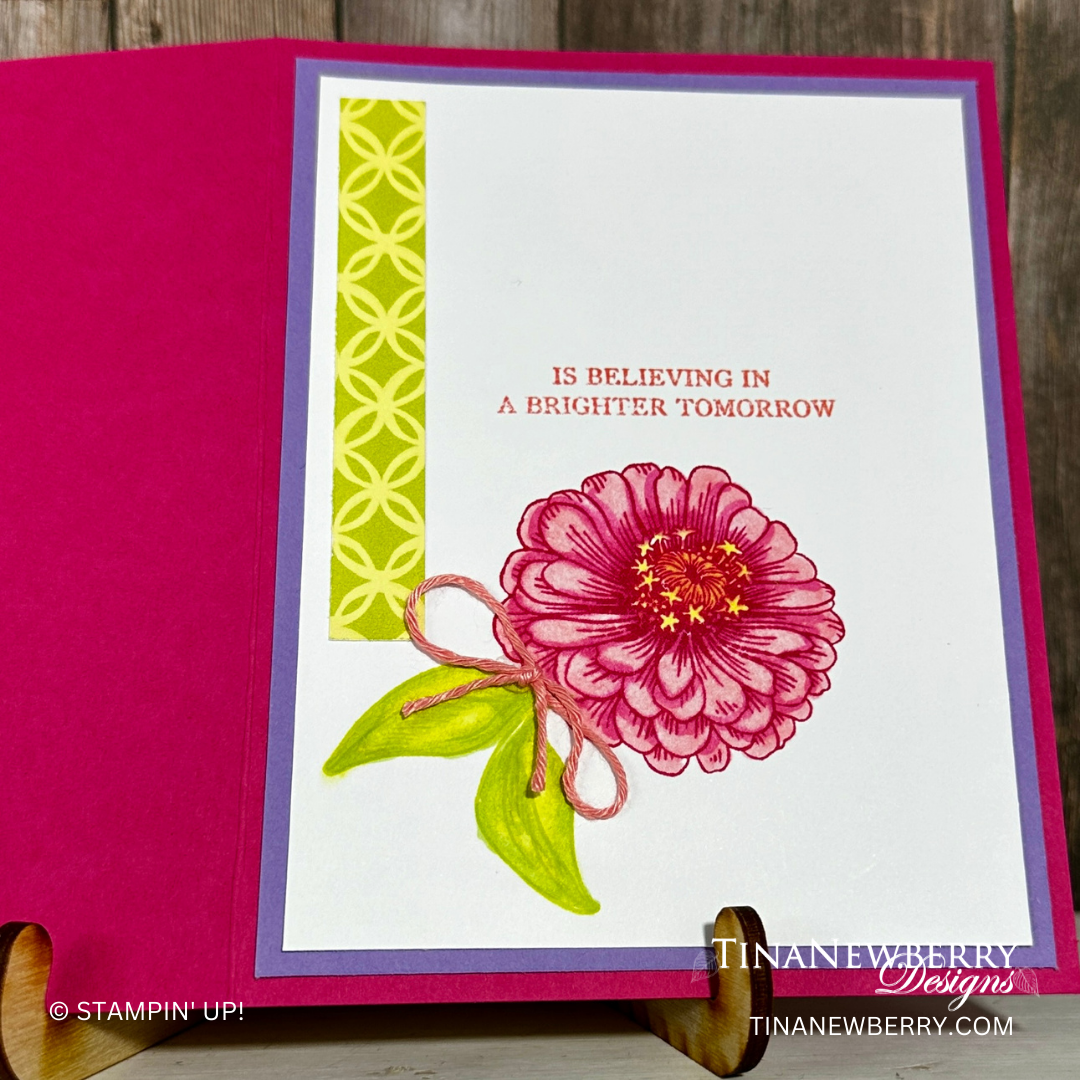
  6. Stamp the flower image onto the scrap of White using Lost Lagoon ink.  Use Pecan Pie ink to stamp the branches in the flowers.  The leaves and branches will not match up just stamp as close as you can.
  7. Use the die to cut out the image.
  8. Add dimensionals to the back of the die cut image from Step 6.  Add image to the lower right hand part of the card front.  See photo above.
  9. Tie a bow with the Lost Lagoon ribbon.  Add the bow to the bottom of the flower stem from step 7.  See photo above.

Shopping List


Recommended Stamper’s Toolkit ❤


Unbounded Love – Creativity Your Way

Thank you for your interest in this project. Some projects are exclusive to subscribers who will receive passwords by email.

Are you a subscriber? Awesome! Check your email for the password and enter it here to view this project.

Not yet subscribed?  We’d love for you to join us.  Subscribe to my email list and receive news, information and inspiration by email.

Unbounded Love – Stepped Up

Sometimes you just need to get your hands on some paper and markers! Step up the Unbounded Love project from yesterday by adding a few more layers, die cuts and some creative coloring on the inside.

Few things in life are better than love and creativity. With the Unbounded Love Bundle (available May 1, 2024), you’ll get both. Enjoy the experience as you pair greetings for the perfect sentiment on any occasion. Then use the labels, frames, scallops, shapes, leaves, and floral dies to create layered combinations. Or enjoy a simple style by quickly cutting out stamped sentiments. No matter what you do, you’ll find just the right fit to show your boundless love, appreciation, support, celebration, sympathy, and care.

Measurements

Full list of supplies needed, listed below. A die cutting machine is needed for this card.
Melon Mambo Cardstock: 8 ½” x 5 ½”, score at 4 ¼”
Basic White:

  • 4” x 5 ¼” (Inside)
  • Scrap for sentiment

Highland Heather Cardstock: 4 1/8” x 5 3/8” for inside

Lemon Lime Twist Cardstock: scrap for sentiment matte

Berry Burst Cardstock: scrap for flower

Pumpkin Pie Cardstock: scrap for flower

Lemon Lolly Cardstock: scrap for flower

Flowering Zinnias Designer Series Paper (DSP):

  • 3 ¾” x 3 ¾”
  • 3 ¼” x 4”
  • Scrap strip for inside

Let’s Create

  1. Affix all stamps to Acrylic Blocks.
  2. Fold the Melon Mambo Card Base in half using a Bone Folder to sharpen the crease.
  3. Use Stampin’ Seal to adhere 3 ¾” x 3 ¾” DSP on an angle to card front.
  4. Use Stampin’ Seal to adhere 3 ¼” x 4” DSP at an angle over bottom layer
  5. Die Cut:
  6. Stamp sentiment in Flirty Flamingo on the die cut label.
  7. Attach to Lemon Lime Twist label matte
  8. Attach to card front with Stampin’ Dimensionals.
  9. Assemble the Zinnia and attach with Stampin’ Dimensionals.
  10. Tie a sweet little bow with Baker’s Twine and attach with Mini Glue Dots
  11. Sprinkle on some Rhinestone Basic Jewels
  12. Attach 4 1/8” x 5 3/8” Highland Heather to the inside.
  13. Stamp and use DSP strip to decorate the Basic White 4” x 5 ¼” for the inside and attach with Stampin’ Seal.
  14. Decorate your envelope.
  15. So cute! Now send it to someone special.
  16. Lemon Lime Twist label from Unbounded Love Dies
  17. Basic White label from Unbounded Love Dies
  18. Blackberry Bliss, Pumpkin Pie, and Lemon Lolly Zinnia flower and center from Simply Zinnia Dies
Shopping List
This project also uses the Unbounded Love Bundle Item #163384 $54.75 and Pretty in Pink Stampin’ Blends Combo Pack Item #163824 $11.00 available May 1, 2024

Recommended Stamper’s Toolkit ❤


Unbounded Love – Simple Stamping

Sometimes you’re in a hurry and need to make a quick & easy card. The layout used in today’s card will get it done, and can easily be created with this beautiful Flowering Zinnias suite or products from your stash.

Few things in life are better than love and creativity. With the Unbounded Love Bundle (available May 1, 2024), you’ll get both. Enjoy the experience as you pair greetings for the perfect sentiment on any occasion. Then use the labels, frames, scallops, shapes, leaves, and floral dies to create layered combinations. Or enjoy a simple style by quickly cutting out stamped sentiments. No matter what you do, you’ll find just the right fit to show your boundless love, appreciation, support, celebration, sympathy, and care.

Measurements

Full list of supplies needed, listed below. A die cutting machine is needed for this card.
Melon Mambo Cardstock: 8 ½” x 5 ½”, score at 4 ¼”
Basic White:

  • 4” x 5 ¼” (Inside)
  • Scrap for sentiment

Flowering Zinnias Designer Series Paper (DSP):

  • 3 ¾” x 3 ¾”
  • 3 ¼” x 4”


Let’s Create

  1. Affix all stamps to Acrylic Blocks.
  2. Fold the Melon Mambo Card Base in half using a Bone Folder to sharpen the crease.
  3. Use Stampin’ Seal to adhere 3 ¾” x 3 ¾” DSP on an angle to card front.
  4. Use Stampin’ Seal to adhere 3 ¼” x 4” DSP at an angle over bottom layer.
  5. Die-Cut Basic White label from Unbounded Love Dies.
  6. Stamp sentiment in Flirty Flamingo on the die cut label.
  7. Attach to card front with Stampin’ Dimensionals.
  8. Tie a sweet little bow with Baker’s Twine and attach with Mini Glue Dots
  9. Stamp and decorate the Basic White 4” x 5 ¼” for the inside and attach with Stampin’ Seal.
  10. Decorate your envelope.
  11. So cute! Now send it to someone special.
Shopping List
This project also uses the Unbounded Love Bundle Item #163384 $54.75 available May 1, 2024

Recommended Stamper’s Toolkit ❤


Irresistible Blooms in Flirty Flamingo

Thank you for your interest in this project. Some projects are exclusive to subscribers who will receive passwords by email.

Are you a subscriber? Awesome! Check your email for the password and enter it here to view this project.

Not yet subscribed?  We’d love for you to join us.  Subscribe to my email list and receive news, information and inspiration by email.