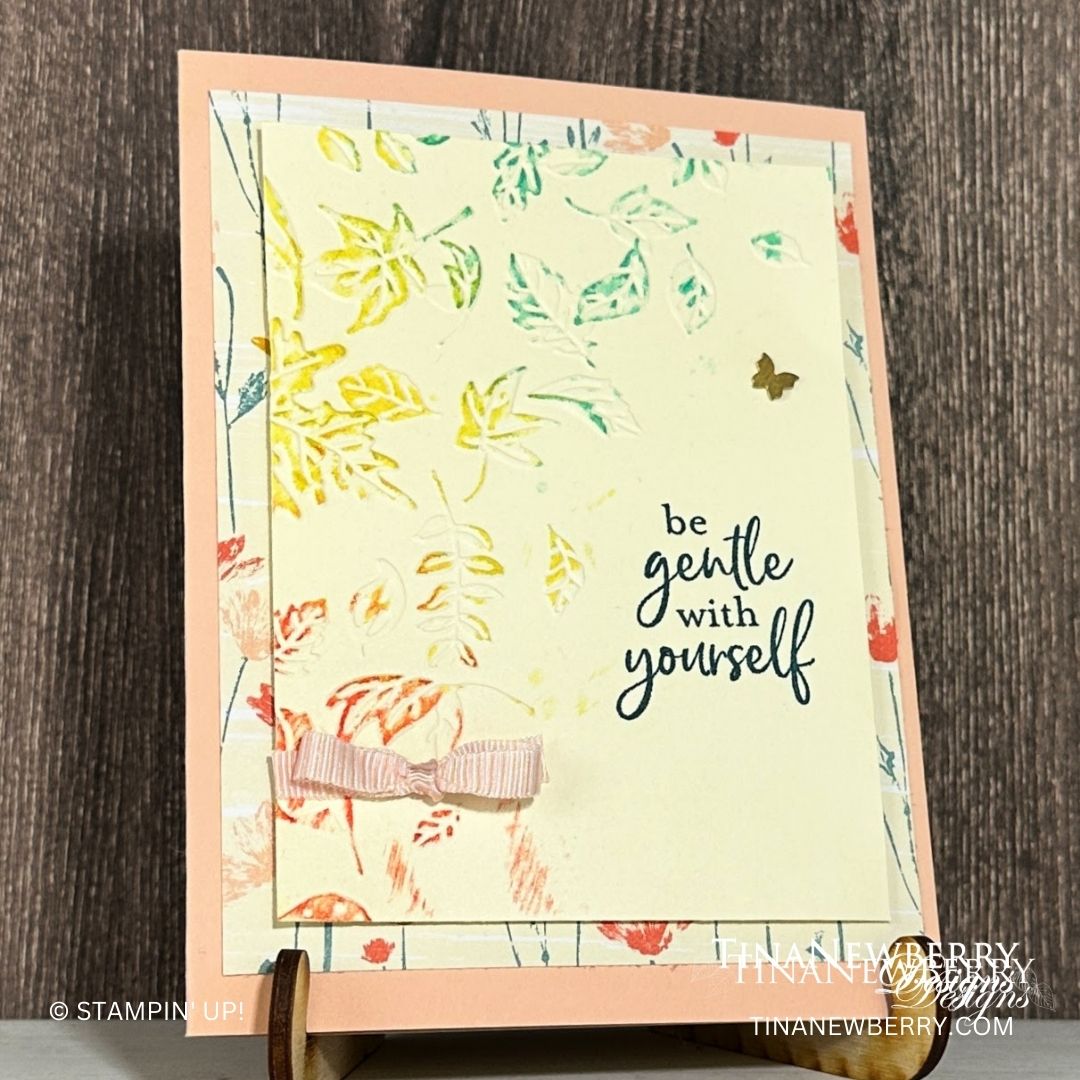
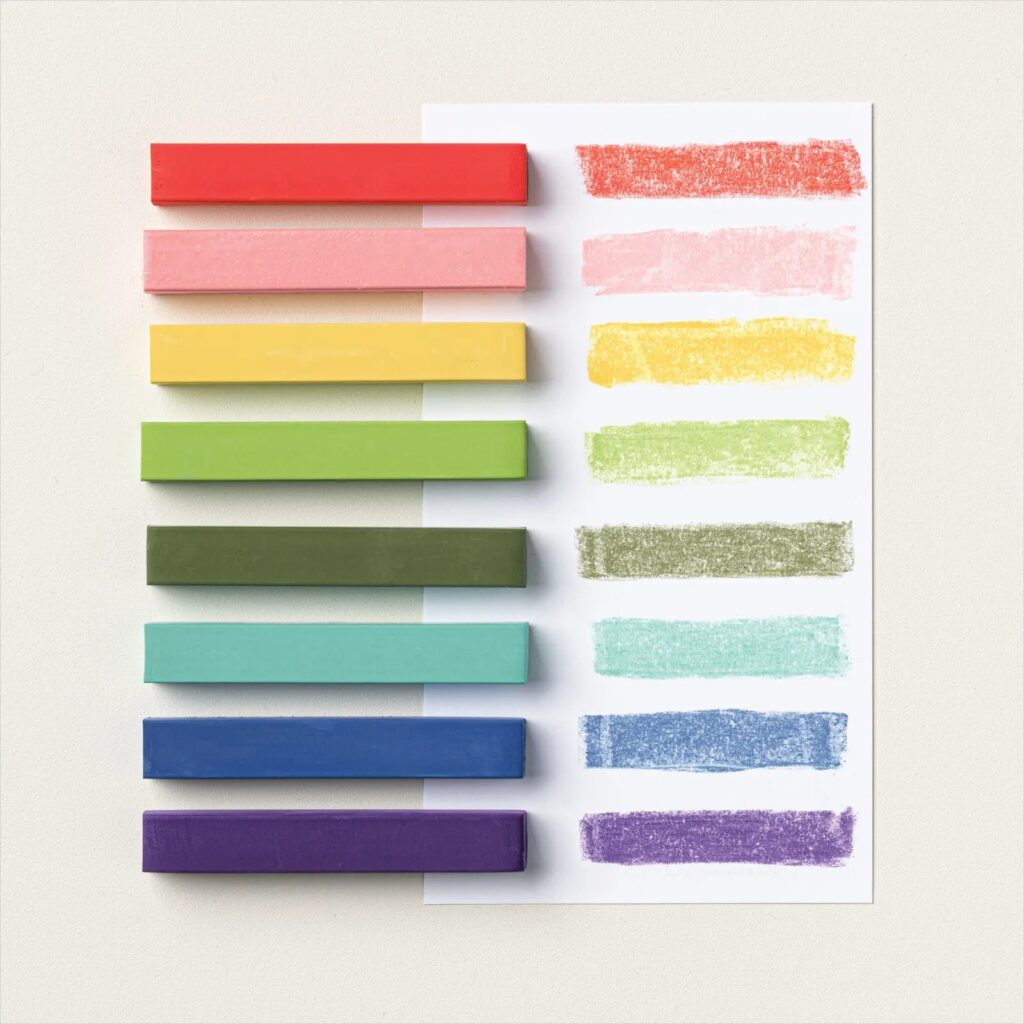
Use Soft Pastels to add color to your embossing folders! Read on for details on this technique.
Measurements
Full list of supplies needed, listed below. A die cutting machine is needed for this card.
Card Base Petal Pink 8 ½” x 5 ½”, scored at 4 ¼”
Inside Layer Very Vanilla 4” x 5 ¼”
Front Layer Inked Botanicals Designer Series Paper 4” x 5 ¼”
Very Vanilla 3 ½” x 4 ¾”, rolled through Leaf Fall 3D Embossing folder (paper on the diagonal)
Petal Pink bow (RIbbon Duo Pack)
Brass Butterfly Gem
Optional: Extra DSP scrap to add a little splash of color to the inside of the card
Let’s Create
- Affix all stamps to Acrylic Blocks.
- Cut Card Base Petal Pink 8 ½” x 5 ½”, score at 4 ¼”. Fold the Card Base in half using a Bone Folder to sharpen the crease.
- Cut Inside Layer Very Vanilla 4” x 5 ¼”. Adhere to inside.
- Cut Front Layer Inked Botanicals Designer Series Paper 4” x 5 ¼”. Adhere centered to front of card.
- Cut Very Vanilla 3 ½” x 4 ¾”, and roll through Leaf Fall 3D Embossing folder (paper on the diagonal)
- Use side of pastel stick to add color. Going from top right to bottom left, add a section of Coastal Cabana in the upper right. DO NOT rub in, let it set on top of the embossed image. Add a section of Daffodil Delight down the center. Add a small amount of Poppy Parade in the bottom left corner. Again, DO NOT rub in. Let the pastels set on top of the embossed image.
- Take your layer outside, and cover the bottom right on the diagonal. Apply a light spray of Krylon Fixatif across the pastel areas. Let dry.
- Take card back inside. Stamp sentiment in Pretty Peacock. Adhere a little butterfly.
- Add layer to card front, centered, with Stampin’ Dimensionals.
- Tie a cute little bow and add it to the bottom left corner.
- Decorate your envelope.
- Pretty!! Now send it to someone special.
Shopping List
")


$9.00


 Designer Series Paper")

$10.00

$10.00

Recommended Stamper’s Toolkit ❤
Product List
$12.00

$7.00

$4.25

$5.75

$5.50

$11.00

$26.00

$7.00

$6.50

$11.00

$20.00

$11.00

$80.75

$128.00


$16.00

$13.00


