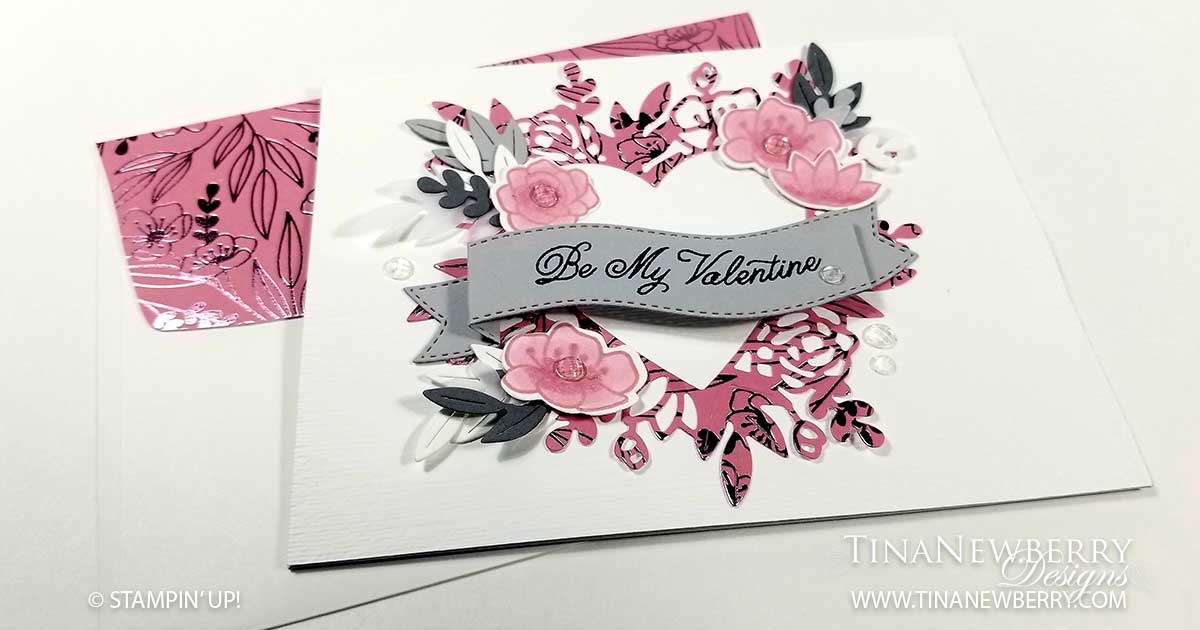
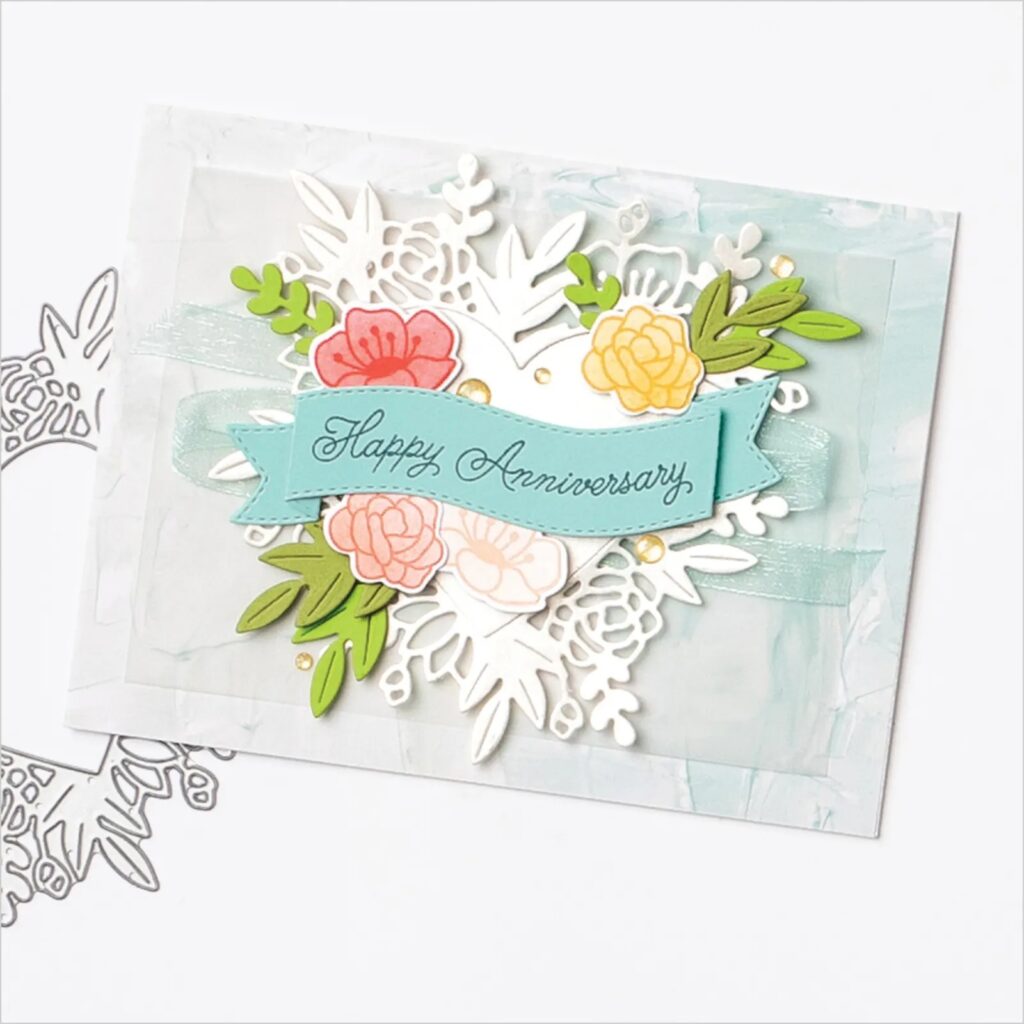
I was first inspired by the new Mini Catalog to make this card. I set out to make the one exactly as seen on page 75.
But then I didn’t have the paper they used on the background and I really liked the idea of a Rococo Rose, Grey and White color scheme. So well, you can see what happened there when I took the road less travelled and was pleasantly surprised when I ended up in a place I never imagined. LOL.
Full list of supplies needed, listed below. A die cutting machine is needed for this card.
Card Base: Smoky Slate Cardstock 4 1/4 h” x 11″ w folded to 4 1/4″ h x 5 1/2″ w.
Background: Basic White 4 1/4″ h x 5 1/2″ w.
Sentiment Layer: Smoky Slate Cardstock scrap.
Heart: Love You Always Specialty Designer Series Paper scrap.
Flowers & Leaves: Basic White, Smoky Slate, Basic Grey and Vellum scraps.
Inside Layer: Basic White Cardstock 4″ h x 5 1/4″ w.
- Affix all stamps to Acrylic Blocks.
- Fold the Card Base in half using a Bone Folder to sharpen the crease.
- Run the Background through the Stampin’ Cut & Emboss Machine with the Subtle Embossing Folder. Then attach with Stampin’ Dimensionals.
- Attach an Adhesive Sheet to the scrap Love You Always Specialty Designer Series paper and die cut with the Heart.
- Adhere the Heart to the Background.
- Stamp the Sentiment in Tuxedo Black Memento Ink on Smoky Slate scrap, die cut with the Banner Die, and fold along the score lines.
- Attach the Sentiment to the Card using Stampin’ Seal.
- Die cut various leaves from Basic White, Smoky Slate, Basic Grey and Vellum scraps.
- On Basic White scrap, stamp two of each flower in Rococo Rose ink, use Rococo Rose Blender Pens to color, and then die cut.
- Arrange the leaves and flowers and then glue dot in place.
- Add Elegant Faceted Gems.
- Decorate the Inside Layer and attach.
- Decorate the envelope.
- It’s Beautiful! Put it in the mail today.
Shopping List
Stamper’s Toolkit
Stamper’s Toolkit
You will also need adhesive, acrylic blocks, scissors and other basic PaperCrafting items from the Stamper’s Toolkit


