Send an uplifting encouragement card to a friend today. Let them know you’re supporting them.
Measurements
Full list of supplies needed, listed below. A die cutting machine is needed for this card.
Card Base: Pretty Peacock cardstock: 5 ½” h x 8 ½” w folded to 5 ½” h x 4 ¼” w
Background: Lost Lagoon cardstock: 5 1/4″ h x 4″ w
Front Layer: Masterfully Made Designer Series Paper: 2 pieces, 2 different prints both are 4 ½” h x 1 ½” w
Sentiment Layer: Basic White Cardstock scrap 2” h x 3” w
Inside: Basic White Cardstock 5 1/4″ h x 4″ w
Let’s Create
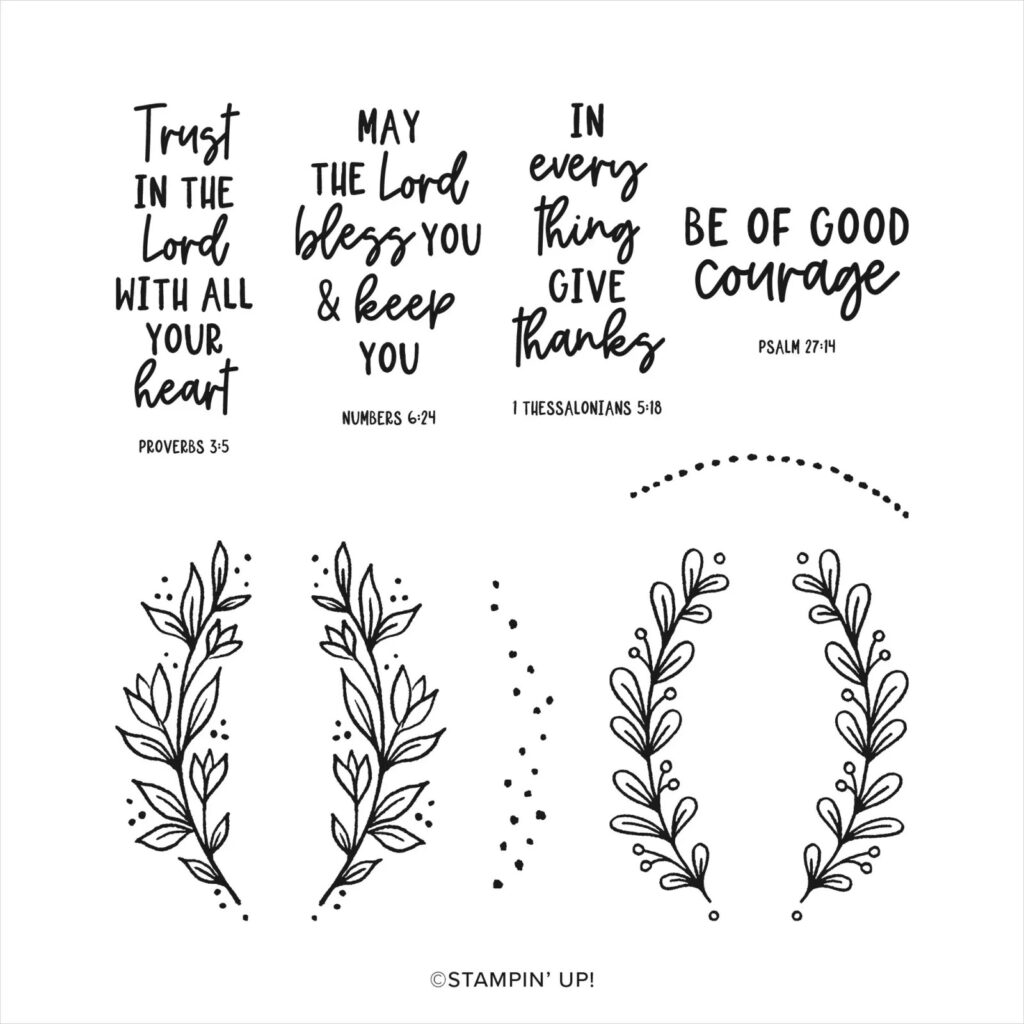
- Affix all stamps to Acrylic Blocks.
- Fold the Card Base in half using a Bone Folder to sharpen the crease.
- Emboss the Lost Lagoon cardstock layer with the Exposed Brick 3D Embossing Folder in your Stampin’ Cut & Emboss Machine.
- Adhere the embossed Lost Lagoon cardstock layer onto the front of the card base.
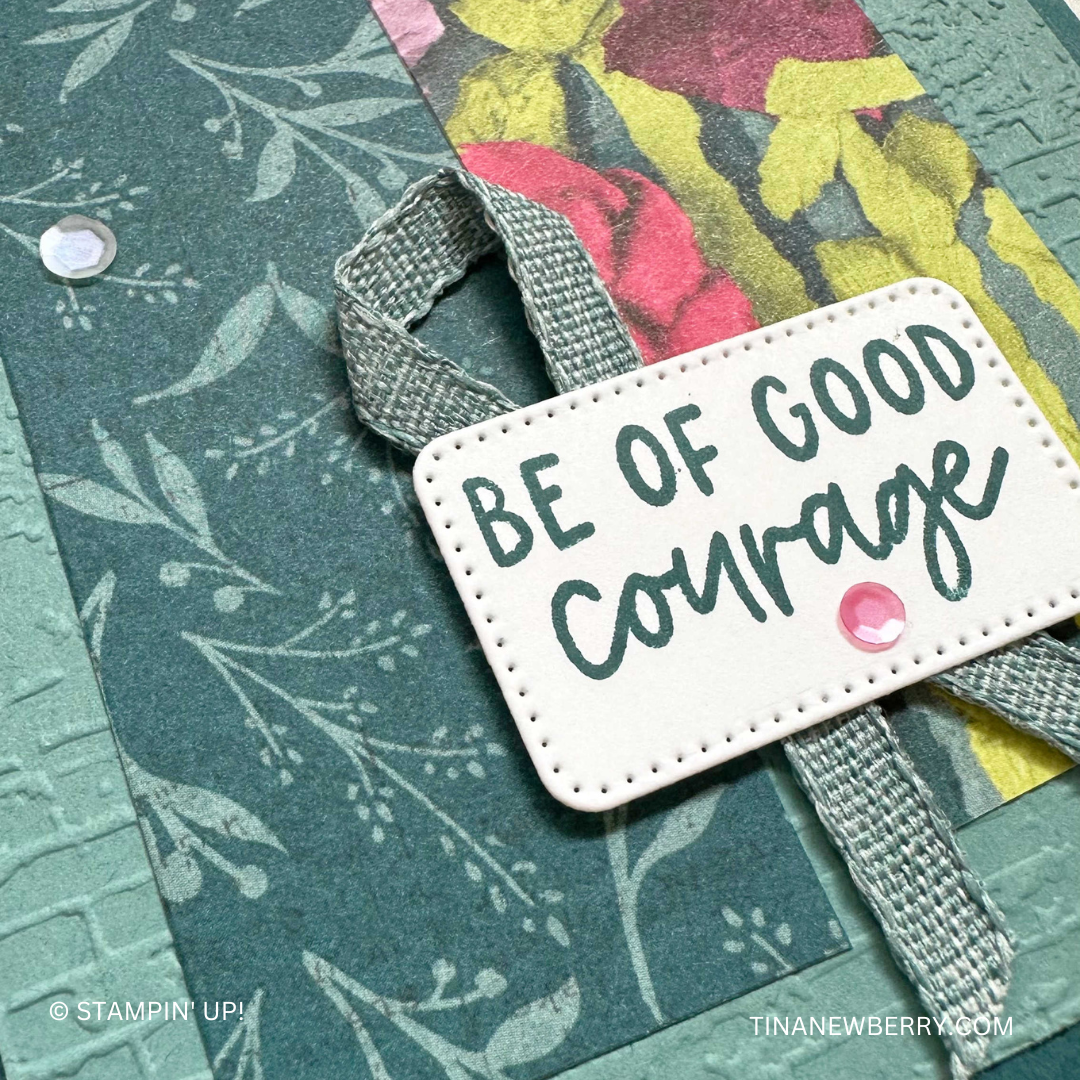
- Use the Pretty Peacock Stampin’ Pad to ink part of the sentiment, avoid the scripture reference as it will not fit into the die cut space. Stamp onto the Basic White cardstock scrap.
- Center the rectangle Nested Essential Dies around the stamped sentiment and die cut in your Stampin’ Cut & Emboss Machine.
- Use Stampin’ Seal to adhere the 2 prints of Masterfully Made DSP onto the card front, staggered and slightly angled.
- Us a Mini Glue Dot to adhere the ribbon to the back of the sentiment rectangle, folded into a loop above the top of the rectangle with criss-crossed ends showing below the rectangle.
- Adhere the sentiment rectangle with ribbon onto the card front with Stampin’ Dimensionals.
- Embellish with Adhesive-backed Sequins.
- Stamp and decorate the inside Basic White Cardstock 5 1/4″ h x 4″ w and attach with Stampin’ Seal.
- Decorate your envelope.
- So thoughtful! Who needs encouragement? Put it in the mail.
Shopping List
")


 Designer Series Paper")
 Bordered Ribbon")


$34.00
Recommended Stamper’s Toolkit ❤
Product List
$12.00

$7.00

$4.25

$5.75

$5.50

$11.00

$26.00

$7.00

$6.50

$11.00

$20.00

$11.00

$80.75

$128.00


$16.00

$13.00


