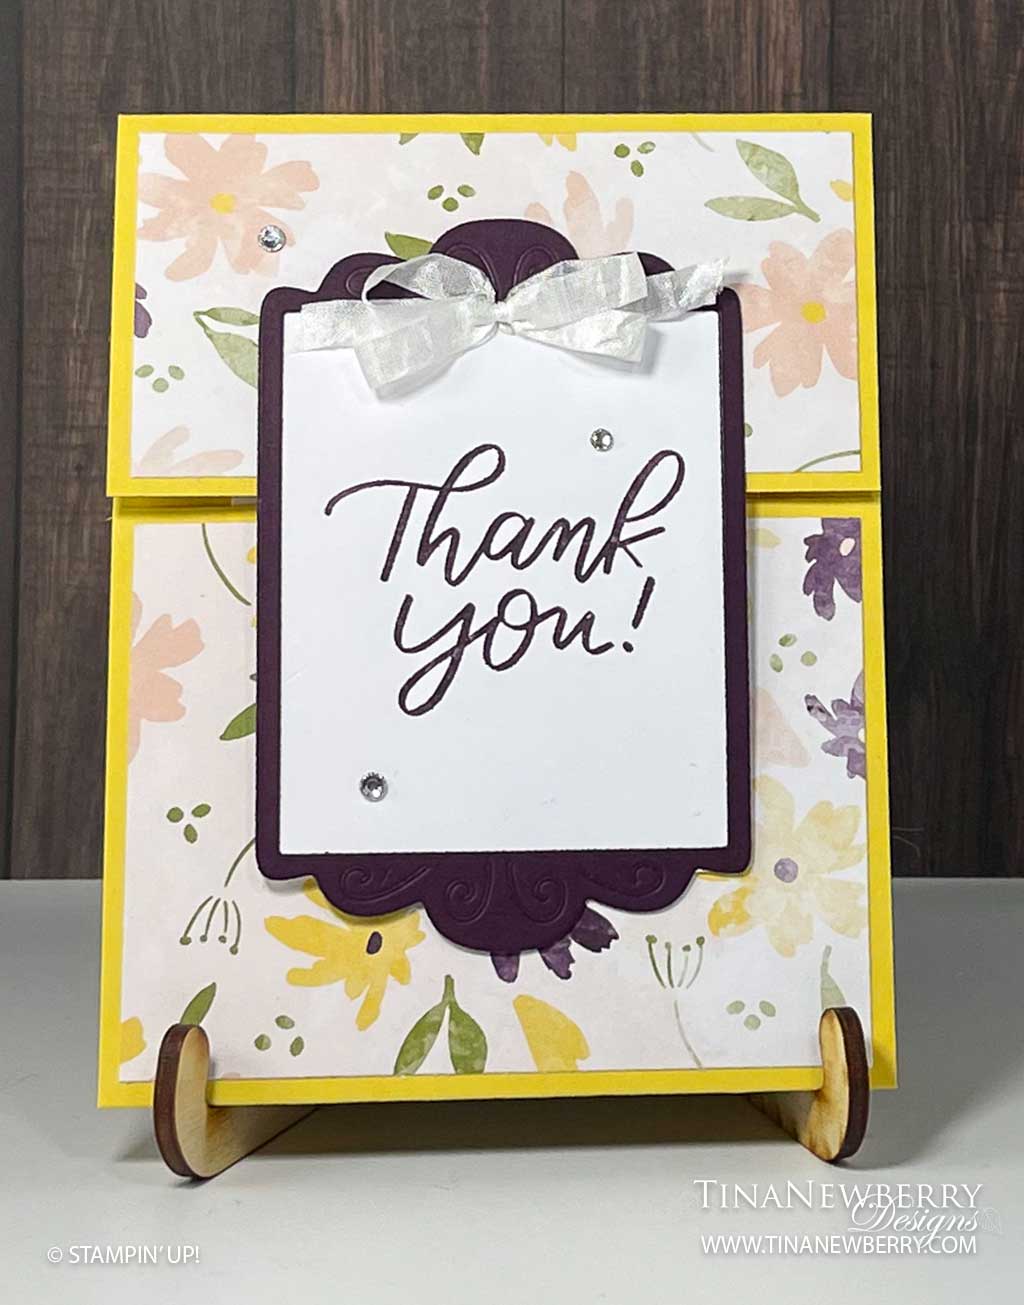
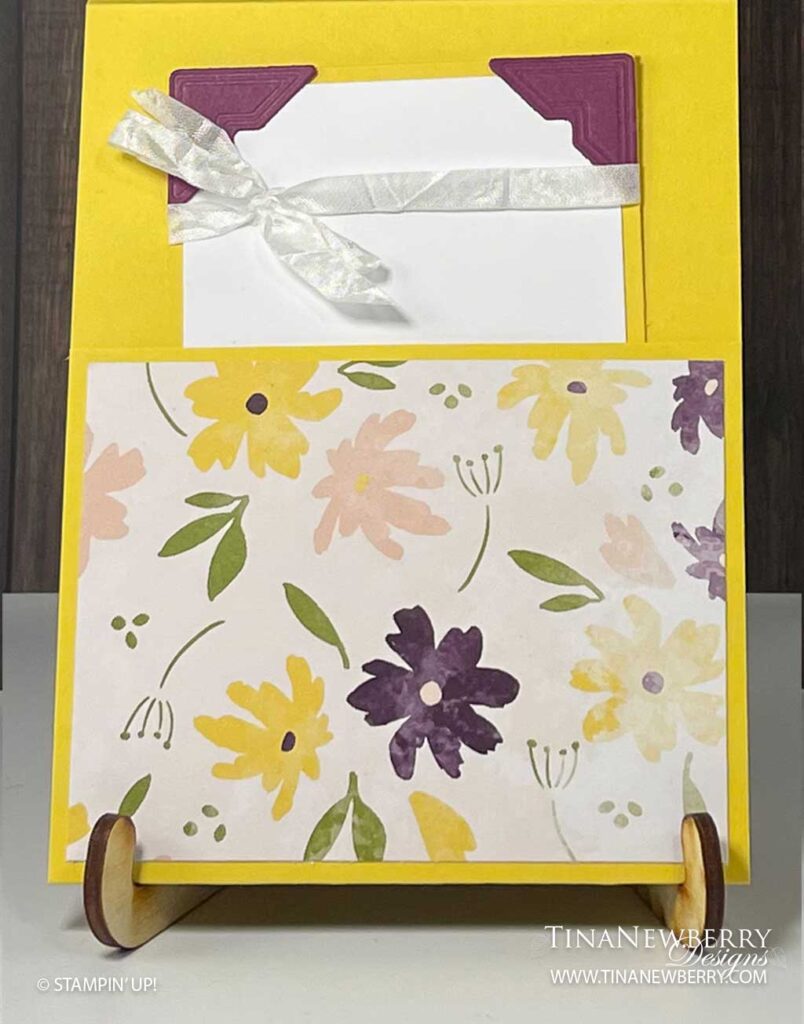
Show your gratitude and appreciation with a big Thank You on a fancy fold pull out card.
Measurements
Full list of supplies needed, listed below. A die cutting machine is needed for this card.
POCKET CARD BASE
Daffodil Delight Cardsctock Card Base 4 ¼” w x 11” h, scored on the long-side at 3 ¼” and 8 ¾”
Design a Daydream Host 12″x12″ Designer Series Paper for bottom flap 4″ w x 3″ h
Design a Daydream Host 12″x12″ Designer Series Paper for top flap 4″ w x 2″ h
SENTIMENT LABEL (attaches to top flap of Card Base)
Blackberry Bliss Cardsctock die-cut frame from Fabulous Frames dies
Basic White Cardsctock layer at 2 ⅝” w x 3 ⅛” h (for adhering behind frame)
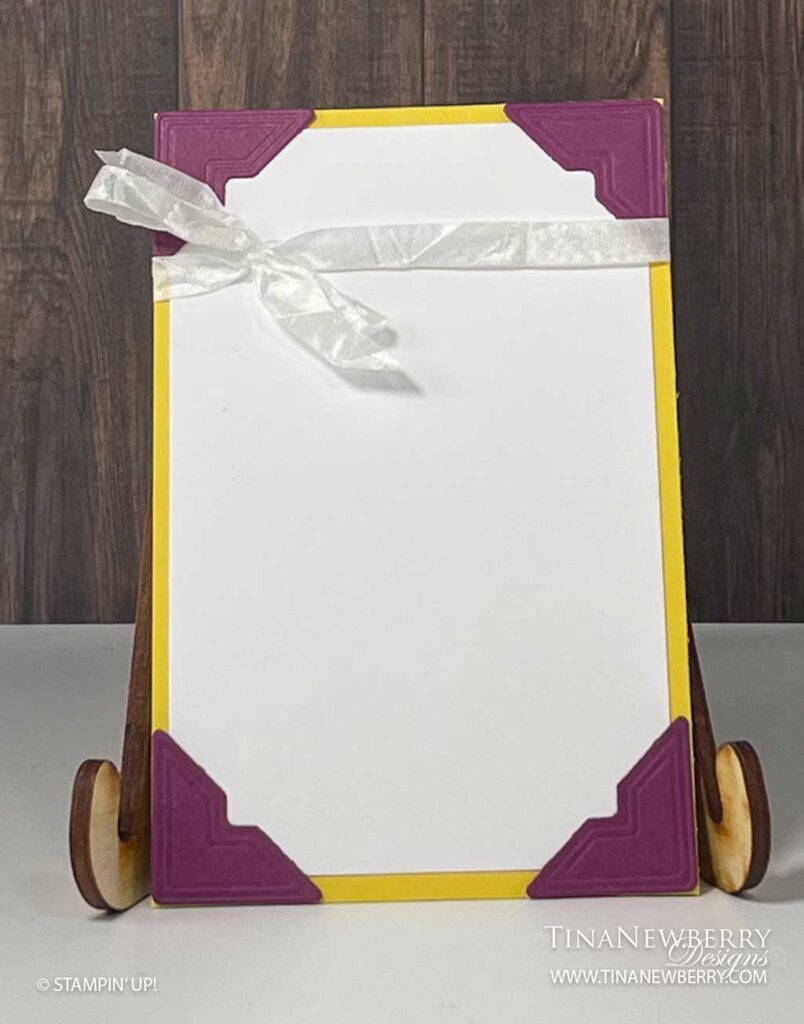
INSIDE POCKET CARD
Daffodil Delight Cardsctock for pocket card 4 1/2″h x 3″ w
Basic White Cardsctock for pocket card 4 1/4″ h x 2 3/4″ w
Blackberry Bliss Cardstock scrap to die-cut corners from Fabulous Frames dies
Let’s Create
- Affix all stamps to Acrylic Blocks.
- Fold the Card Base at score lines using a Bone Folder to sharpen the crease.
- Fold the bottom flap up (the longer one) of the Card Base, and create a pocket using Tear-n-Tape on the edges
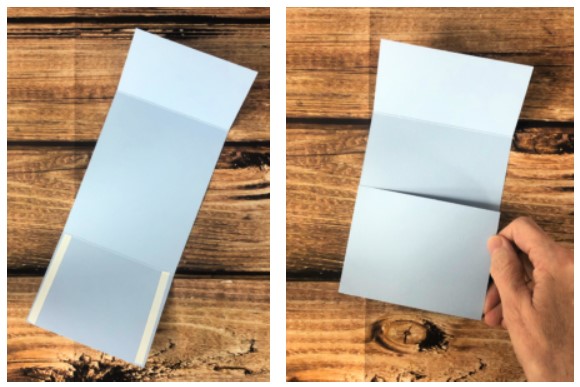
- Attach Design a Daydream layers to front flaps with Stampin’ Seal.
- Use Stampin’ Cut & Emboss to die-cut label from Blackberry Bliss Cardstock.
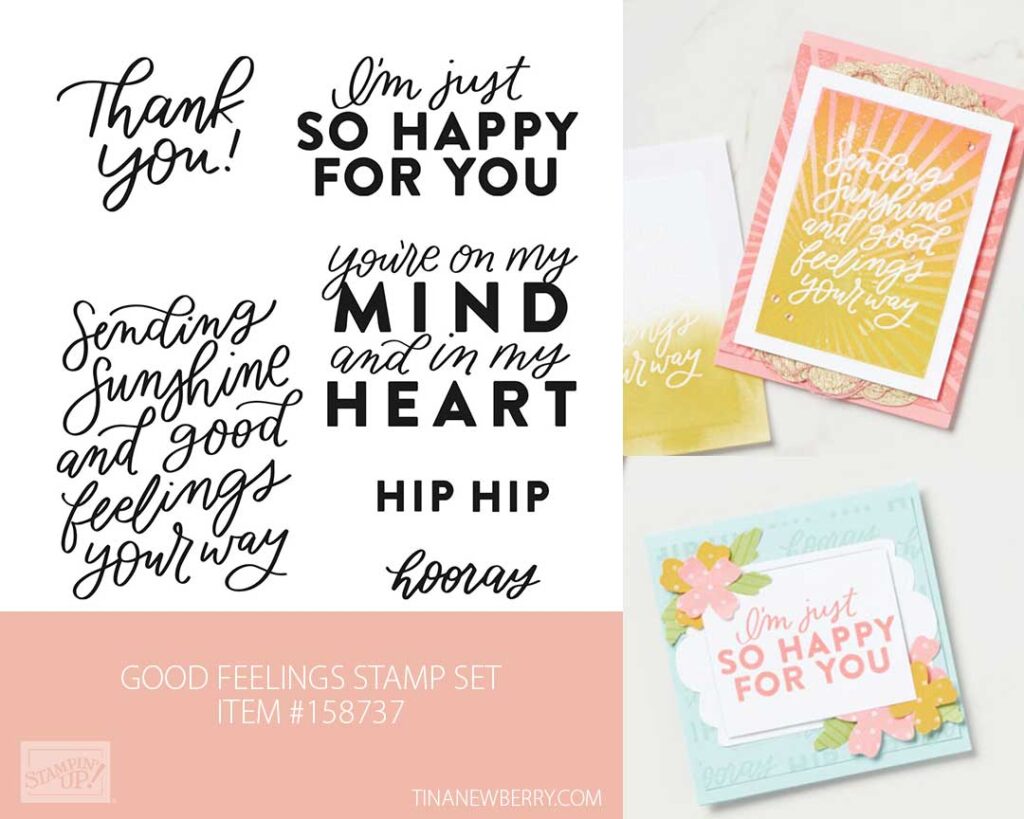
- Stamp sentiment on Basic White Cardstock in Blackberry Bliss ink and adhere to the Blackberry Bliss Fabulous Frame with Stampin’ Seal.
- Adhere this layer carefully to the top flap only using Stampin’ Seal.
- Use a Mini Glue Dot to add a Crinkle White bow
- Sprinkle on the rhinestones.
- For the inside, die cut corners in Blackberry Bliss Cardstock from the Fabulouse Frames Dies.
- Adhere 4 1/4″ h x 2 3/4″ w Basic White panel to the 4 1/2″h x 3″ w Daffodil Delight Cardstock with Stampin’ Seal and attach Blackberry Bliss Corners.
- Wrap Crinkle Seam Ribbon around and tie a bow.
- Insert into pocket
- Decorate your envelope.
- How fun! Now send it to someone special.
SHopping List
Recommended Stamper’s Toolkit ❤
Product List

