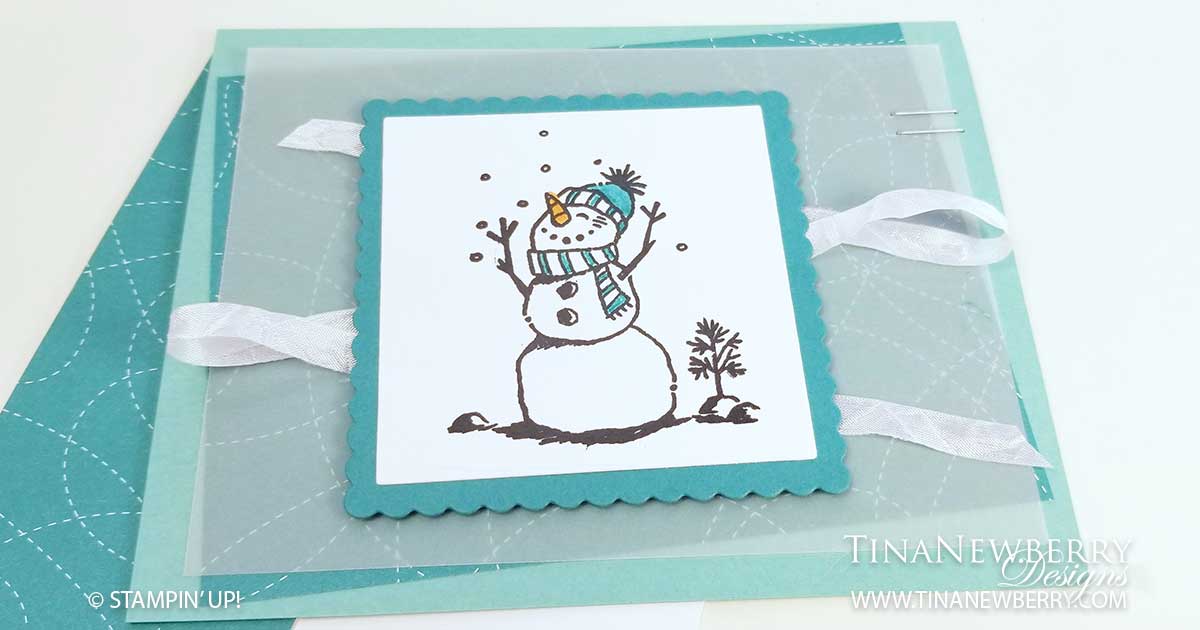
I just love Snowmen and this one just looks like he is so happy catching snowflakes. The playfulness of the Snail Mail Designer Series Paper becomes available tomorrow (eek!) and is just perfect for Mr. Snowman. Vellum adds a softness to the card with the crinkle seam ribbon in the background. I attempted to put a sentiment on the front of this one and decided against it. I like him just as he is.
Full list of supplies needed, listed below. A die cutting machine is needed for this card.
Card Base: Canine Cabana Cardstock 8 1/2 h” x 5 1/2″ w folded to 5 1/2″ h x 4 1/4″ w.
Background: Snail Mail DSP 5″ h x 3 3/4″ w
Vellum Layer: Vellum Cardstock 5″ h x 3 3/4″ w
Sentiment Matte: Bermuda Bay Cardstock trimmed with the Layering Squares Dies to a 3″ square
Sentiment Layer: Whisper White Cardstock – Stamp first (see below) then trim with the Layering Squares Dies to a 2 5/8″ square
Inside Layer: Whisper White Cardstock 5 1/4″ h x 4″ w
- Affix all stamps to Acrylic Blocks.
- Fold the Card Base in half using a Bone Folder to sharpen the crease.
- Attach the Background DSP with Stampin’ Seal
- Add the Vellum Cardstock with Stampin Seal, being sure to limit the adhesive to where the Sentiment will be.
- Add two staples to the right-hand side – for design elements more than to hold the paper on.
- Run Stampin’ Seal on top of the Vellum in a Z pattern and place the Crinkle Ribbon along that adhesive.
- Stamp the Snowman in Tuxedo Memento Ink on the Sentiment Layer and color with the Bermuda Bay and Pumpkin Pie Stampin’ Blends.
- Attach the Sentiment to the Sentiment Matte and attach the Sentiment Matte with Stampin’ Dimensionals.
- Decorate the Inside Layer and attach.
- Decorate the envelope.
- So cute! Now send it to someone special.
Shopping List
Recommended Stamper’s Toolkit ❤
Product List


