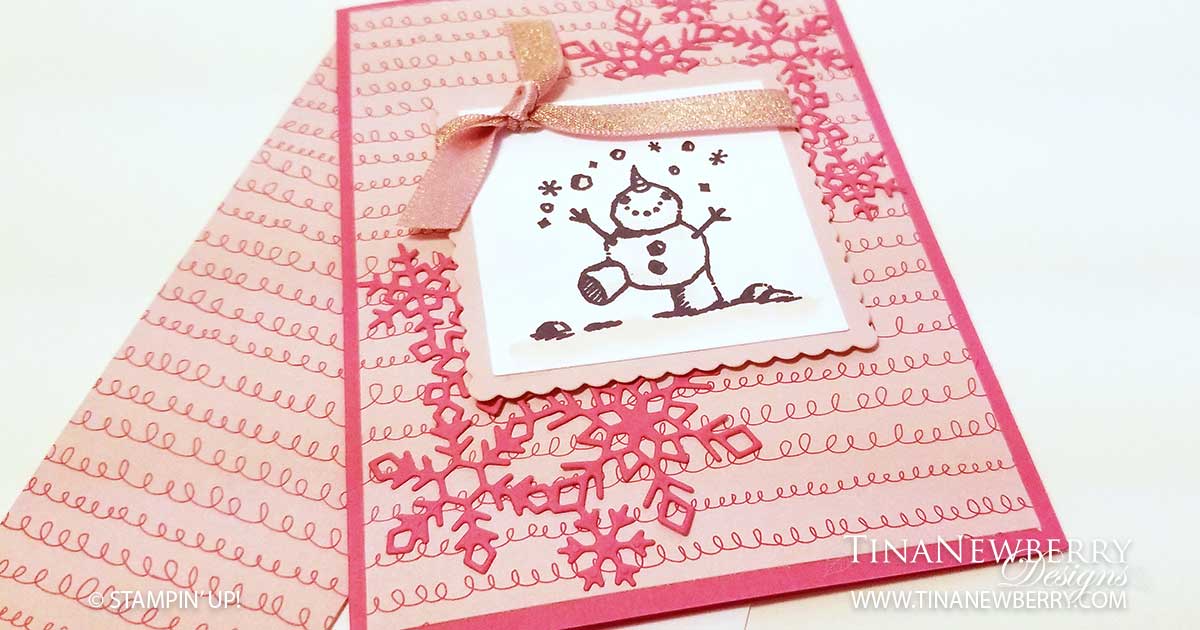
When I saw the Snail Mail Designer Series Paper in the Jan-June Mini Catalog, I just knew it was perfect for more cards with the a-dorable Snowman Season Photopolymer Stamp set. This little guy comes to life with the beautiful snowflakes from the Christmas Layers Dies, which really are more winter than Christmas. The Die set comes with 7 snowflake and foliage dies so you can add a pop of snowflake color to any project.
Full list of supplies needed, listed below. A die cutting machine is needed for this card.
Card Base: Melon Mambo Cardstock 8 1/2 h” x 5 1/2″ w folded to 5 1/2″ h x 4 1/4″ w.
Background: Snail Mail DSP 5 1/4″ h x 4″ w
Snowflake Decorations (2): Melon Mambo Trimmed with the Christmas Layers Dies
Sentiment Matte: Blushing Bride Cardstock 2 3/4″ x 2 3/4″ w trimmed with the Layer Squares Dies
Sentiment Layer: Stamp first (see instructions below) Whisper White Cardstock 3/8″ h x 2 3/8″ w trimmed with the Layer Squares Dies
Ribbon: 6″ Blushing Bride 3/8″ Metallic Ribbon (avail in the Jan – June Mini Catalog Jan 5th)
Inside Layer: Whisper White Cardstock 5 1/4″ h x 4″ w
- Affix all stamps to Acrylic Blocks.
- Fold the Card Base in half using a Bone Folder to sharpen the crease.
- Attach the Background using Stampin’ Seal.
- Making the Snowflake Layer
- Attach Adhesive Sheets to the Melon Mambo Cardstock
- Die Cut the Snowflakes to make stickers
- Poke out the extra pieces from the Snowflake Die Cut, being careful not to remove the backing.
- Remove the backing to reveal the adhesive.
- Attach to Card.
- Stamp the Snowman on Whisper White Cardstock and Die Cut with the Layering Square Die.
- Use the Petal Pink Stampin’ Blend to add a little color to the Sentiment.
- Attach the Sentiment to the Sentiment Matte.
- Wrap Ribbon around Sentiment Matte and tie a knot.
- Attach the Sentiment Matte with Stampin’ Dimensionals.
- Decorate the Inside Layer and attach.
- Decorate the envelope.
- So cute! Now send it to someone special.
Shopping List
")


Recommended Stamper’s Toolkit ❤
Product List


