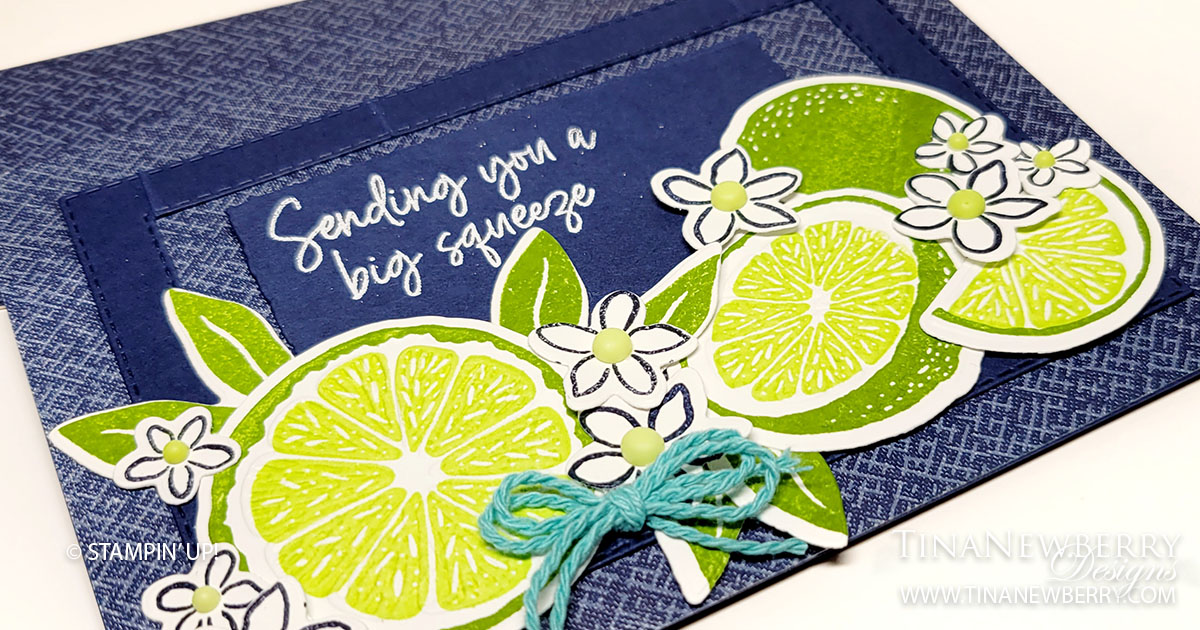
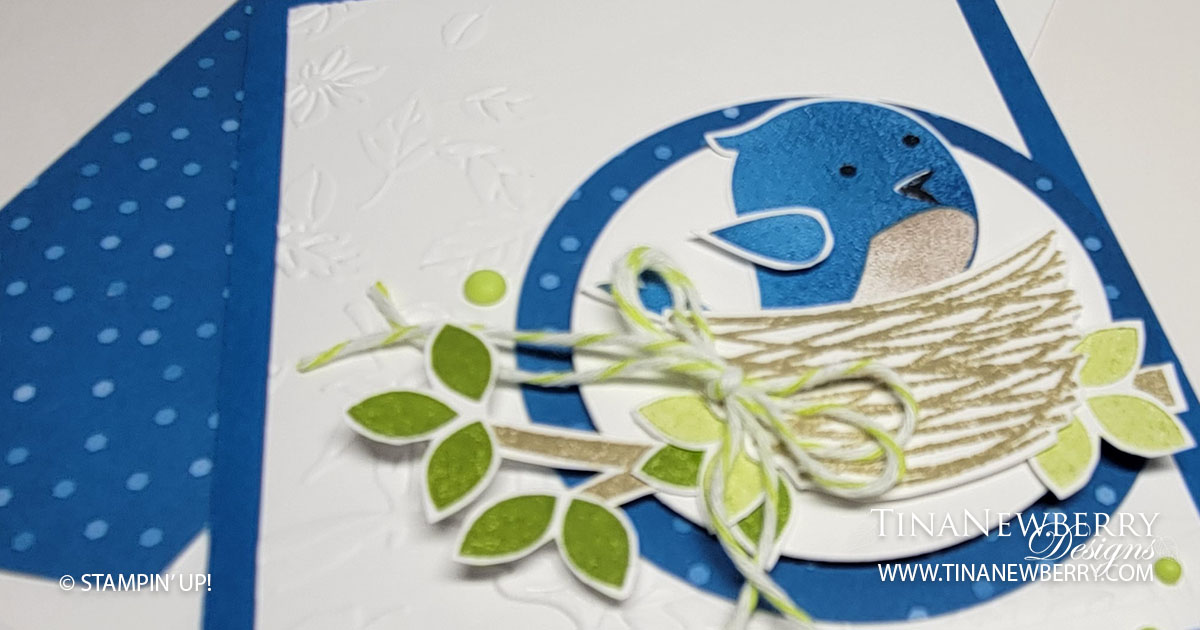
Such a stunning color combo with the bright green on navy blue. I use both Stiched Rectangle dies and Deckled Rectangle dies to create the frame background and sentiment and the Sweet Citrus dies show off the beautiful green limes.
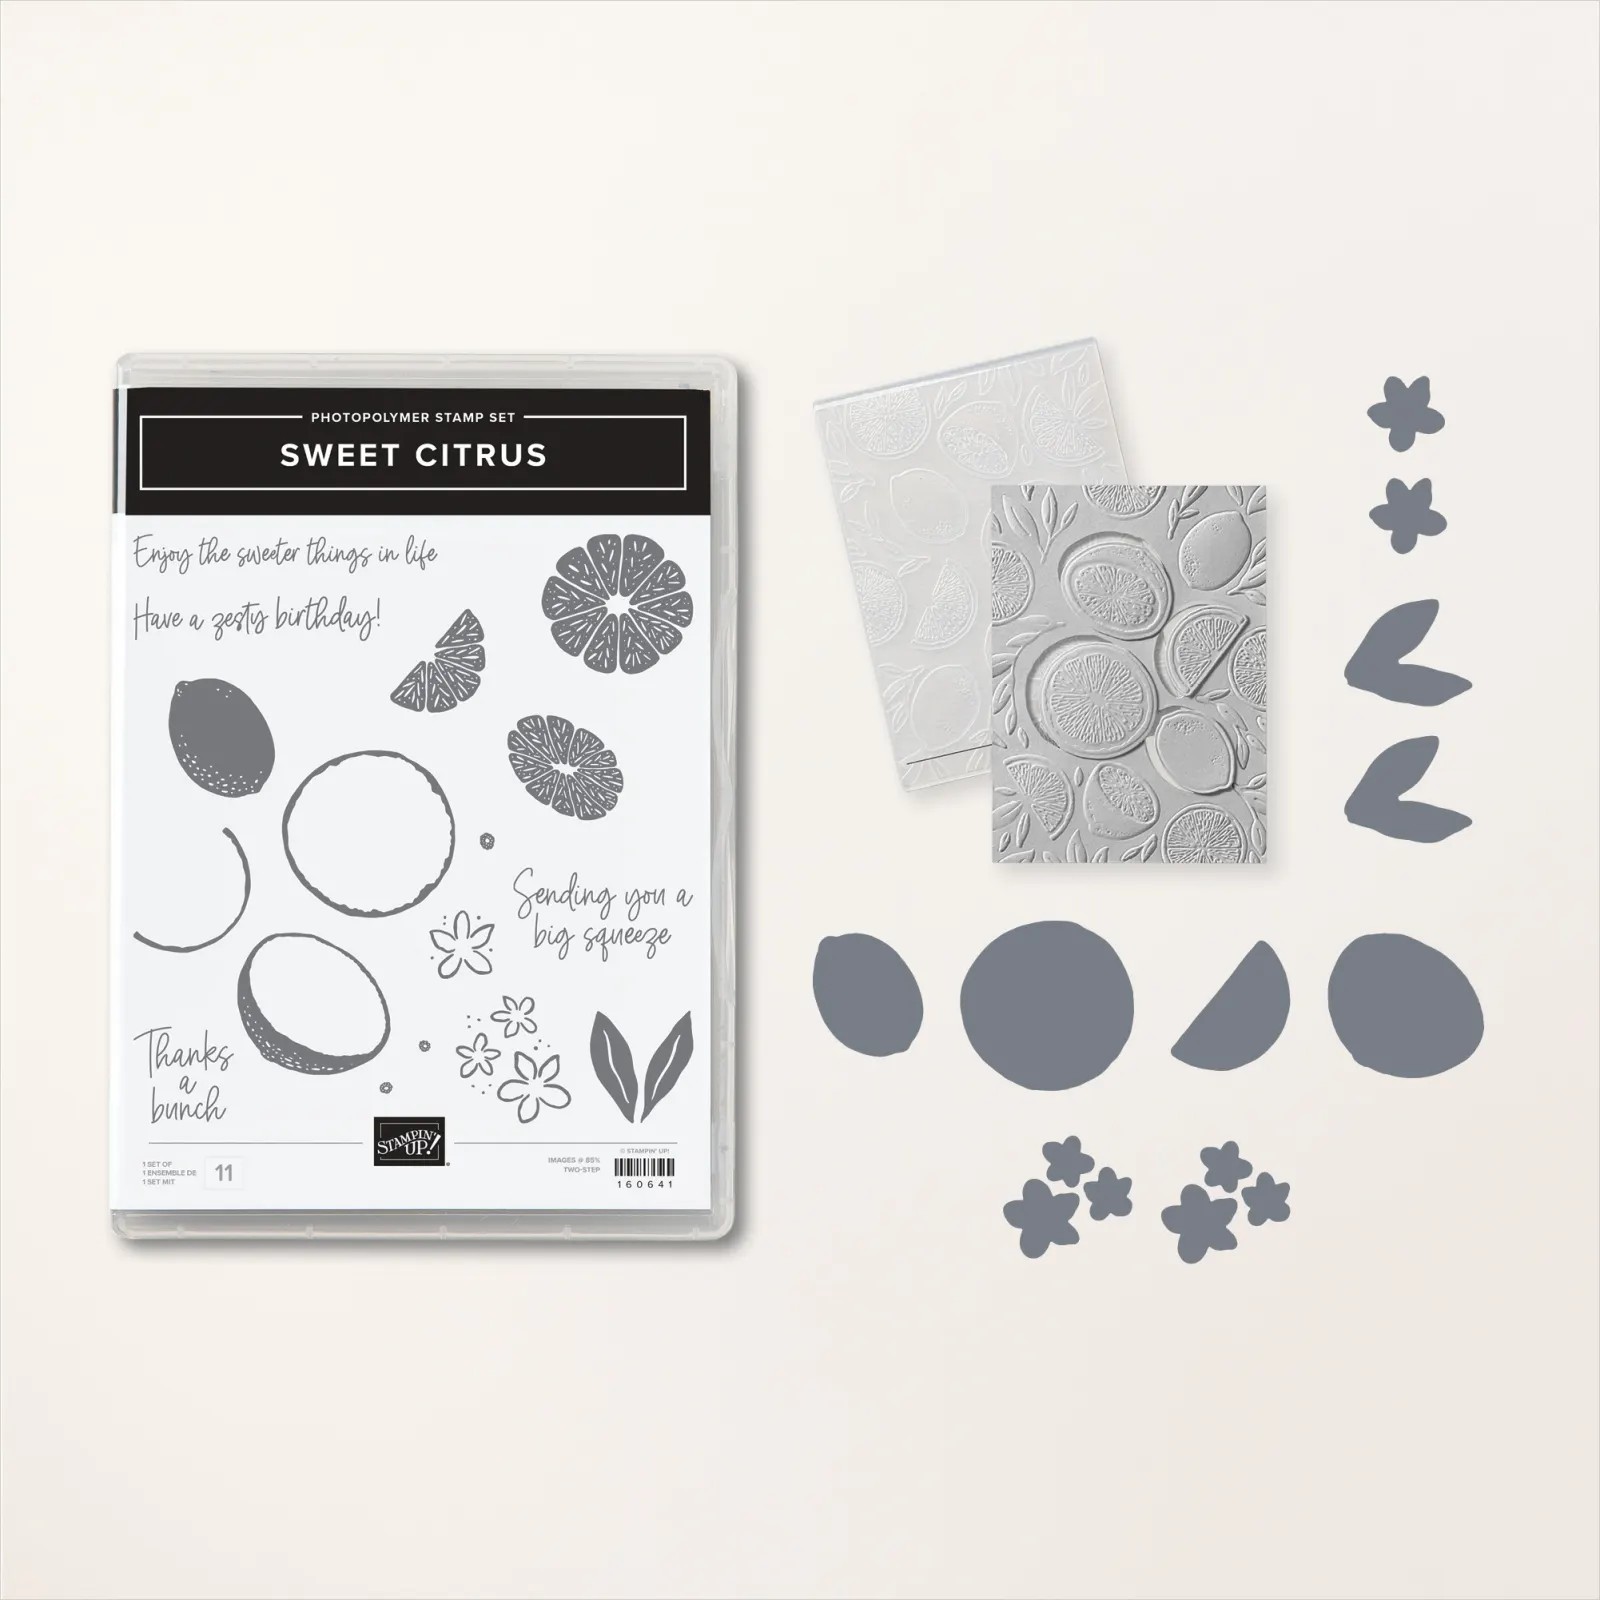
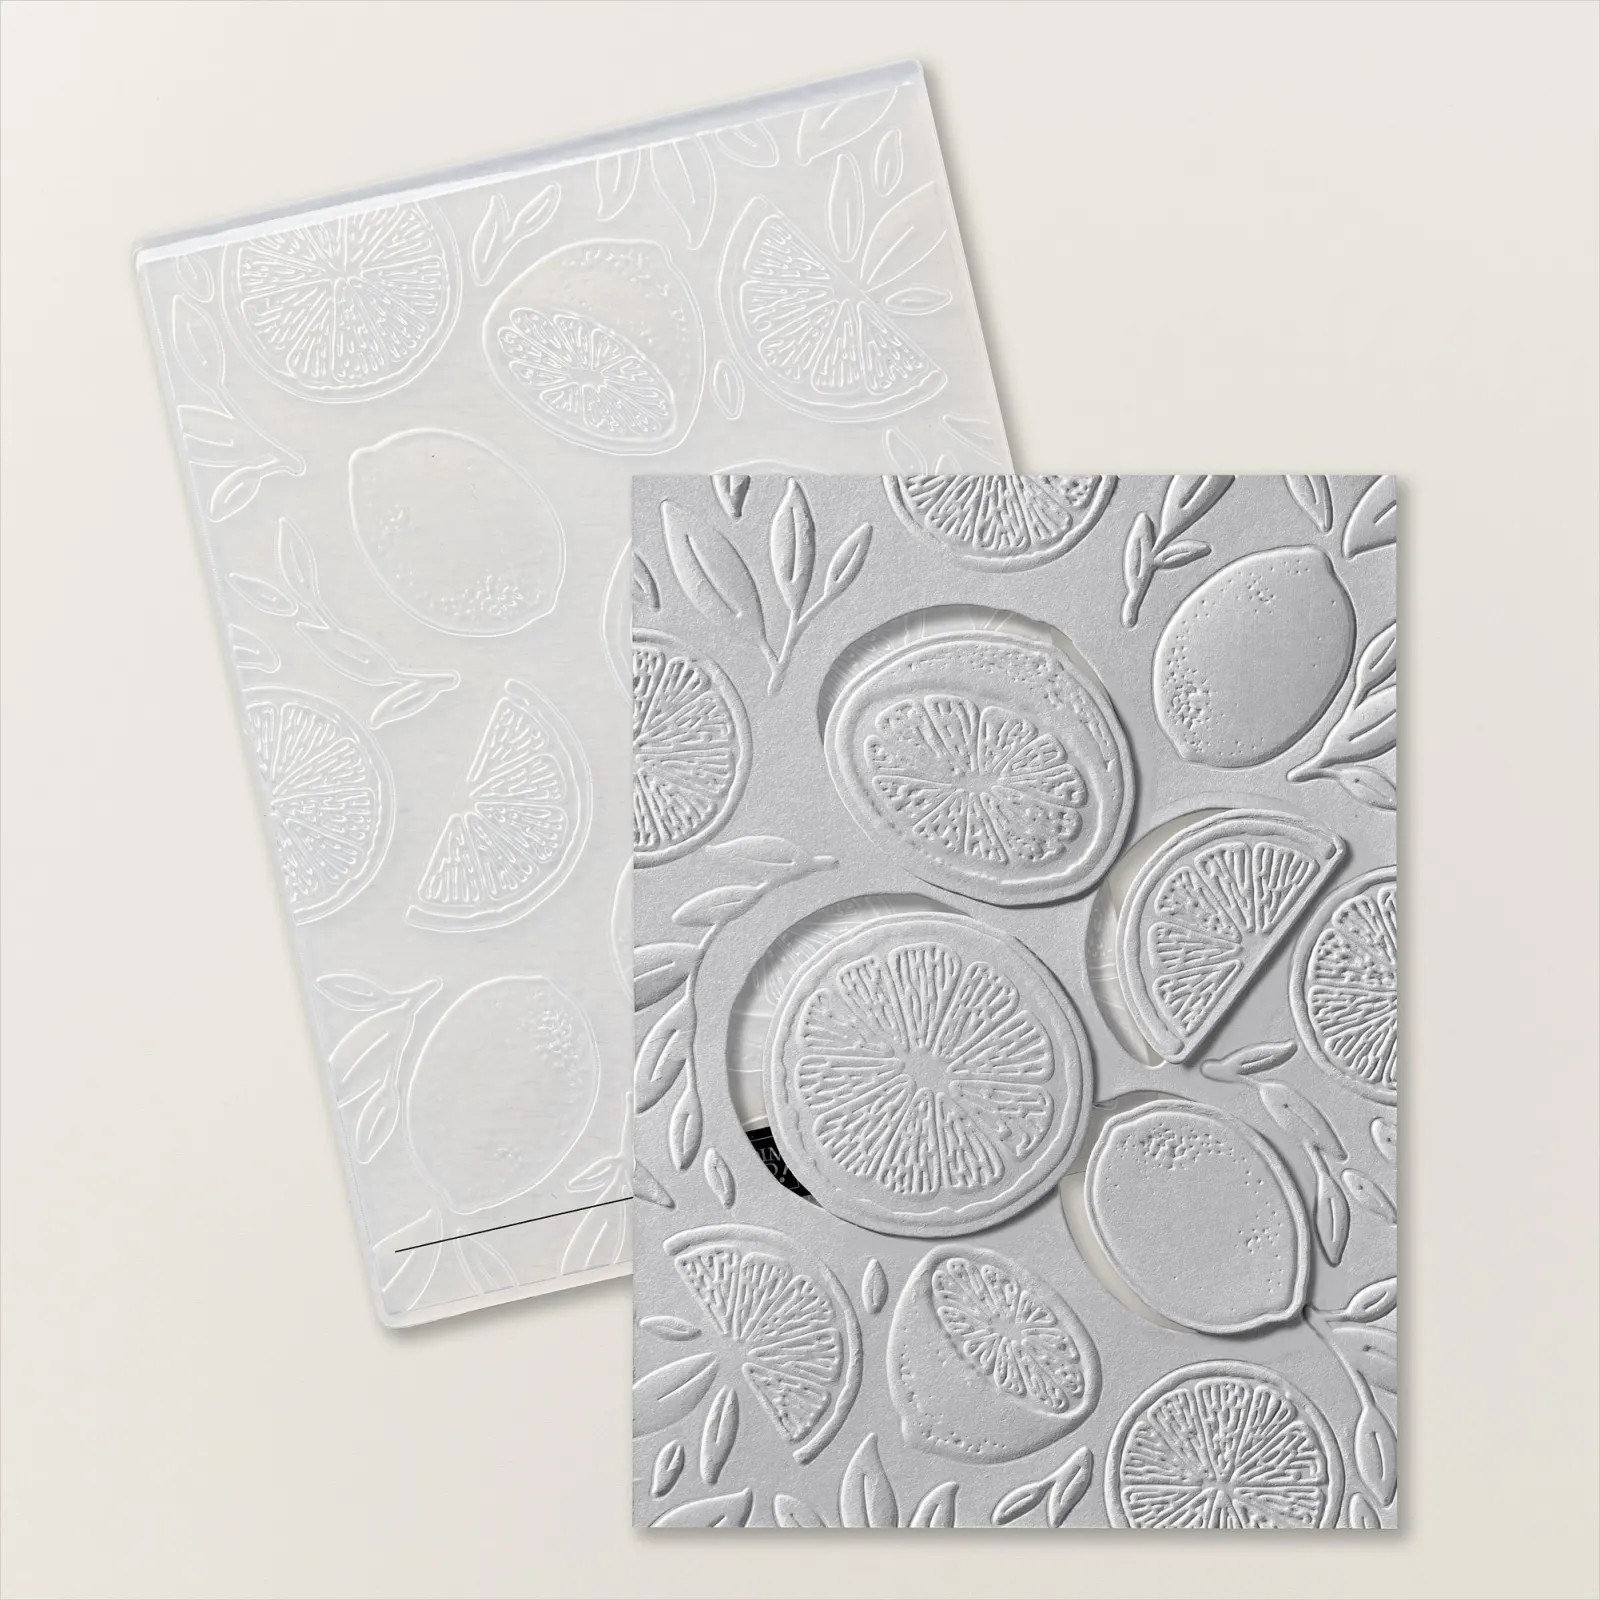
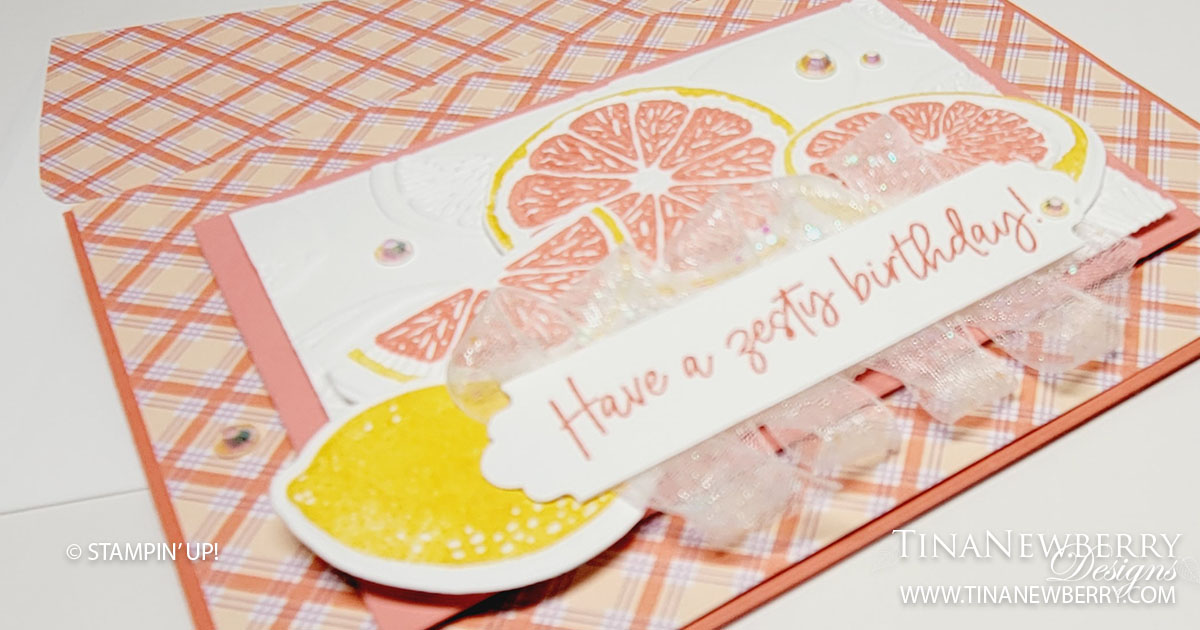
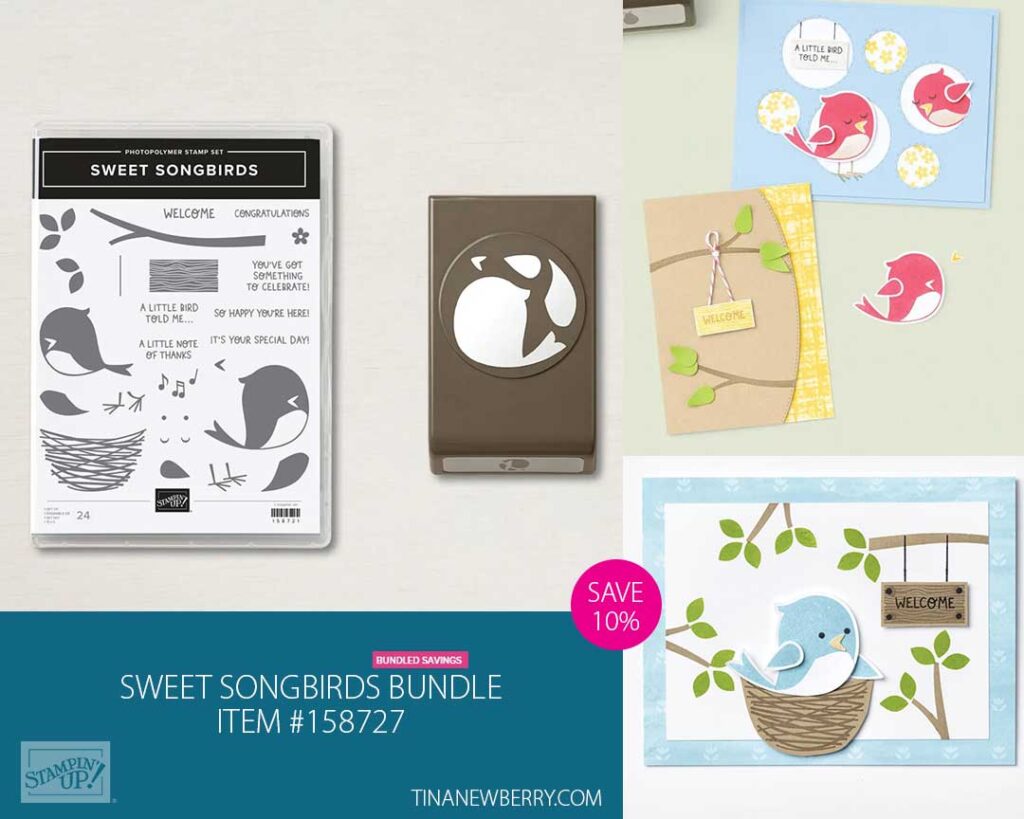
The Sweet Citrus Bundle is three products in one—a stamp set, a 3D embossing folder, and dies! You can use these items separately for a clean, modern look. Or use them together to create such dimensional images, you’d think you could smell the zest!
Measurements
Full list of supplies needed, listed below. A die cutting machine is needed for this card.
Night of NavyCardstock:
- 5 1/2″ w x 8 1/2″ h folded to 5 1/2″ w x 4 1/4″ h
- 5 1/2″ w x 4 1/4″ h
Basic White Cardstock:
- Scrap for fruit, leaves and flowers.
- 5 ¼” h x 4” w
Regency Park Designer Series Paper (DSP): 4 1/4″ h x 5 1/2″ w
Let’s Create
- Affix all stamps to Acrylic Blocks.
- Fold the Card Base in half using a Bone Folder to sharpen the crease.
- Attach the 4 1/4″ h x 5 1/2″ w Regency Park DSP with Stampin’ Seal.
- Die cut a ~2” h x 3 ¼” w Deckled Rectangle from the center of the 5 1/2″ w x 4 1/4″ h Night of Navy.
- Use the 3 ½” h x 4 ¾” w and 2 ¾” h x 4” w Stitched Rectangle Dies to cut a frame from Night of Navy Cardstock.
- Create the Heat Embossed Sentiment
- Wipe the Deckled Rectangle with the Embossing Buddy.
- Stamp the sentiment in Versamark Ink in the upper left corner.
- Hold the panel over the Powder Pal and sprinkle White Embossing Powder over the stamped words.
- Embossing Powder will stick to the stamped words. Flick the panel if needed to remove stray bits of powder.
- Repeat c & d, as needed until the words are well covered with Embossing Powder.
- Heat up your heat tool and then direct heat over the stamped words. Use a circular motion so as not to heat any spot up too much. Continue to heat the words up until you see the Embossing Powder melt into a bright white sheen.
- Use Stampin’ Seal to attach the Stitched Rectangle Frame and the Deckled Rectangle to the card. Position the Deckled Rectangle toward the top of the inside of the Stitched Rectangle Frame. We’ll cover the bottom with the fruit and hide the misalignment.
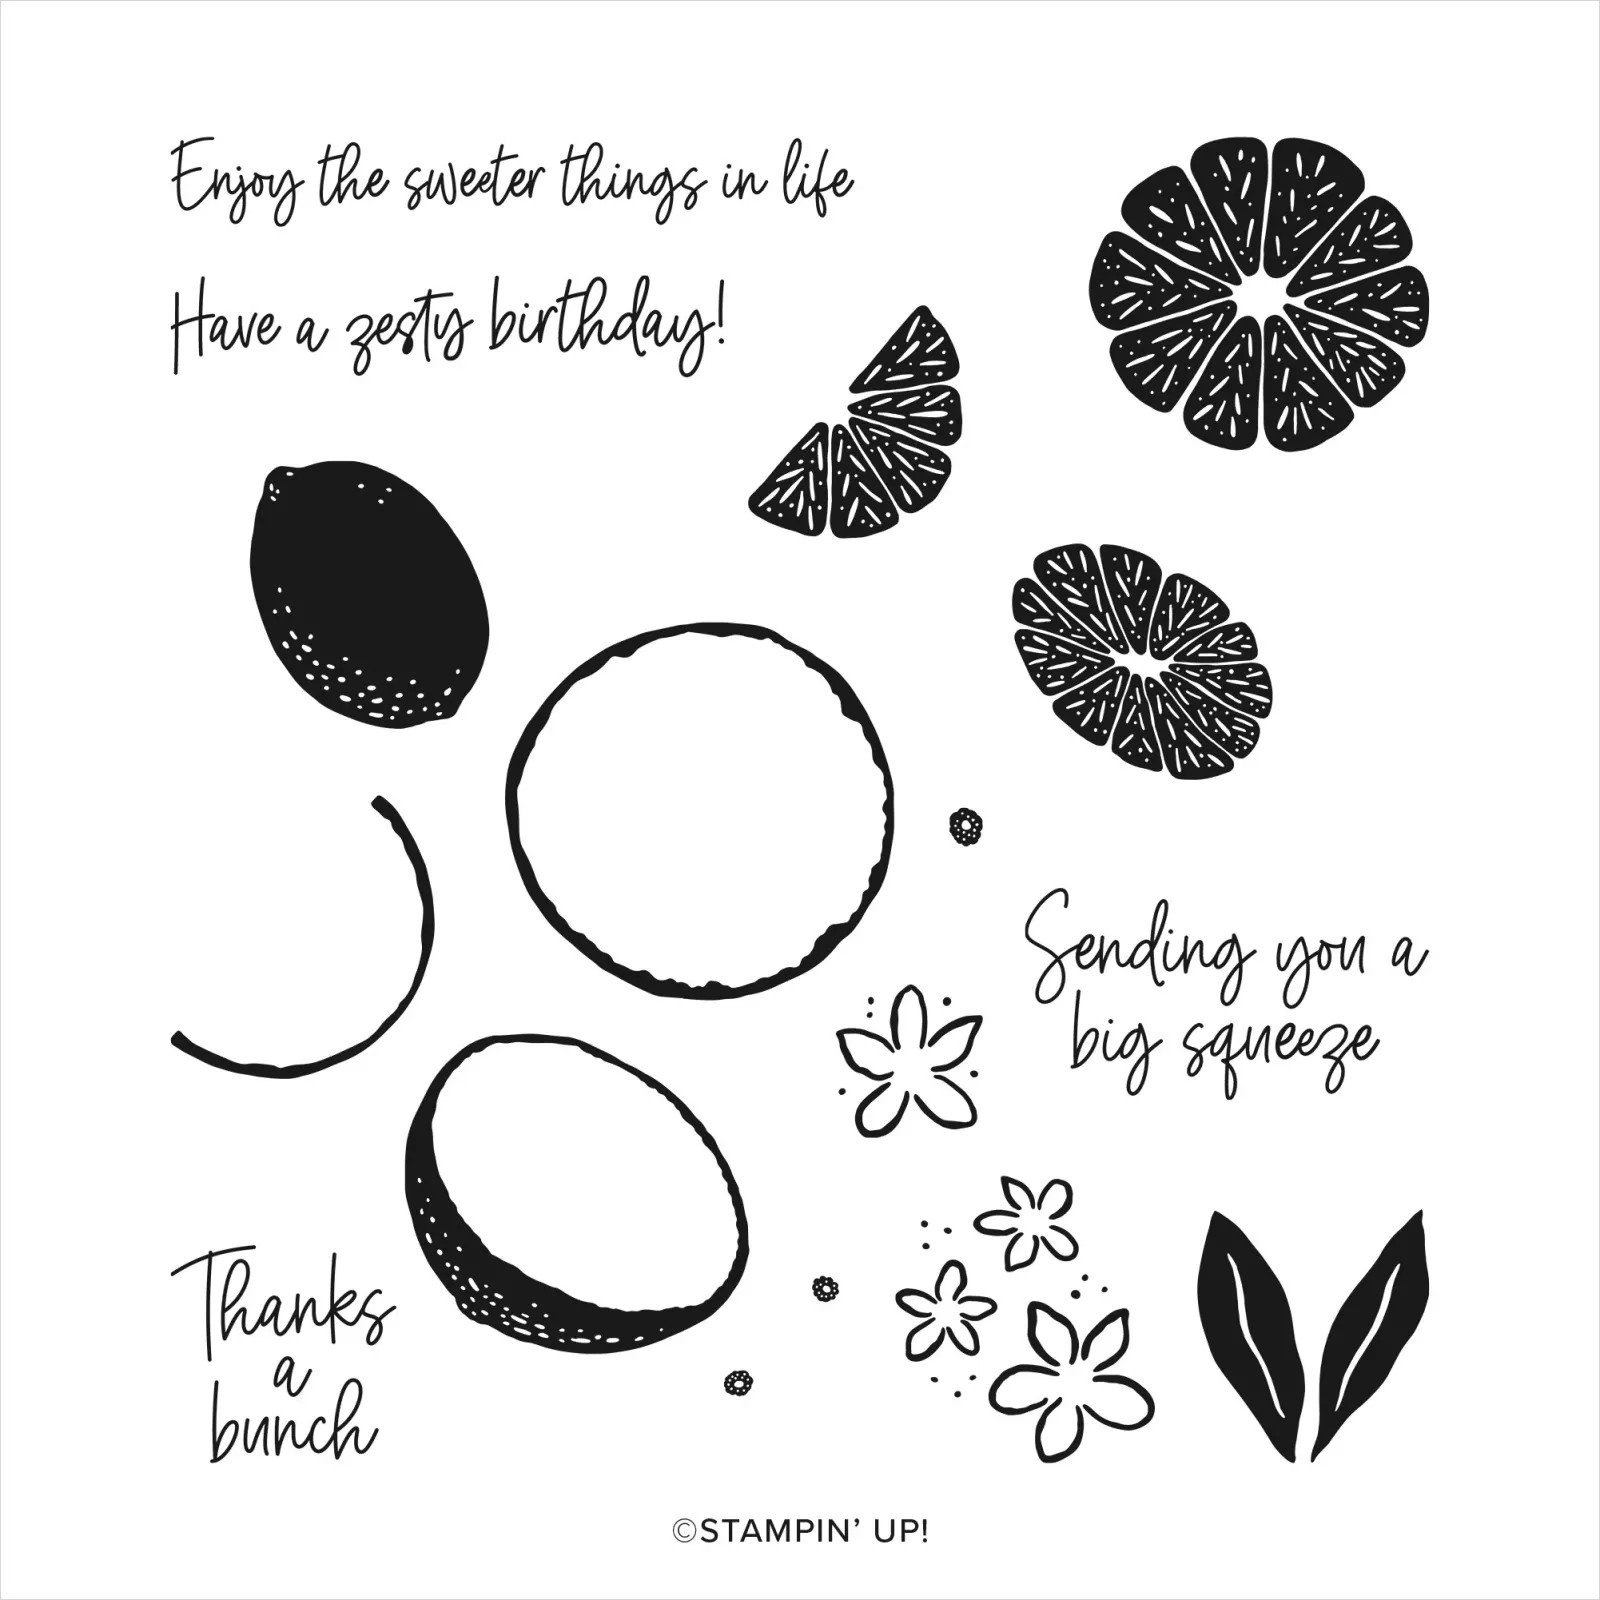
- On scrap Basic White Cardstock, stamp:
- Three leaves in Granny Apple Green ink.
- Two clusters of flowers and two large flowers in Night of Navy Ink.
- The fruit outline in Granny Apple Green ink
- The fruit fill in Parakeet Party ink
- Die cut the flowers and leaves.
- Insert the fruit die into the hybrid embossing folder – it clicks into place. Align the fruit up with the die and embossing folder. Pinch the layers together and carefully run through the Stampin’ Cut & Emboss machine.
- Arrange the fruit, flowers and leaves on the front of the car and attach using Stampin’ Seal, Stampin’ Dimensionals and Mini Glue Dots.
- Sprinkle In-Color Matte Dots in the center of each flower.
- Fold a 12” piece of Tahitian Tide Baker’s Twine in half. Snip the folded end. Hold the two pieces together and tie a bow. Attach with a Mini Glue Dot.
- Stamp and decorate the remaining 5 1/4″ w x 4″ h for the inside and attach with Stampin’ Seal.
- Decorate your envelope.
- How sweet! Now send it to someone who needs a pick me up.
Shopping List
")


$9.50

$18.00


 Designer Series Paper")

$7.50


$27.00

$35.00

$30.00
")
$30.00
Recommended Stamper’s Toolkit ❤

$12.00

$7.00

$4.25

$5.75

$5.50

$11.00

$26.00

$7.00

$6.50

$11.00

$20.00

$11.00

$80.75

$128.00


$16.00

$13.00


 Designer Series Paper")

 Glittered Organdy Ribbon")

")


 Designer Series Paper")


")


 Designer Series Paper")


