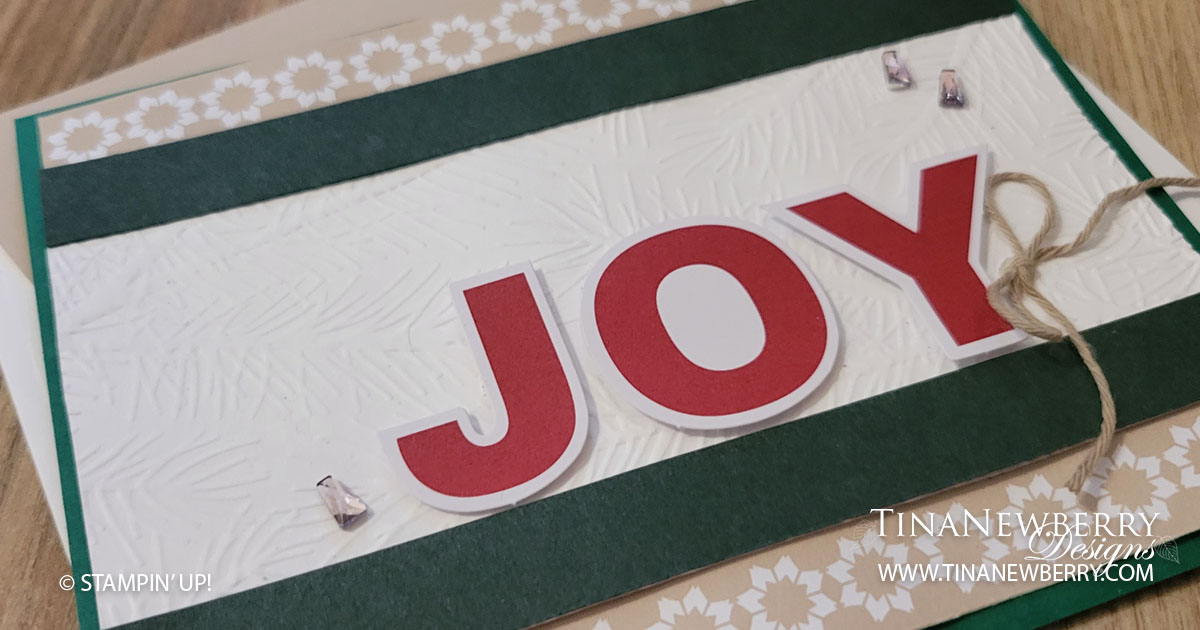
Ho Ho Ho Alternative #1

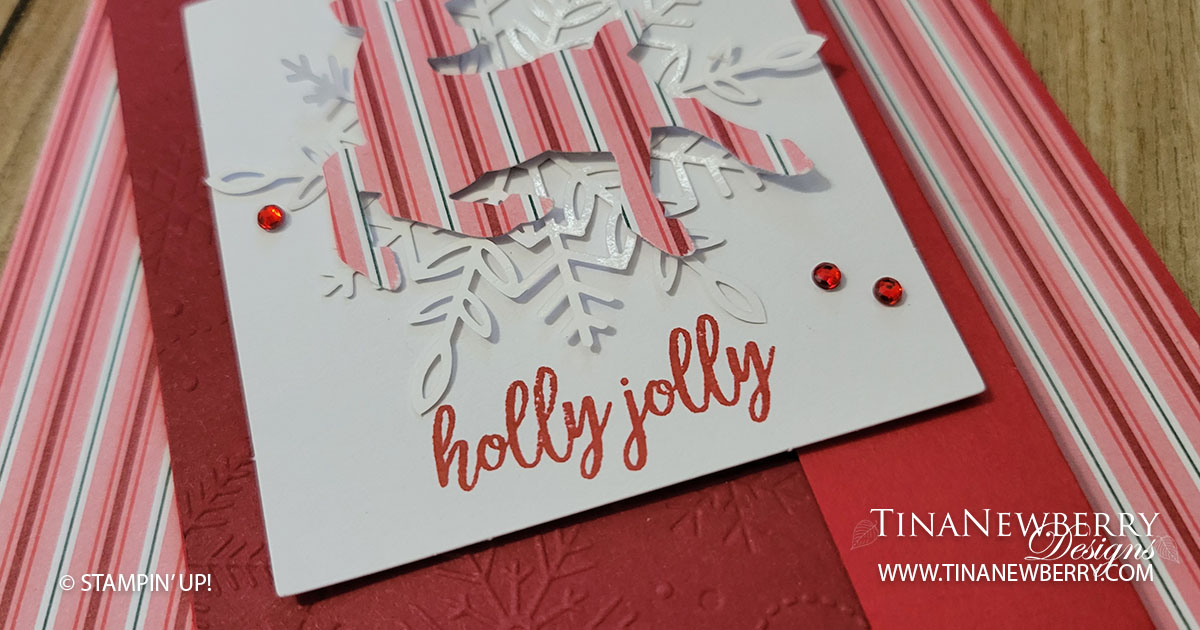
Learn how to make a snowflake embossed background using the Mini Stampin’ Cut & Emboss Machine on this two-tone card.

Send merry and bright cards this holiday season with the Ho Ho Ho Paper Pumpkin Kit! With classic Christmas colors and holly jolly sentiments, the cards in this kit are sure to bring the Christmas spirit.. Check out next month’s Paper Pumpkin Kit. It coordinates!

Measurements

Full list of supplies needed, listed below. A die cutting machine is needed for this card.
Sweet Sorbet Cardstock: 5 1/2″ h x 8 1/2″ w scored and folded at 4 1/4″ and 7 1/2″

Real Red Cardstock: 5 1/2″ h x 2 1/2″ w

White Scrap from Kit: 3″ h x 2 3/4″ w

Basic White Cardstock: 5 1/2″ h x 2 1/2″ w

Striped Pattern (from Inside Envelope from Kit) :

  • 5 `/2″ h x 1″ w
  • Scrap for Deer

Let’s Create

  1. Affix all stamps to Acrylic Blocks.
  2. Fold the Card Base in half using a Bone Folder to sharpen the crease and then fold back at the 1″ score line and use a Bone Folder to sharpen the crease.
  3. Run the Real Red panel through the Mini Stampin’ Cut & Emboss Machine with the Snowflake Embossing Folder from the Wintry 3D Embossing Folders Set.
  4. Attach embossed Real Red Panel to the Card Base with Stampin’ Seal.
  5. Use Stampin’ Seal to secure the 1″ Card Base Flap in place and also the 1″ striped pattern piece you cut from the envelope.
  6. Stamp Holly Jolly on the scrap rectangle with Real Red Ink and attach to Card Base with Stampin’ Dimensionals.
  7. Use a Mini Glue Dot to attach a Wonderful Snowlake to the rectangle.
  8. Punch a deer from the striped pattern from the envelope, using the Deer Builder Punch and attach to the Wonderful Snowflake with a Stampin’ Dimensional.
  9. Sprinkle on the Red Rhinestones.
  10. Stamp and decorate the 5 1/2″ h x 2 1/2″ w Basic White Cardstock and attach to the inside with Stampin’ Seal.
  11. Decorate your envelope.
  12. How fun!! Who will you send it to?

Shopping List

Recommended Stamper’s Toolkit

Product List
Order online from the convenience of your own home or send me your order and I’ll take care of you. ❤ Either way, please use the host code ZZTXP2EM. Order online AND, if your order is $50 or more using host code ZZTXP2EM between now and the end of the month you’ll receive a free pack of embellishment as a THANK YOU gift from me. ❤ If your order is over $150, skip the host code, earn Stampin’ Rewards for free stuff yourself and I’ll still send you a free pack of embellishment as a THANK YOU gift from me. ❤

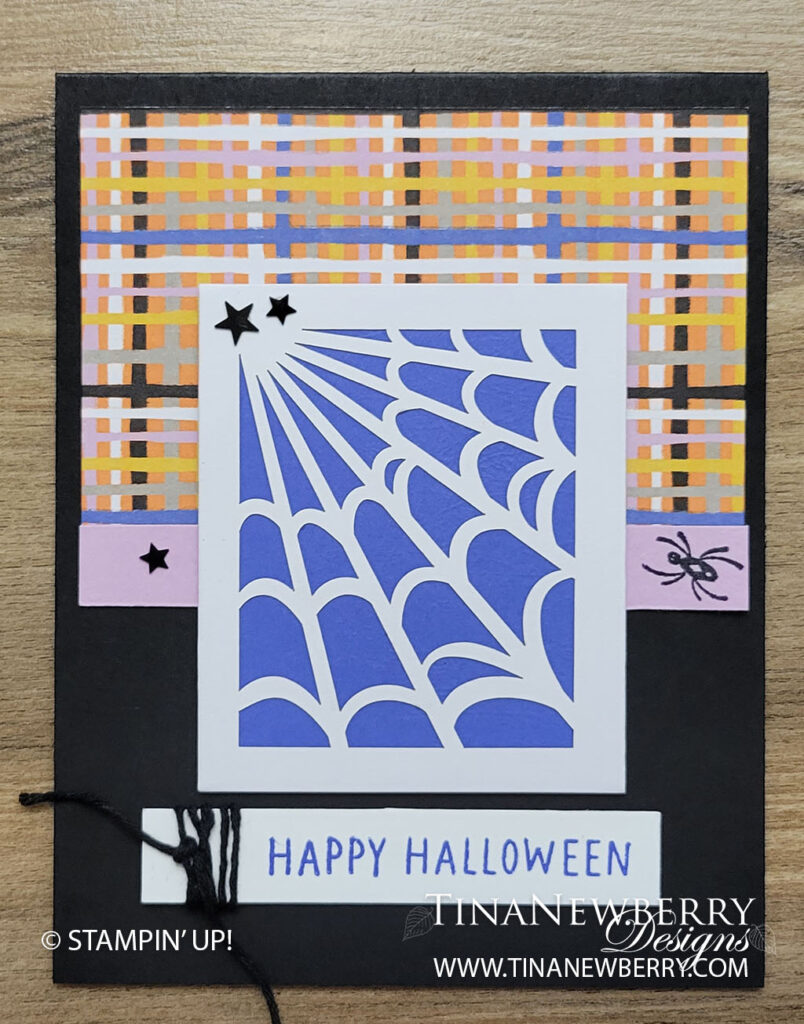
Spooky Treats Alternative #1

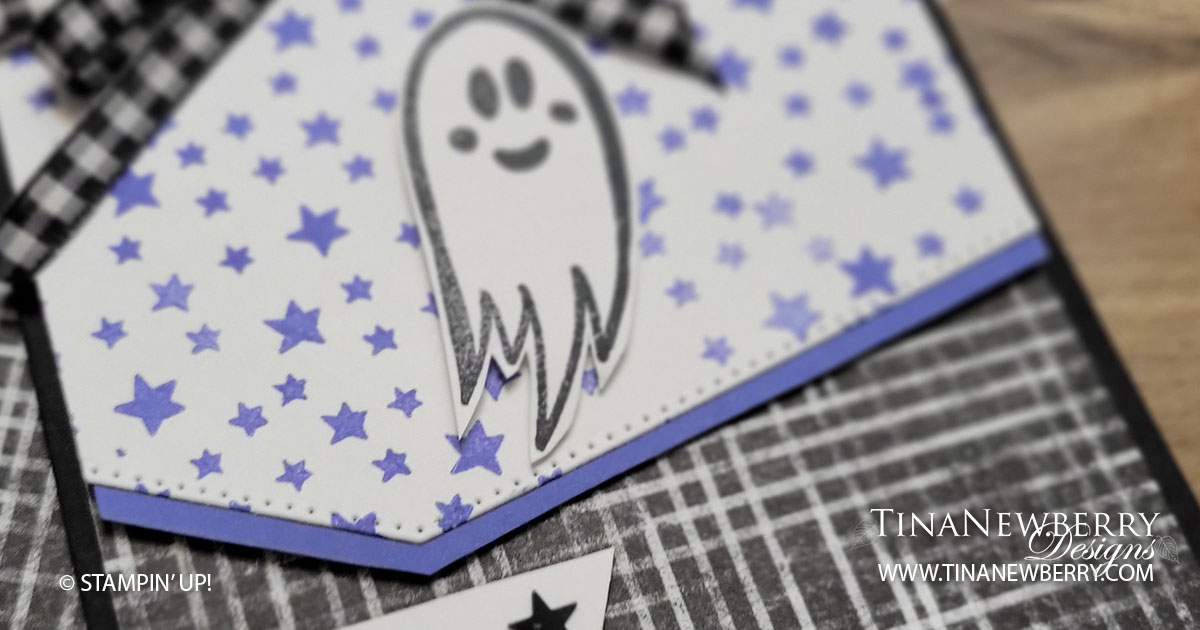
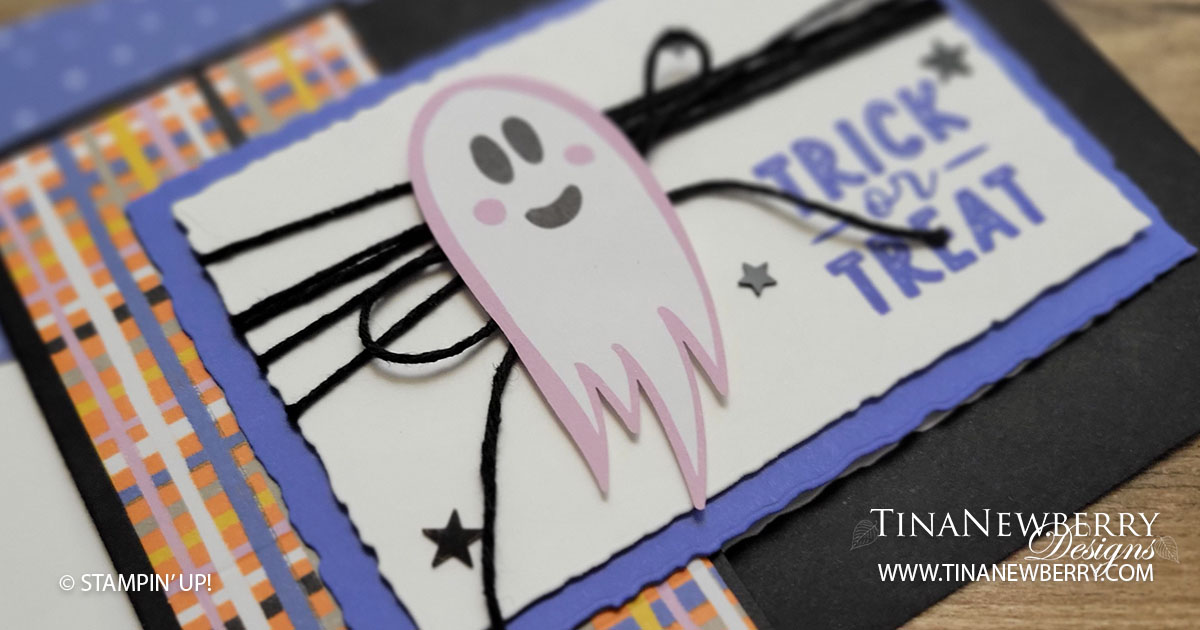
Use pieces from the kit to make a quick & easy Happy Halloween Card.

Peek-A-BOO! Don’t let Halloween creep up on you—get everything you need for cute spooky-themed crafts in our all-inclusive Spooky Treats kit. Time to put the TREAT in trick or treat! Check out next month’s Paper Pumpkin Kit.

Measurements

Full list of supplies needed, listed below. A die cutting machine is needed for this card.
Basic Black Cardstock: 11″ h x 4 1/4″ w scored and folded on the long-side at 5 1/2″ for Card Base

Fresh Freesia Cardstock: 1/2″ h x 4″ w

Orchid Oasis Cardstock: 3″ h x 2 1/2″ w (cut a smidge smaller)

Basic White Cardstock:

  • 1/2″ h x 3 1/8″ w
  • 5 1/2″ h x 4″ w for inside

Plaid Panel: 2 1/2″ h x 4″ w cut from treat box in Kit.

Let’s Create

  1. Affix all stamps to Acrylic Blocks.
  2. Fold the Card Base in half using a Bone Folder to sharpen the crease.
  3. Stamp a spider on the right edge of the Fresh Freesia layer.
  4. Attach the Fresh Freesia layer to th Plaid Panel with Stampin’ Seal. And then Attach to the Card Base with Stampin’ Seal.
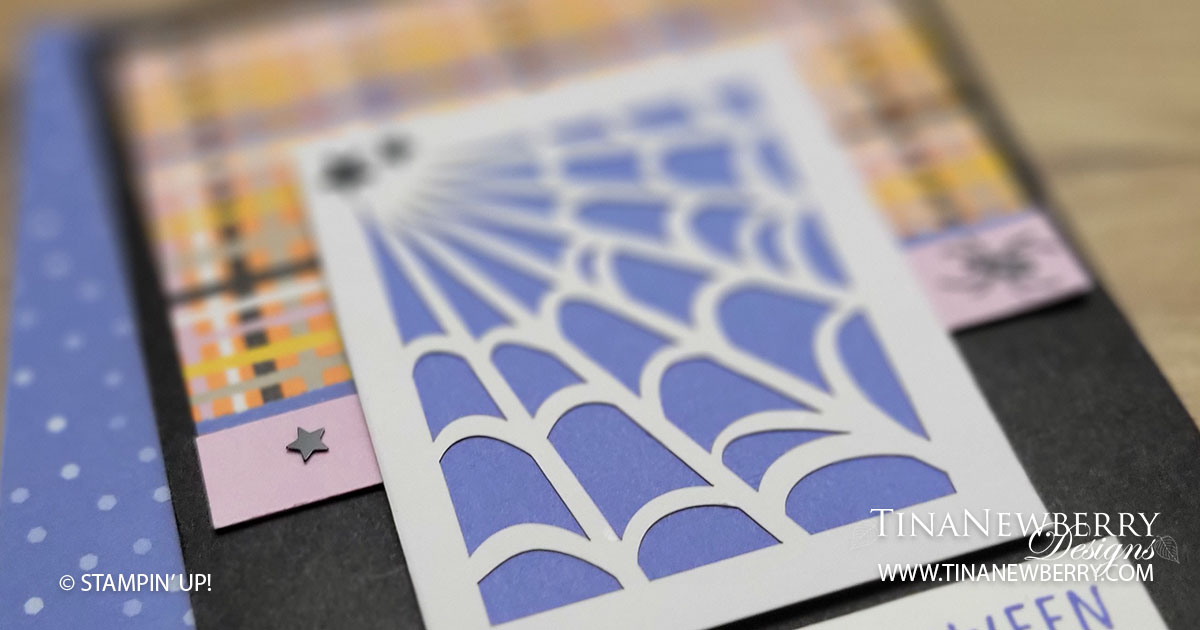
  5. Apply Stampin’ Seal around the backside of the web panel from the Spooky Treats kit and attach the Orchid Oasis panel behind the web. Attach to the card with Stampin’ Dimensionals.
  6. Stamp sentiment on 1/2″ h x 3 1/8″ w Basic White Panel in Orchid Oasis ink. Wrap black twine around and tie a knot. Then attach to the card with Stampin’ Dimensionals.
  7. Sprinkle on the stars from the kit
  8. Stamp and decorate the inside and attach with Stampin’ Seal.
  9. Decorate your envelope.
  10. Happy Halloween! Boo! Who will you send it to?
Product List

Recommended Stamper’s Toolkit

Product List
Order online from the convenience of your own home or send me your order and I’ll take care of you. ❤ Either way, please use the host code ZZTXP2EM. Order online AND, if your order is $50 or more using host code ZZTXP2EM between now and the end of the month you’ll receive a free pack of embellishment as a THANK YOU gift from me. ❤ If your order is over $150, skip the host code, earn Stampin’ Rewards for free stuff yourself and I’ll still send you a free pack of embellishment as a THANK YOU gift from me. ❤