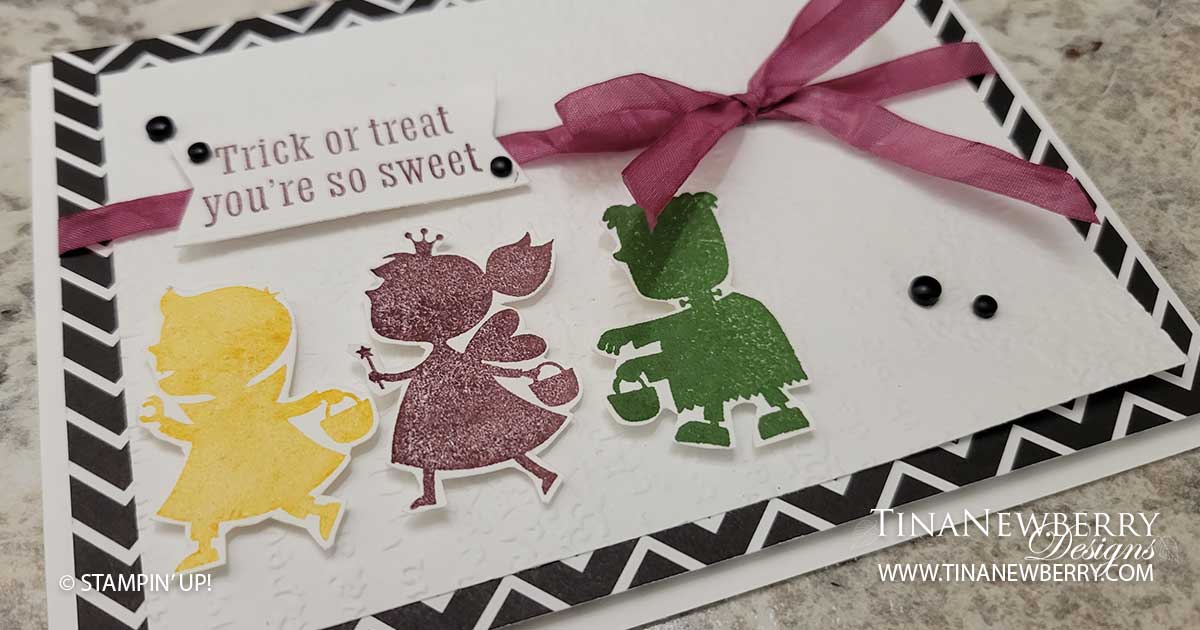
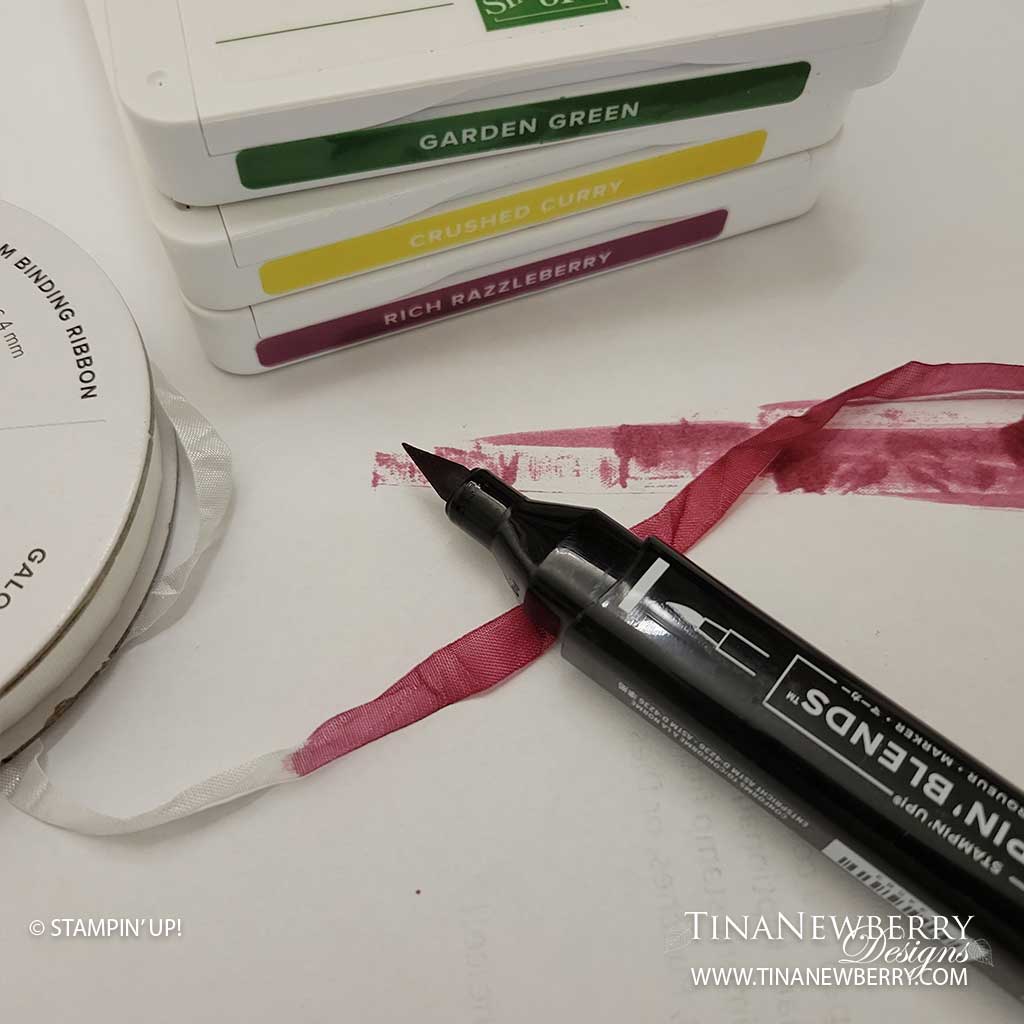
Don’t have exactly the right color ribbon or even any ribbon that will match your project? Use Stampin’ Blends markers to change the color of your light colored ribbon. In this case I used the White Crinkle Seam Binding, but you could try it with other ribbon. Read on for details, including instructions for this Scary Cute card.
Measurements
Full list of supplies needed, listed below. A die cutting machine is needed for this card.
Basic White Thick Cardstock: 5 1/2″ w x 8 1/2″ h folded to 5 1/2″ w x 4 1/4″ h for the Card Base.
Basic White Cardstock:
- 3 1/2″ h x 4 3/4″ w
- 1 1/2″ h x 2 1/2″ h scrap for sentiment
- scraps for trick or treaters
Black & White Designs Designer Series Paper (DSP): 4″ h x 5 1/4″ w
Let’s Create
- Affix all stamps to Acrylic Blocks.
- Fold the Card Base in half using a Bone Folder to sharpen the crease.
- Run the 3 1/2″ h x 4 3/4″ w basic White Cardstock through the Stampin’ Cut & Emboss Machine with the Timeworn Type 3-D embossing Folder.
- Attach to the DSP with Stampin’ Dimensionals.
- Re-color the Crinkle Seam Ribbon:
- Protect your work surface with grid paper or other scrap paper.
- Cut an 18″ piece of Crinkle Seam Ribbon.
- Lay about 6″ of ribbon flat on your surface.
- Color with the paint tip end of the Light Blackberry Bliss Stampin’ Blend Marker. This is an alcohol marker that dries very quickly.
- Repeat until all of the ribbon is colored.
- Your ribbon will be a little more stiff when you’re finished, but it will still tie just fine.
- Wrap the ribbon around the Basic White and DSP layer and tie a bow.
- Attach the DSP to the Card Base with Stampin’ Seal.
- On Basic White scraps stamp:
- The Sentiment in Rich Razzleberry ink.
- Three Trick or Treaters in Crushed Curry, Blackberry Bliss and Garden Green.
- Die cut the Sentiment from the banner tag die in the bundle.
- Use Paper Snips to fussy cut each of the Trick or Treaters.
- Use Stampin’ Dimensionals to attach the Sentiment and Trick or Treaters.
- Sprinkle on the black dots from the Classic Matte Dots pack.
- Stamp and decorate the inside.
- Decorate your envelope.
- Trick or treat! Now send it to someone special.
Shopping List
")
$41.25


 Designer Series Paper")
 Crinkled Seam Binding Ribbon")

$7.00

Recommended Stamper’s Toolkit ❤
Product List
$12.00

$7.00

$4.25

$5.75

$5.50

$11.00

$26.00

$7.00

$6.50

$11.00

$20.00

$11.00

$80.75

$128.00


$16.00

$13.00


